Crochet Bedside Caddy Pattern (Free)
A free, beginner-friendly pattern that clearly guides you through the steps.
Published October 7, 2026 · by Emma
- Skill level
- Beginner
- Yarn weight
- Worsted (4)
- Hook size
- 5.5 mm (I/9)
- Time
- 3 hours
- Gauge
- 12 dc and 7 rows = 4 inches
- Yardage
- about 200 yards
- Sizes
- 14 × 12 in (35.5 × 30.5 cm)
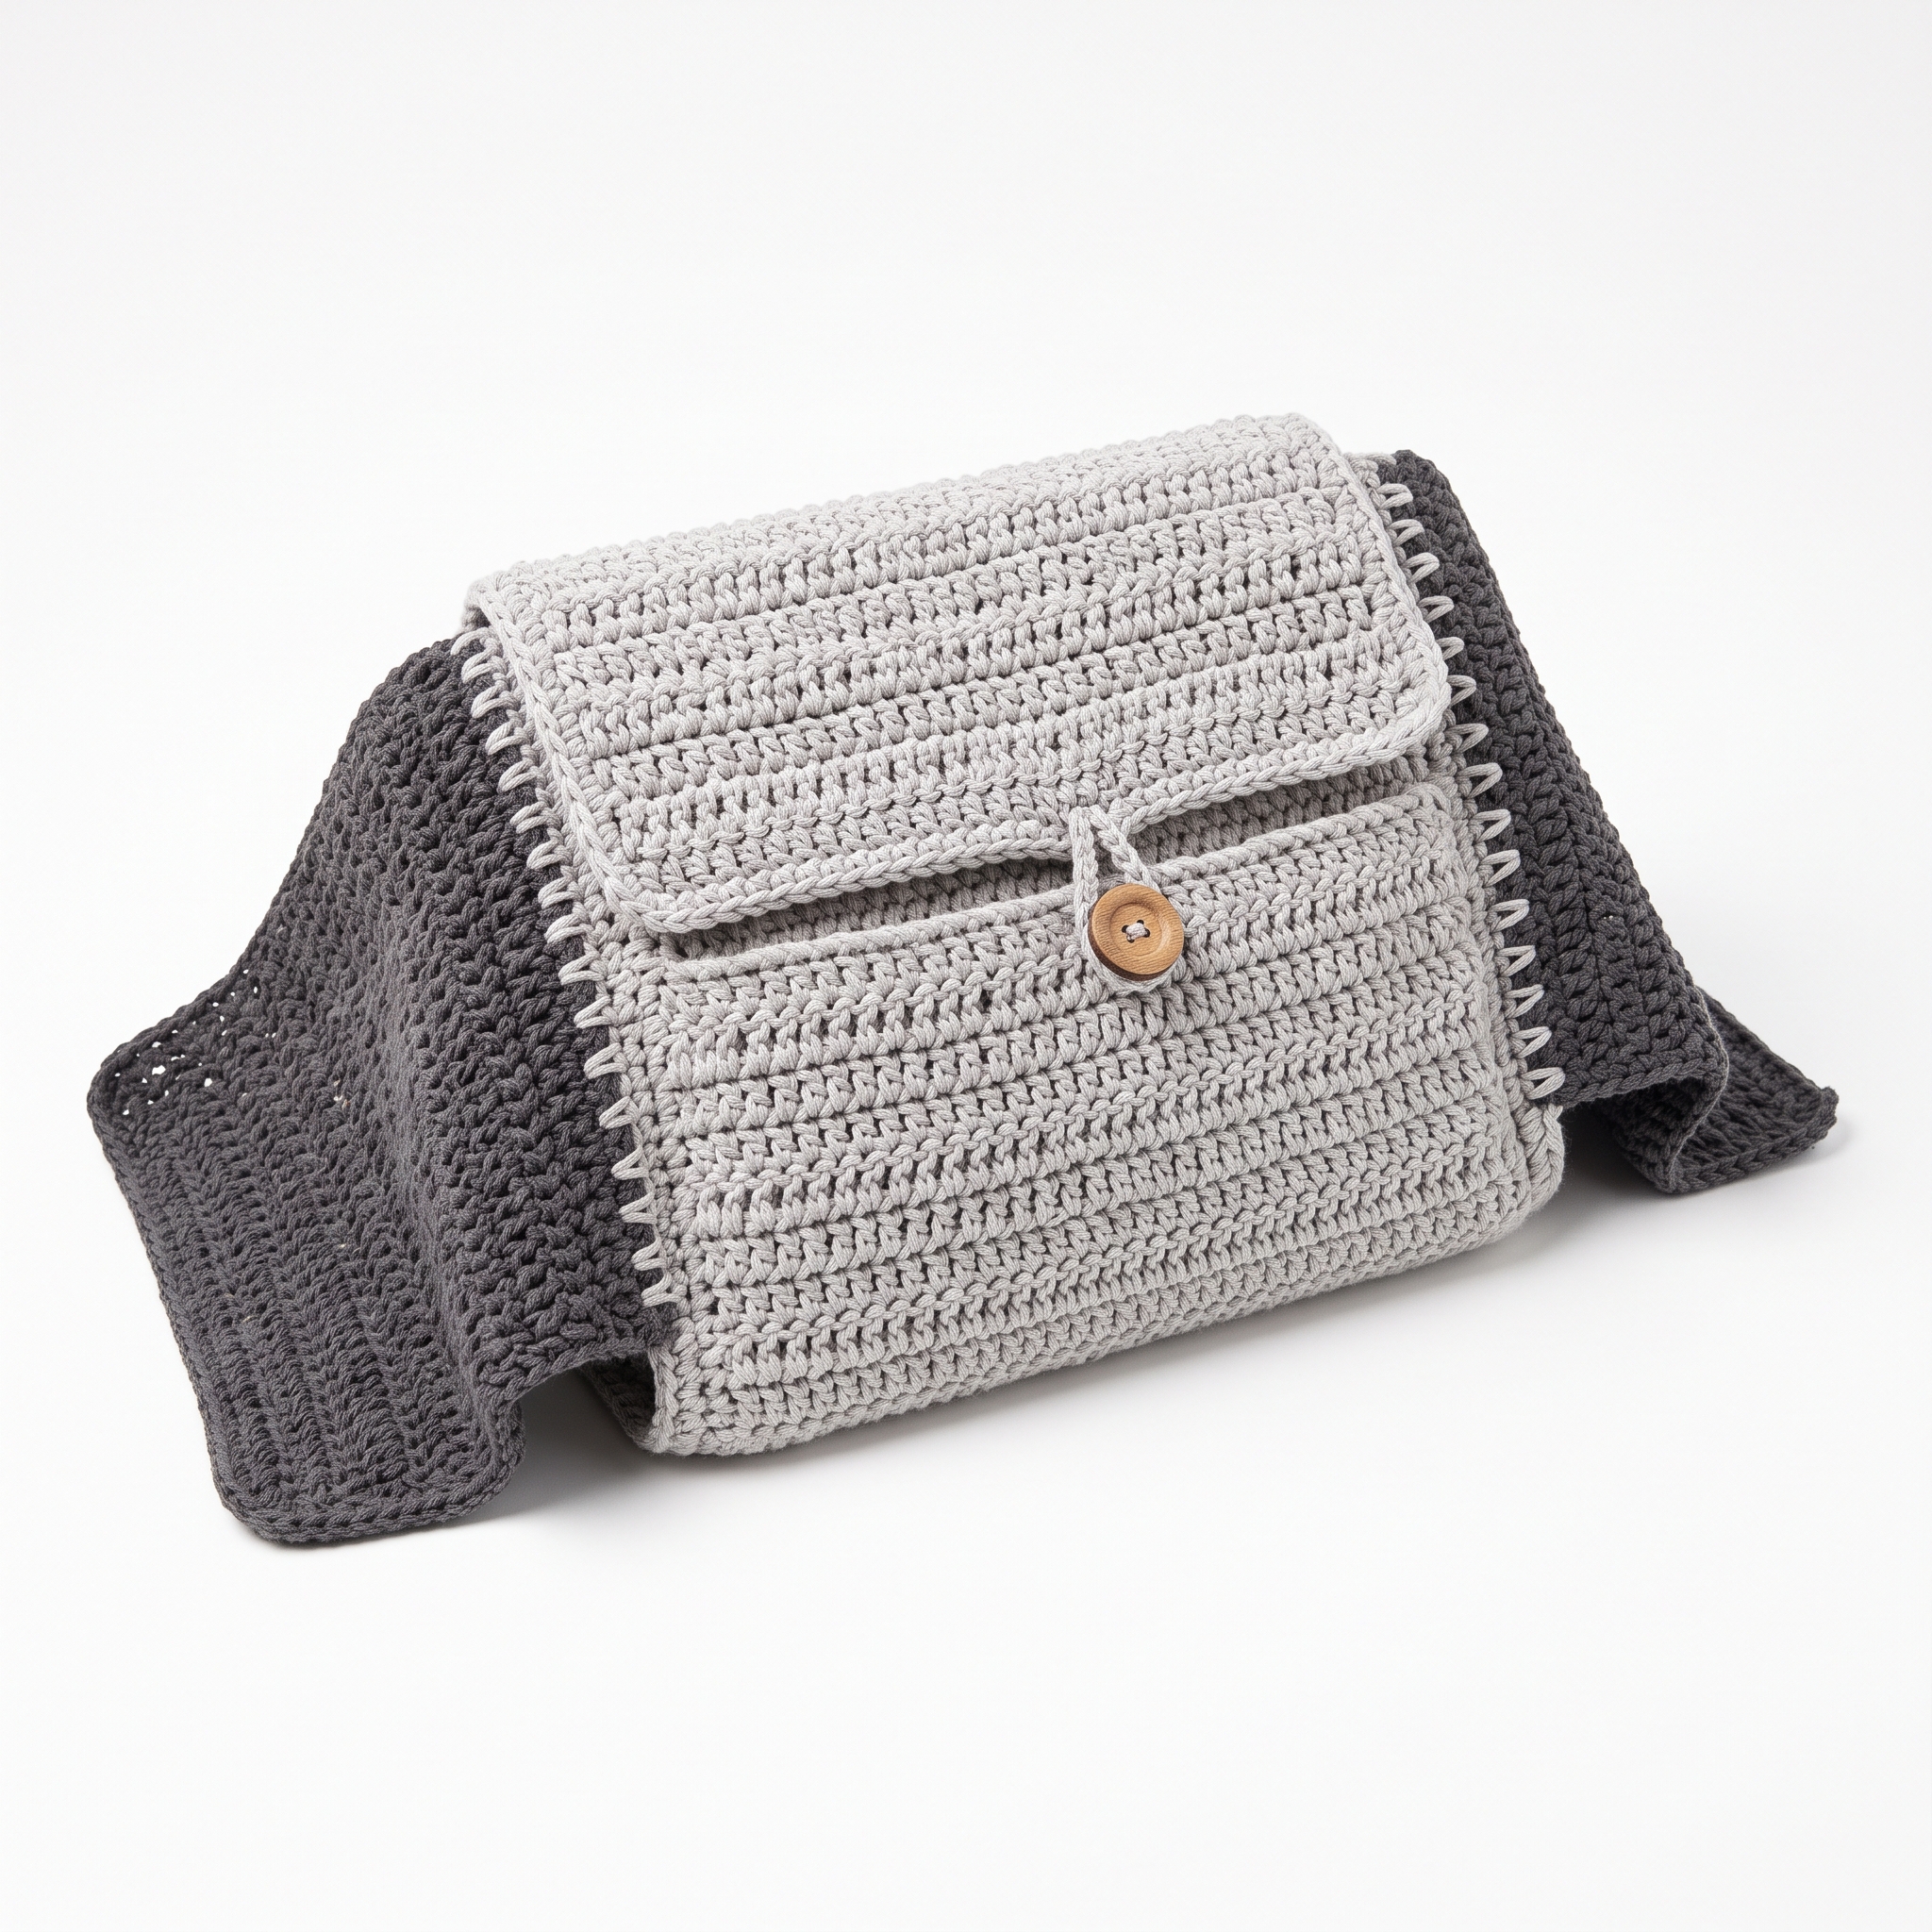
This crochet Bedside Caddy pattern makes a functional and stylish organizer that you can easily tuck under your mattress. It provides a convenient spot for keeping your essentials like books, phones, and glasses right at your side while you sleep. You'll learn to work with a mix of stitches, including double crochet and single crochet, as you create this lovely accessory.
This project is perfect for anyone looking to add a touch of organization to their bedroom. Plus, it’s a great way to practice your crochet skills and become more comfortable with different techniques.
Why You'll Love This Bedside Caddy
- Practical design – it keeps your essentials handy while you relax or sleep.
- Easy to crochet – with straightforward stitches, you’ll feel accomplished quickly.
- Customizable colors – choose shades that match your decor for a personal touch.
- Quick project – you can complete it in just a few hours.
Is This Pattern Good for Beginners?
Yes! The Bedside Caddy uses basic stitches that are easy to master. With a little practice, you’ll be creating this useful project in no time.
Crochet Abbreviations (US Terms)
- ch – chain
- sl st – slip stitch
- sc – single crochet
- dc – double crochet
- st – stitch
Size and Gauge
- Finished dimensions:
- Width: 14 inches (35.5 cm)
- Height: 12 inches (30.5 cm)
- Gauge: 12 dc and 7 rows = 4 inches (10 cm)
How to Crochet a Bedside Caddy (Step by Step)
Body of Caddy
The body is worked in rows, creating a solid foundation to hang from your bed.
- Foundation Row: ch 42
- Row 1: dc in 4th ch from hook, *dc in next 3 ch, ch 1, skip 1 ch, repeat from * across, dc in last 2 ch (39 dc, 3 ch-1 spaces)
- Row 2: ch 3 (counts as 1st dc), turn, dc in each dc across (39 dc)
- Rows 3–10: Repeat Row 2 (39 dc)
- Row 11: ch 1, turn, sc in each dc across (39 sc)
- Row 12: ch 3, turn, dc in each sc across (39 dc)
- Row 13: ch 1, turn, sc in each dc across (39 sc)
Side Flaps (Make 2)
The side flaps will help support the caddy's shape.
8. Row 1: ch 14
9. Row 2: dc in 4th ch, ch 1, skip 1 ch, *dc in next 3 ch, ch 1, skip 1 ch, repeat from * until 2 ch remain, dc in last 2 ch (11 dc, 3 ch-1 spaces)
10. Rows 3–10: Repeat Row 2 (11 dc)
Assembly
Now we’ll put the caddy together by attaching the side flaps to the body.
11. Using Color B, align the side flaps to the body. Single crochet through both layers to join, working 39 sc along the edge of each flap to attach.
12. After attaching both flaps, fasten off and weave in the ends.
Finishing
To add extra stability:
- Optional: Cut a piece of cardboard or plastic to fit the base of the caddy (14" x 11"). Place it inside for added stability.
- Sew the button on the front flap for decoration and functionality.
Beginner Tips for a Great Bedside Caddy
- Use stitch markers to keep track of your rows or important stitches.
- Check your tension; tight tension will yield a sturdier caddy.
- Don’t hesitate to rip back if needed; it’s all part of the learning process!
Common Mistakes (and How to Fix Them)
- My stitches are too tight. – This can make your caddy rigid and difficult to shape; try using a larger hook.
- The shape looks off. – This might be due to uneven tension; keep an eye on your stitches as you work.
- I’ve lost count of my stitches. – It happens! Simply recount your work after each row and use stitch markers to help.
How to Care for Your Bedside Caddy
Hand wash in cold water and lay flat to dry. Avoid machine washing to maintain the shape of your caddy.
FAQ
Can I use a different yarn?
Yes, you can use other worsted weight yarns, but be sure to check the gauge to maintain the size of the caddy.
How can I change the size of the caddy?
To adjust the size, simply change the starting chain length in the foundation row and adjust subsequent rows accordingly to maintain the stitch pattern.
How long will this take to make?
The estimated working time for the entire project is about 3 hours: 2 hours for the body and 1 hour for the side flaps.
Looking for more? Check out our cozy collection of home decor patterns.
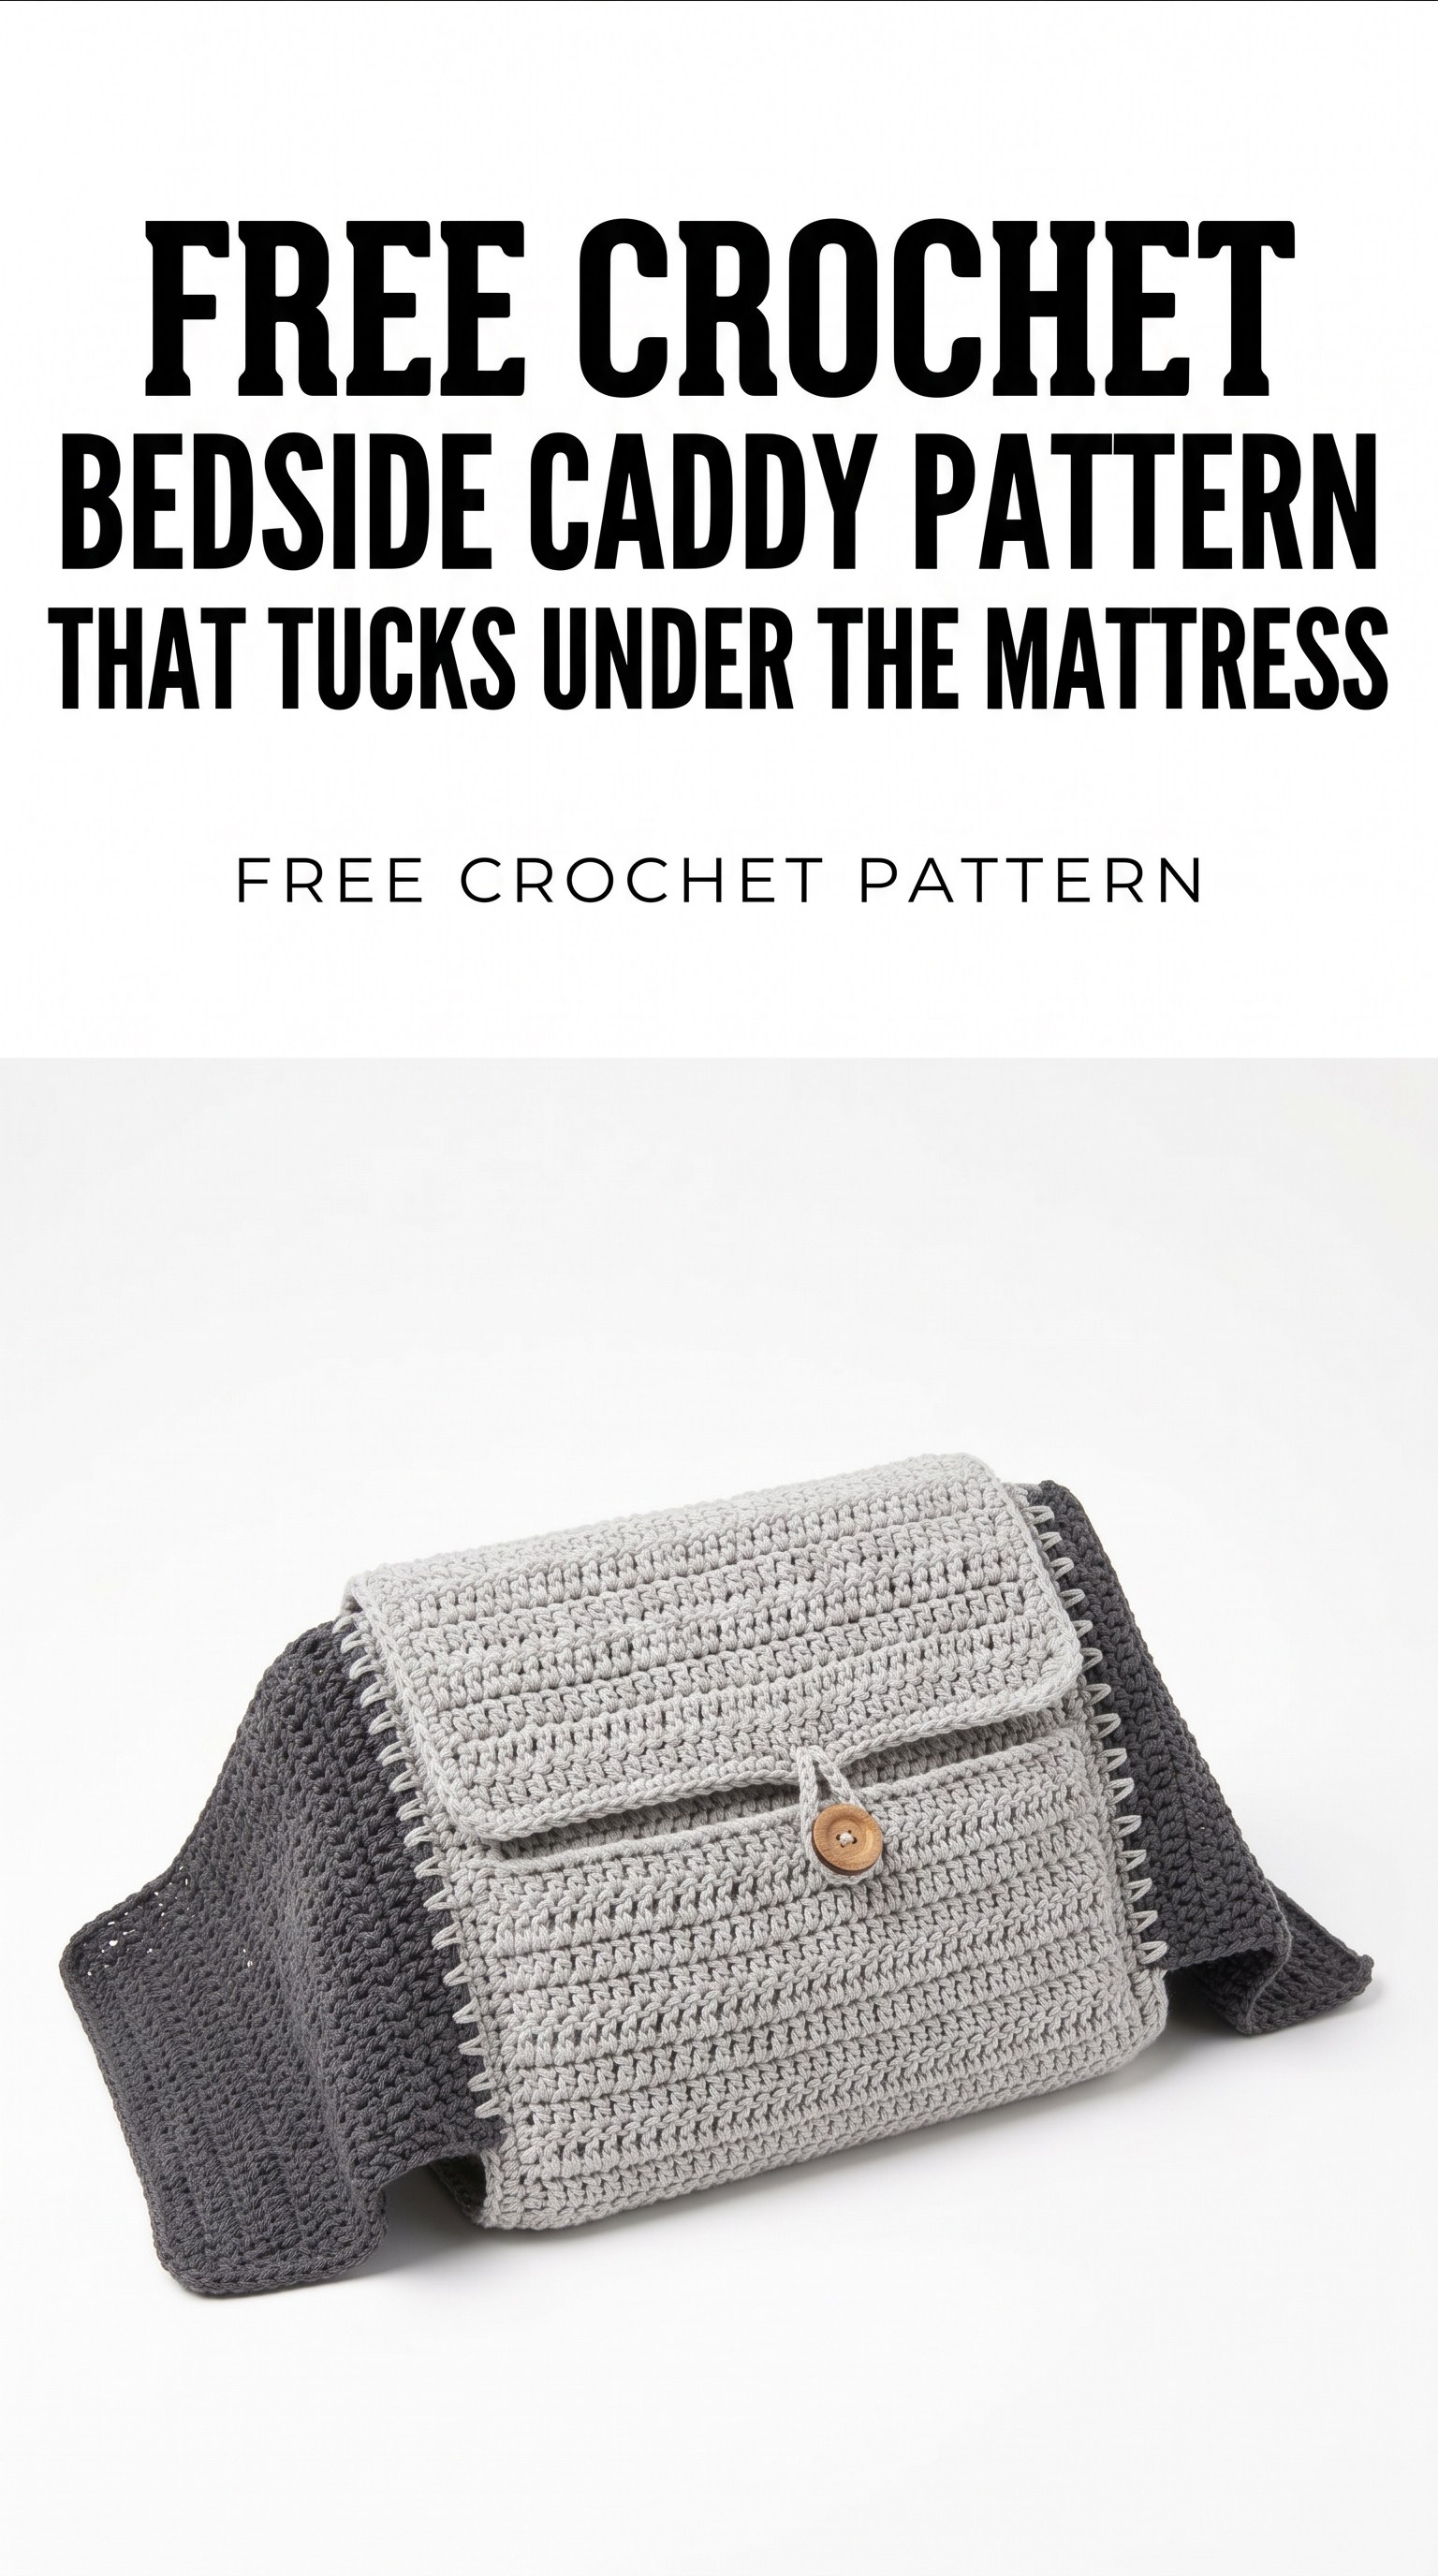
Image shown for inspiration — your finished result may vary slightly.