Crochet Granny Square Crossbody Bag Pattern (Free)
A free, beginner-friendly pattern that clearly guides you through the steps.
Published October 7, 2026 · by Emma
- Skill level
- Beginner
- Yarn weight
- Worsted (4)
- Hook size
- 5 mm (H-8)
- Time
- 4 hours
- Gauge
- 14 stitches and 7 rows = 10 cm
- Yardage
- about 500 yards
- Sizes
- 23 × 23 cm (9 × 9 in)
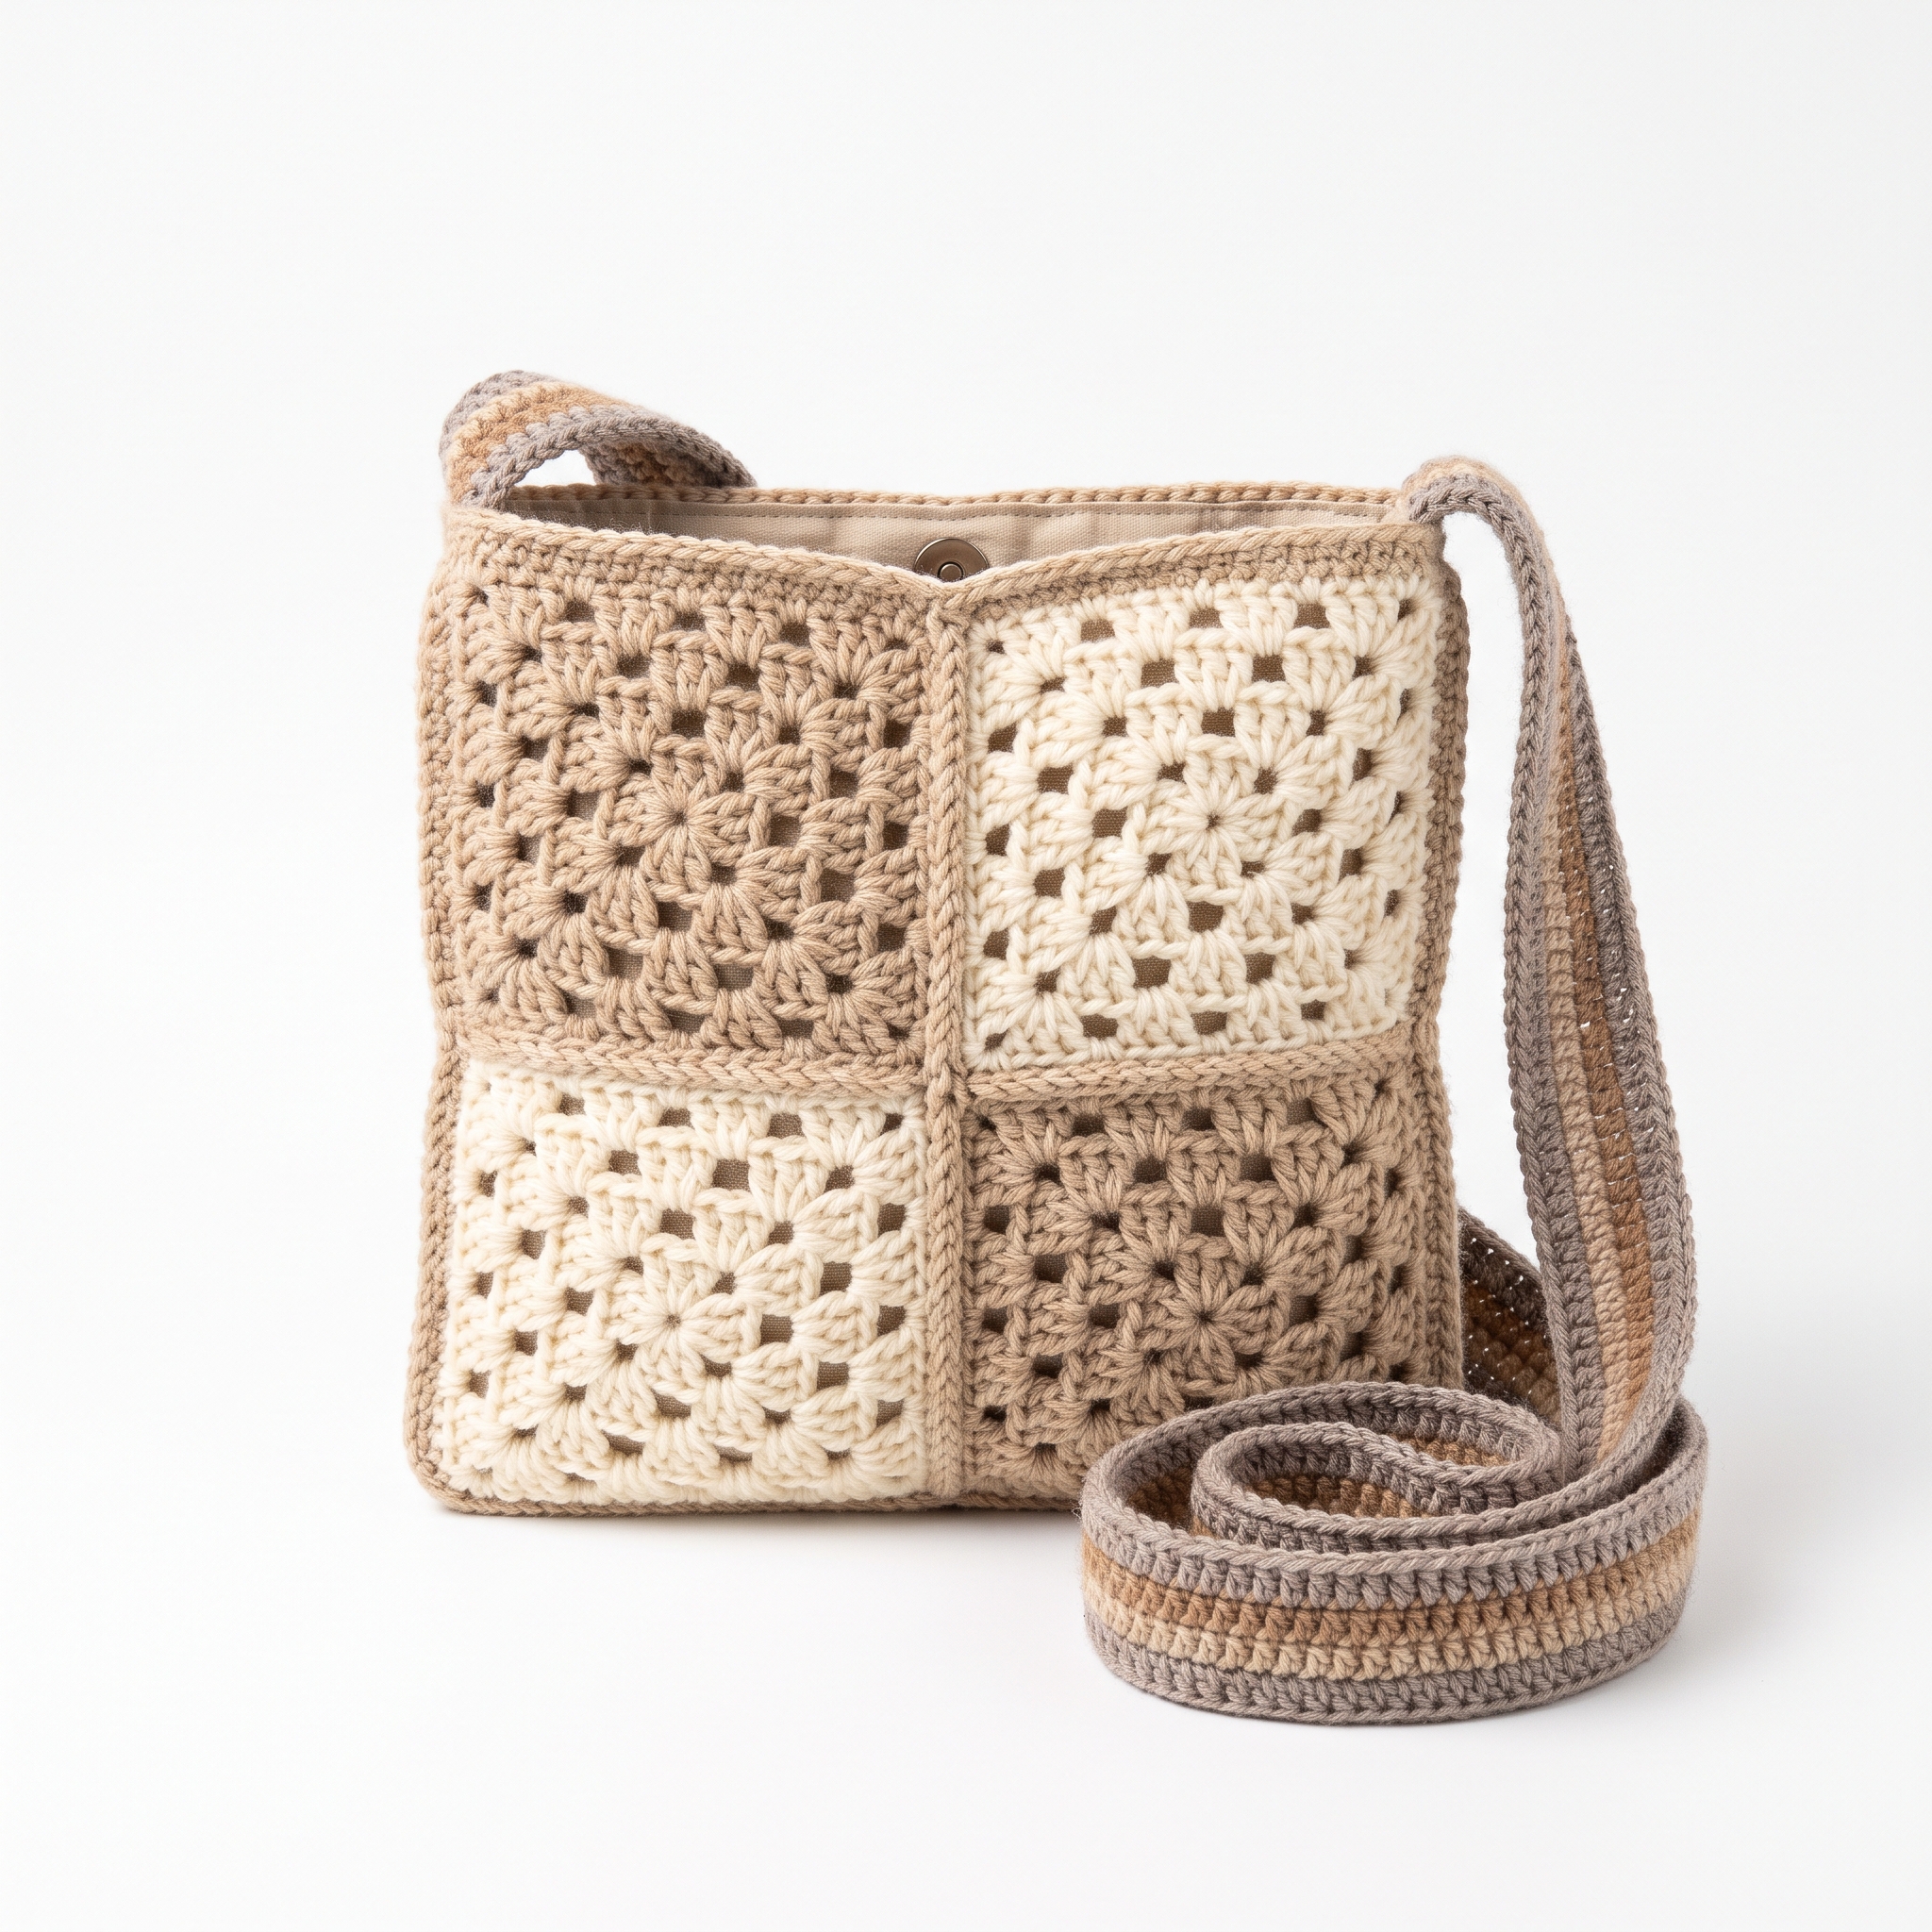
This crochet Granny Square Crossbody Bag pattern makes a stylish accessory that’s perfect for carrying your everyday essentials. Made from classic granny squares, this bag showcases a lovely neutral color palette. Working on this project involves basic stitches and techniques, making it enjoyable to create as you watch it come together.
This pattern suits anyone looking to improve their crochet skills while creating a useful item. Whether you want a practical bag or a fun project to practice with, this is a great choice!
Why You'll Love This Granny Square Crossbody Bag
- Versatile design – the adjustable strap allows for personal comfort and style.
- Fun and engaging – making granny squares is a delightful way to develop your crochet skills.
- Quick to complete – the project can be finished in about 4 hours!
- Customizable colors – mix and match yarn colors to make it uniquely yours.
Is This Pattern Good for Beginners?
Yes! This pattern uses basic crochet stitches and techniques, ensuring a smooth experience for those who are new to crochet. You'll gain confidence while working on this charming project.
Crochet Abbreviations (US Terms)
- ch – chain
- sl st – slip stitch
- dc – double crochet
- sp – space
- st(s) – stitch(es)
- rnd – round
How to Make a Magic Ring
- Wrap the yarn around your fingers to form a loop.
- Insert your hook into the loop, yarn over, and pull through.
- Chain as required to begin your project.
Size and Gauge
- Finished size: 23 cm (9 in) wide x 23 cm (9 in) tall
- Strap: adjustable between 76 cm (30 in) – 127 cm (50 in)
- Gauge: 14 stitches and 7 rows = 10 cm (4 in) in granny square pattern.
How to Crochet a Granny Square Crossbody Bag (Step by Step)
Granny Squares (Make 4)
The squares are constructed in rounds to create the iconic granny square shape.
Round 1:
- Ch 4, join with sl st to form a ring.
- Ch 3 (counts as dc), work 2 dc in ring, ch 2.
- 3 dc in ring, ch 2. Repeat from * to * 3 more times.
- Join to top of ch-3 with sl st. (12 dc, 4 ch-2 sp)
Round 2:
- Sl st to the first ch-2 space, ch 3, work 2 dc in same sp, ch 2.
- 3 dc in next ch-2 space, ch 2. Repeat from * to * 3 more times.
- Join with sl st to top of ch-3. (24 dc, 4 ch-2 sp)
Round 3:
- Sl st to the first ch-2 space, ch 3, work 2 dc in same sp, ch 2.
- 3 dc in next ch-2 space, ch 2.
- Work 3 dc in next ch-2 space, ch 2. Repeat while joining squares on the edges.
- Repeat to make 4 squares.
Color Changes:
- Use Color A for 2 squares and Color B for 2 squares, or mix according to your preference.
Bag Assembly
The body of the bag is formed by joining the granny squares.
- Position two squares for the front and back, and two squares for each side.
- Whip stitch or slip stitch squares together along the edges to form the body of the bag.
Strap
We'll craft an adjustable strap to enhance functionality.
- Foundation Chain:
- Ch 4.
- Row 1:
- Work 1 dc in the 4th ch from the hook, then work 1 dc in each ch across (3 dc).
- Rows 2-3:
- Ch 3, turn, dc in each st across. (3 dc)
- Change colors every row for a striped effect, if desired.
- Continue until the strap reaches your preferred length (30–50 inches).
- Fasten off, leaving a long tail for sewing.
Lining (Optional)
If you want a neat finish inside your bag, adding a fabric lining helps.
- Cut fabric to size, leaving about 1.3 cm (1/2 in) extra on each side.
- Fold and pin the fabric inside the bag, sewing the edges.
- Attach a magnetic snap inside the lining for closure.
Assembly & Finishing
Finishing your bag is simple.
- Attach the strap to each side of the bag using a whip stitch.
- Weave in all ends using a tapestry needle.
- Block the bag on blocking mats for a polished look.
Beginner Tips for a Great Granny Square Crossbody Bag
- Choose a yarn that's easy to work with, like 100% acrylic.
- Count your stitches after each round to ensure you don't lose track.
- Check your tension regularly to maintain evenness in your squares.
Common Mistakes (and How to Fix Them)
- "My stitches are too tight." – This might happen if your hook size is too small. Try using a larger hook.
- "The squares aren't even." – Uneven tension is common. Practice will help achieve consistency in your stitches.
- "The bag shape looks off." – Make sure to connect your squares tightly and verify the stitch count in each round.
How to Care for Your Granny Square Crossbody Bag
Hand wash in cold water and lay it flat to dry. Avoid wringing the fabric to maintain its shape and integrity.
FAQ
Can I use a different yarn?
Absolutely! You can choose any worsted weight yarn. Just keep in mind that the size and texture might change slightly.
How do I adjust the size of the bag?
You can add more squares or change the dimensions of the strap. However, remember to adjust the yardage needed for your project!
What if I want to add a flap or closure?
You can easily create a flap by making an additional rectangular piece. Just crochet it to the desired size and attach it at the top of the bag.
Looking for more? Check out our cozy collection of bag patterns.
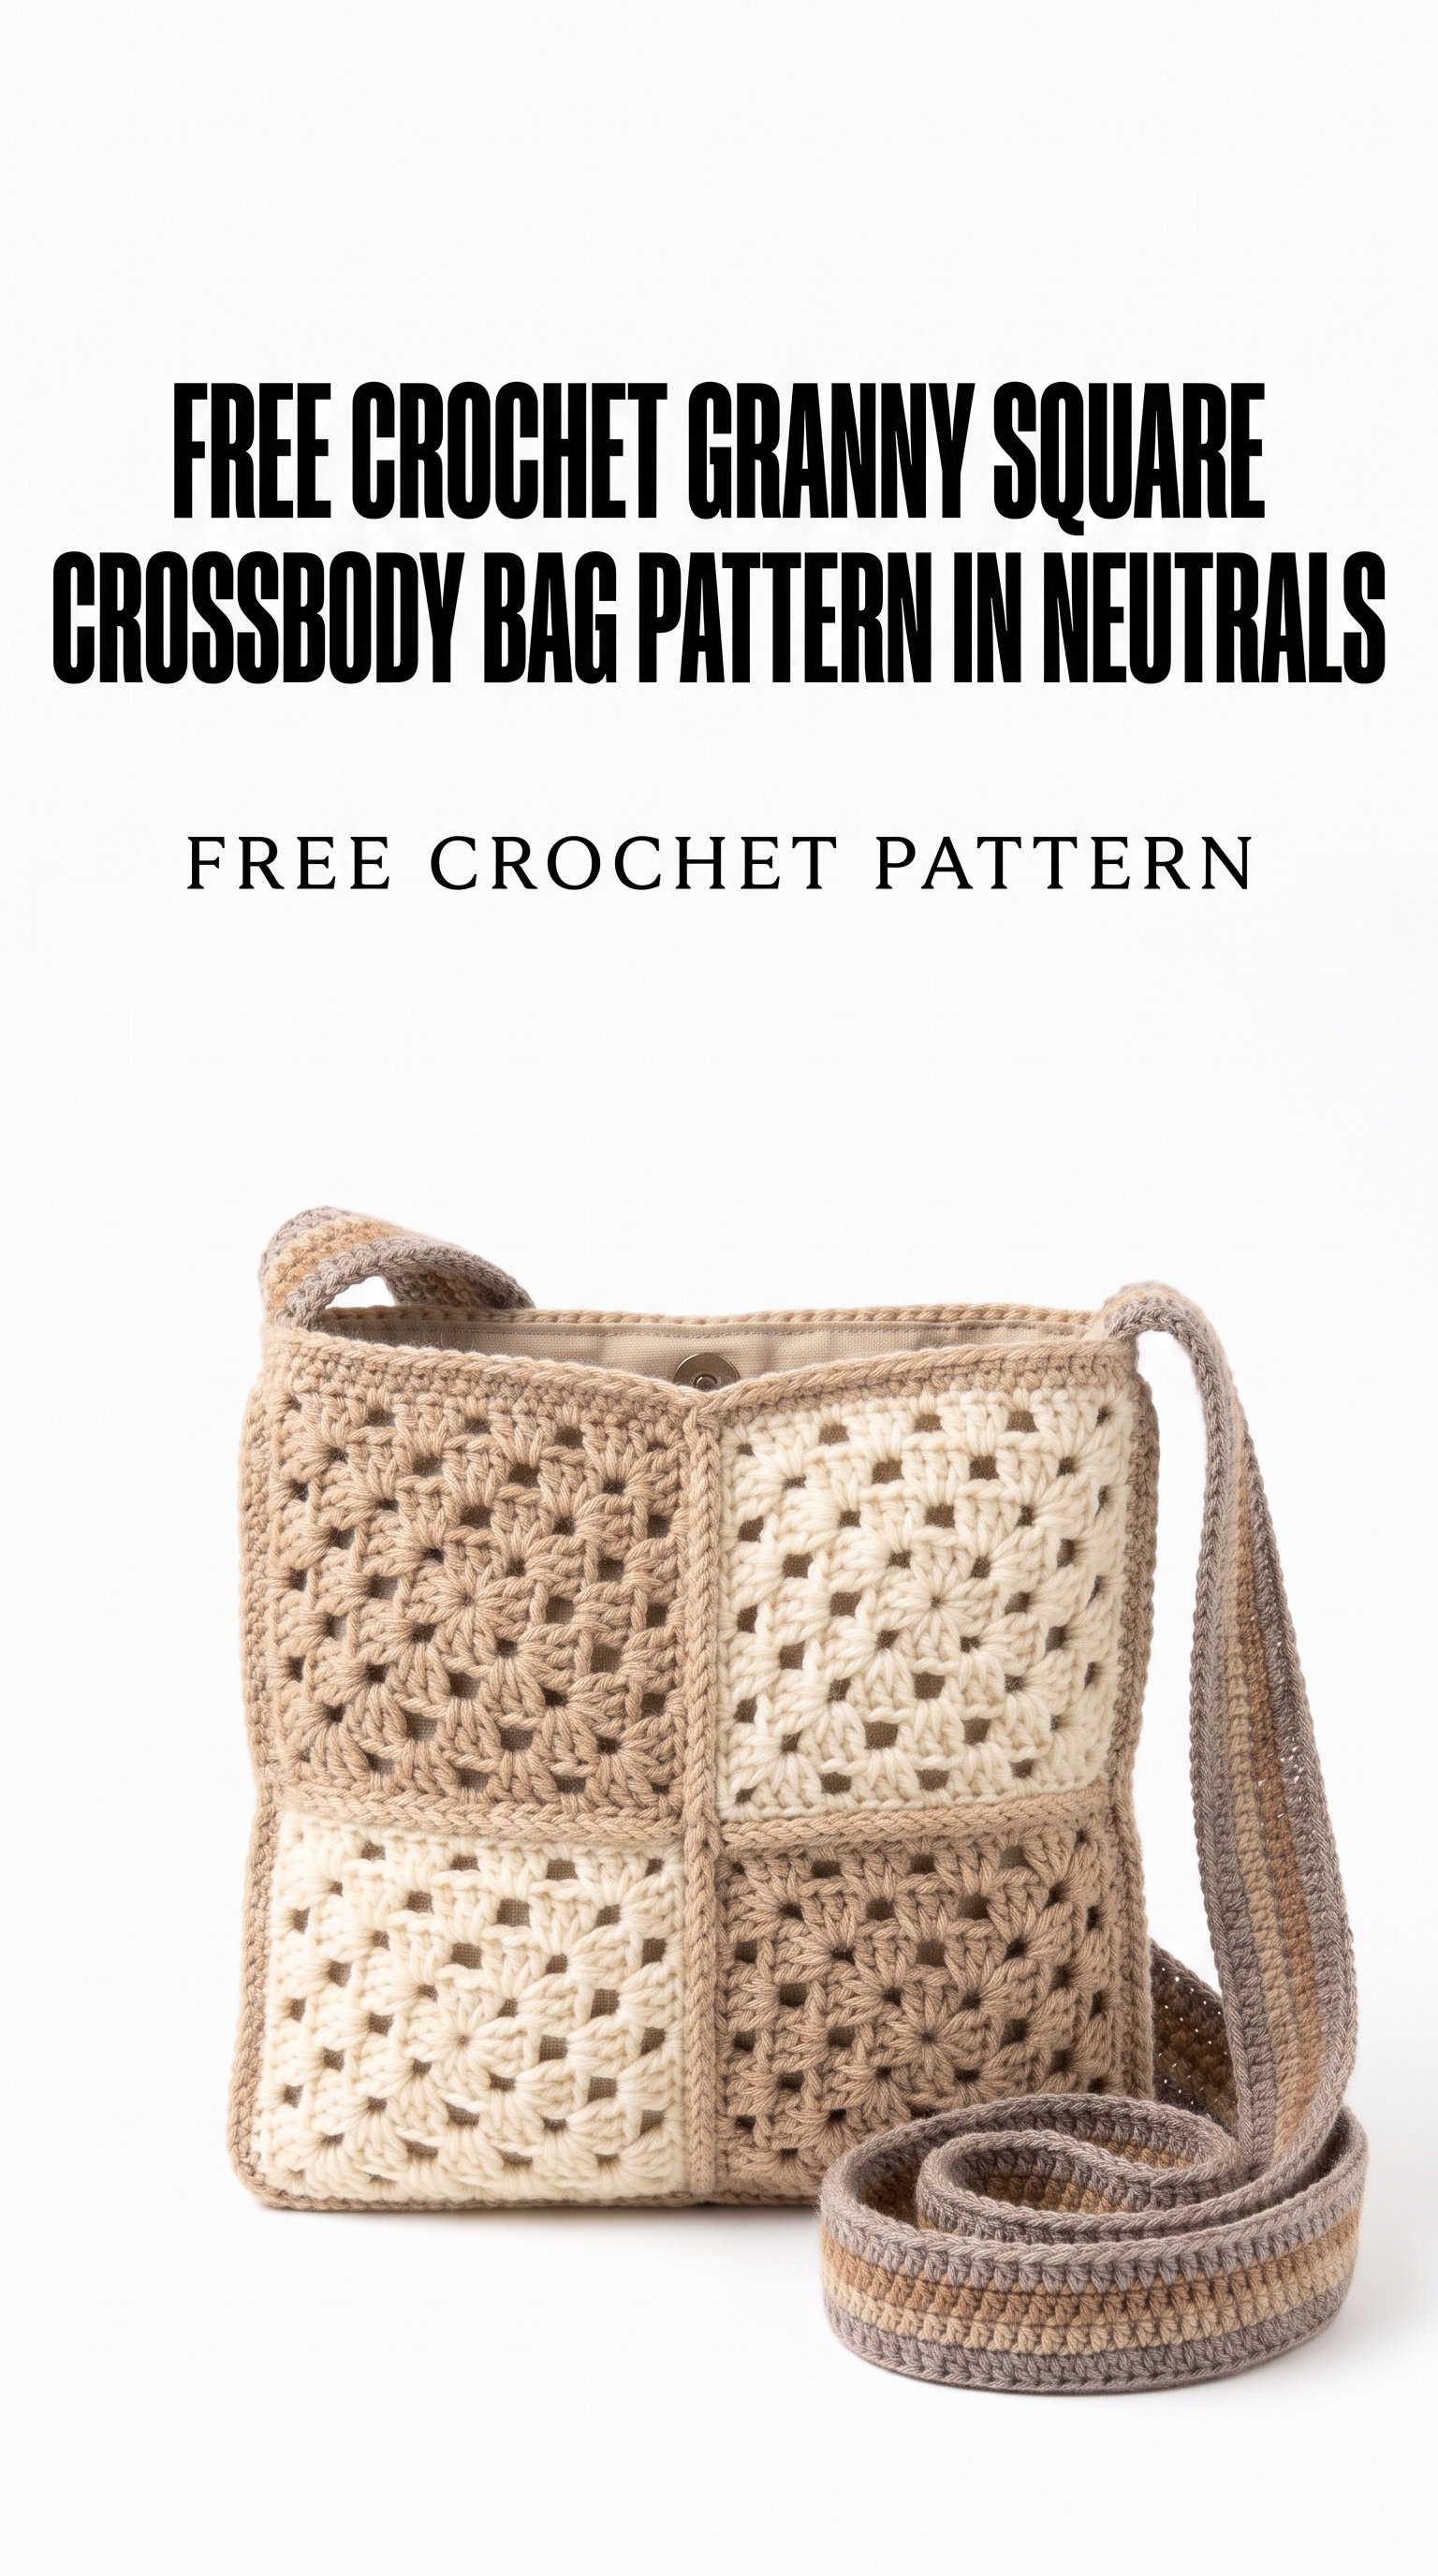
Image shown for inspiration — your finished result may vary slightly.