Crochet Lidded Basket Pattern (Free)
A free, beginner-friendly pattern that clearly guides you through the steps.
Published October 7, 2026 · by Emma
- Skill level
- Beginner
- Yarn weight
- Bulky (6)
- Hook size
- 8 mm (L-11)
- Time
- 3–5 hours
- Gauge
- 9 sc and 10 rows = 10 cm
- Yardage
- about 350 yards
- Sizes
- 25 cm (10 in)
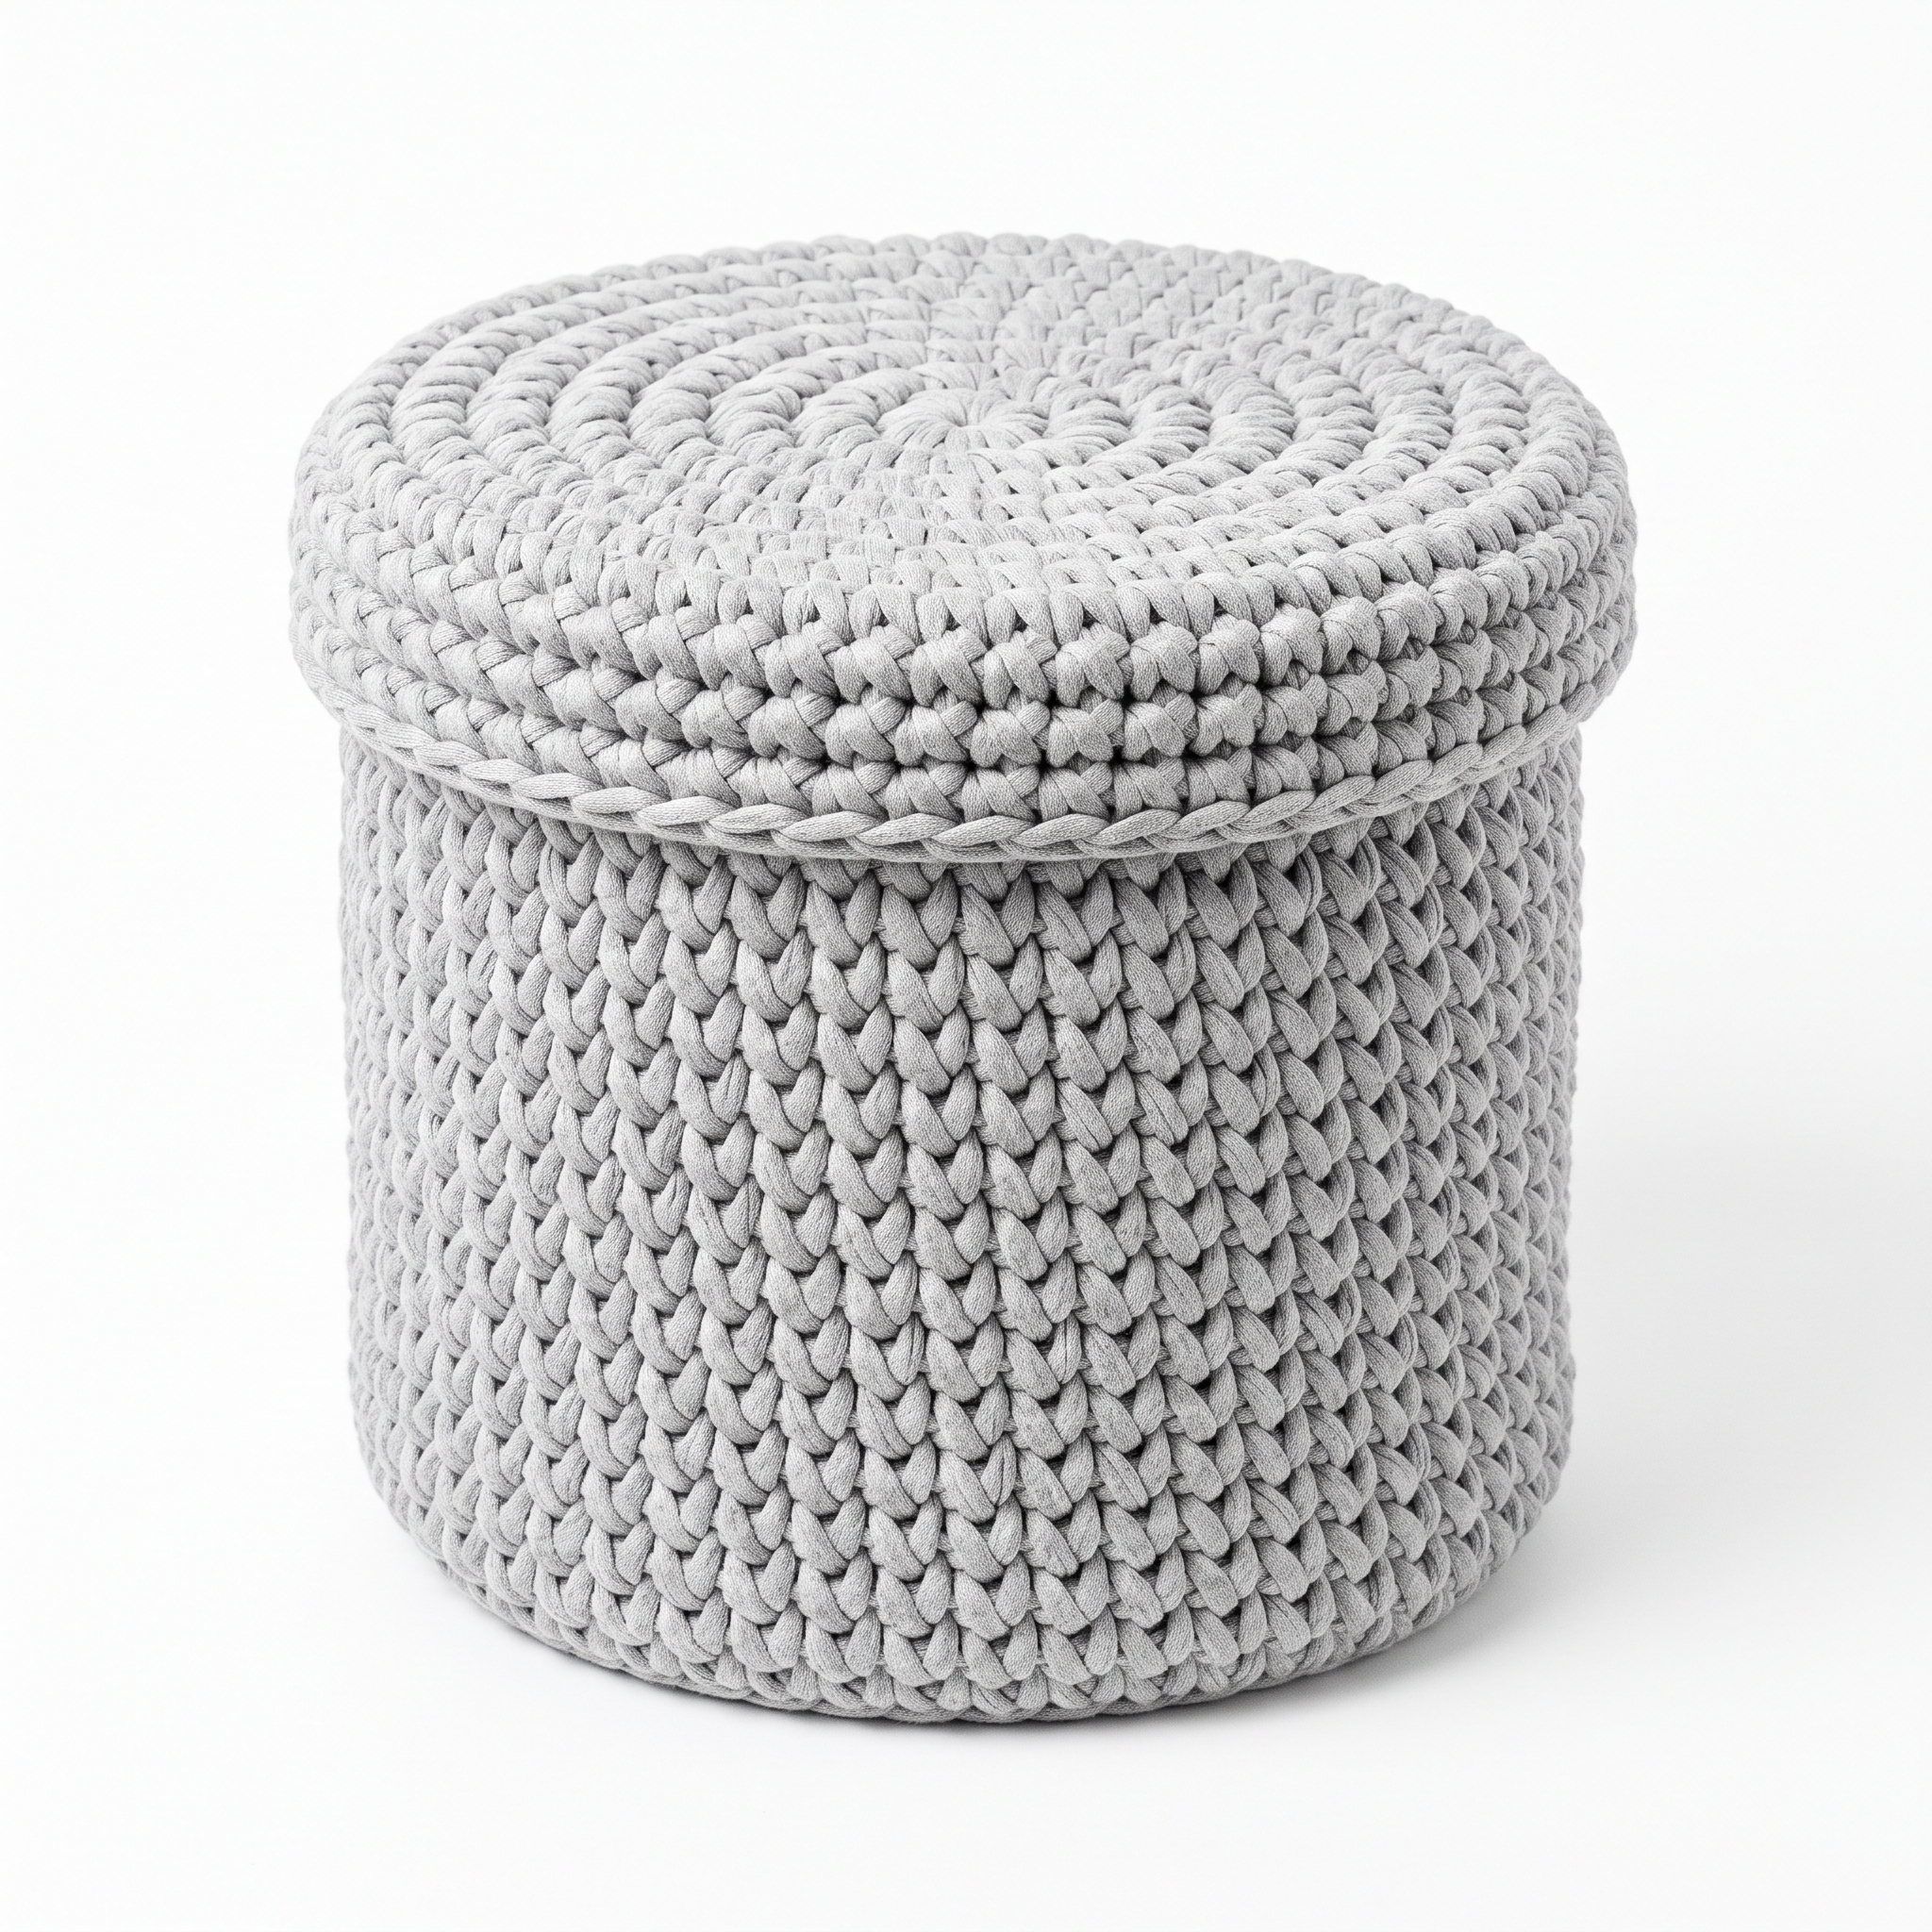
This crochet Lidded Basket pattern makes a lovely and practical item for organizing your home. Created with durable T-shirt yarn, it offers a textured stitch pattern along with a secure lid to keep your contents neatly tucked away. You will enjoy making this basket as it combines both functionality and creativity.
This project is suitable for those looking to expand their crochet skills, specifically in working with bulky yarns and increasing stitches. You will gain confidence in your crochet abilities as you create something useful for your home.
Why You'll Love This Lidded Basket
- Quick to complete – this pattern can be finished in just a few hours.
- Customizable – choose your favorite yarn colors to create a unique piece.
- Practical organization – perfect for holding miscellaneous items around the house.
- Sturdy design – the T-shirt yarn provides durability, helping your basket stand up to use.
Is This Pattern Good for Beginners?
Yes! This pattern is easy to follow and requires only basic stitches. You will learn about increasing stitches and working in the round, which are essential skills for any crocheter.
Crochet Abbreviations (US Terms)
- ch – chain
- sc – single crochet
- inc – increase (2 sc in the same stitch)
- sl st – slip stitch
- st(s) – stitch(es)
Size and Gauge
- Finished size: approximately 10 inches (25 cm) in diameter and 8 inches (20 cm) in height.
- Gauge: 9 sc and 10 rows = 4 inches (10 cm).
Make sure to check your gauge before starting. If your swatch is larger than 4 inches, try a smaller hook; if smaller, use a larger hook.
How to Crochet a Lidded Basket (Step by Step)
Basket Body
The body is worked in rounds starting from a small ring.
- Ch 3, join with a sl st to form a ring (1 st).
- Round 1: Ch 1, 6 sc in the ring (6 sts).
- Round 2: (inc in each st around) (12 sts).
- Round 3: (sc, inc) repeat around (18 sts).
- Round 4: (2 sc, inc) repeat around (24 sts).
- Round 5: (3 sc, inc) repeat around (30 sts).
- Round 6: (4 sc, inc) repeat around (36 sts).
- Rounds 7–15: sc in each st around (36 sts).
Basket Lid
The lid is also made in rounds starting from a ring. 9. Ch 3, join with a sl st to form a ring (1 st). 10. Round 1: Ch 1, 6 sc in the ring (6 sts). 11. Round 2: (inc in each st around) (12 sts). 12. Round 3: (sc, inc) repeat around (18 sts). 13. Round 4: (2 sc, inc) repeat around (24 sts). 14. Round 5: (3 sc, inc) repeat around (30 sts). 15. Round 6: (4 sc, inc) repeat around (36 sts). 16. Round 7: (5 sc, inc) repeat around (42 sts). 17. Round 8: sc in each st around (42 sts).
Finish the Basket
- Join the basket body and lid by placing the lid on the basket. Pin if necessary to secure it.
- Weave in all your ends using the tapestry needle.
Beginner Tips for a Great Lidded Basket
- Use a large enough hook to keep the stitches loose for easier work.
- Count your stitches regularly to avoid missing increases.
- Block your basket after finishing to ensure it holds its shape.
Common Mistakes (and How to Fix Them)
- My stitches are too tight. – Tight stitches can make your basket hard to manipulate. Try using a larger hook or working with a looser tension.
- The shape looks off. – This might happen if you missed an increase. Count your stitches to ensure you followed the pattern correctly.
- My basket seems floppy. – Ensure to stitch snugly and consider using fabric stiffener if needed for added support.
How to Care for Your Lidded Basket
Hand wash the basket with a mild detergent and air dry. This will help maintain its structure and color over time.
FAQ
Can I use a different yarn?
Yes, you can use other bulky-weight yarns; just ensure they are sturdy enough to hold the basket shape.
How do I change yarn colors?
You can change colors during a round by completing the last yarn over of your last stitch with the new color before pulling through.
How long will it take to finish?
The estimated working time is between 3 to 5 hours, depending on your crochet speed.
Looking for more? Check out our cozy collection of home decor patterns.
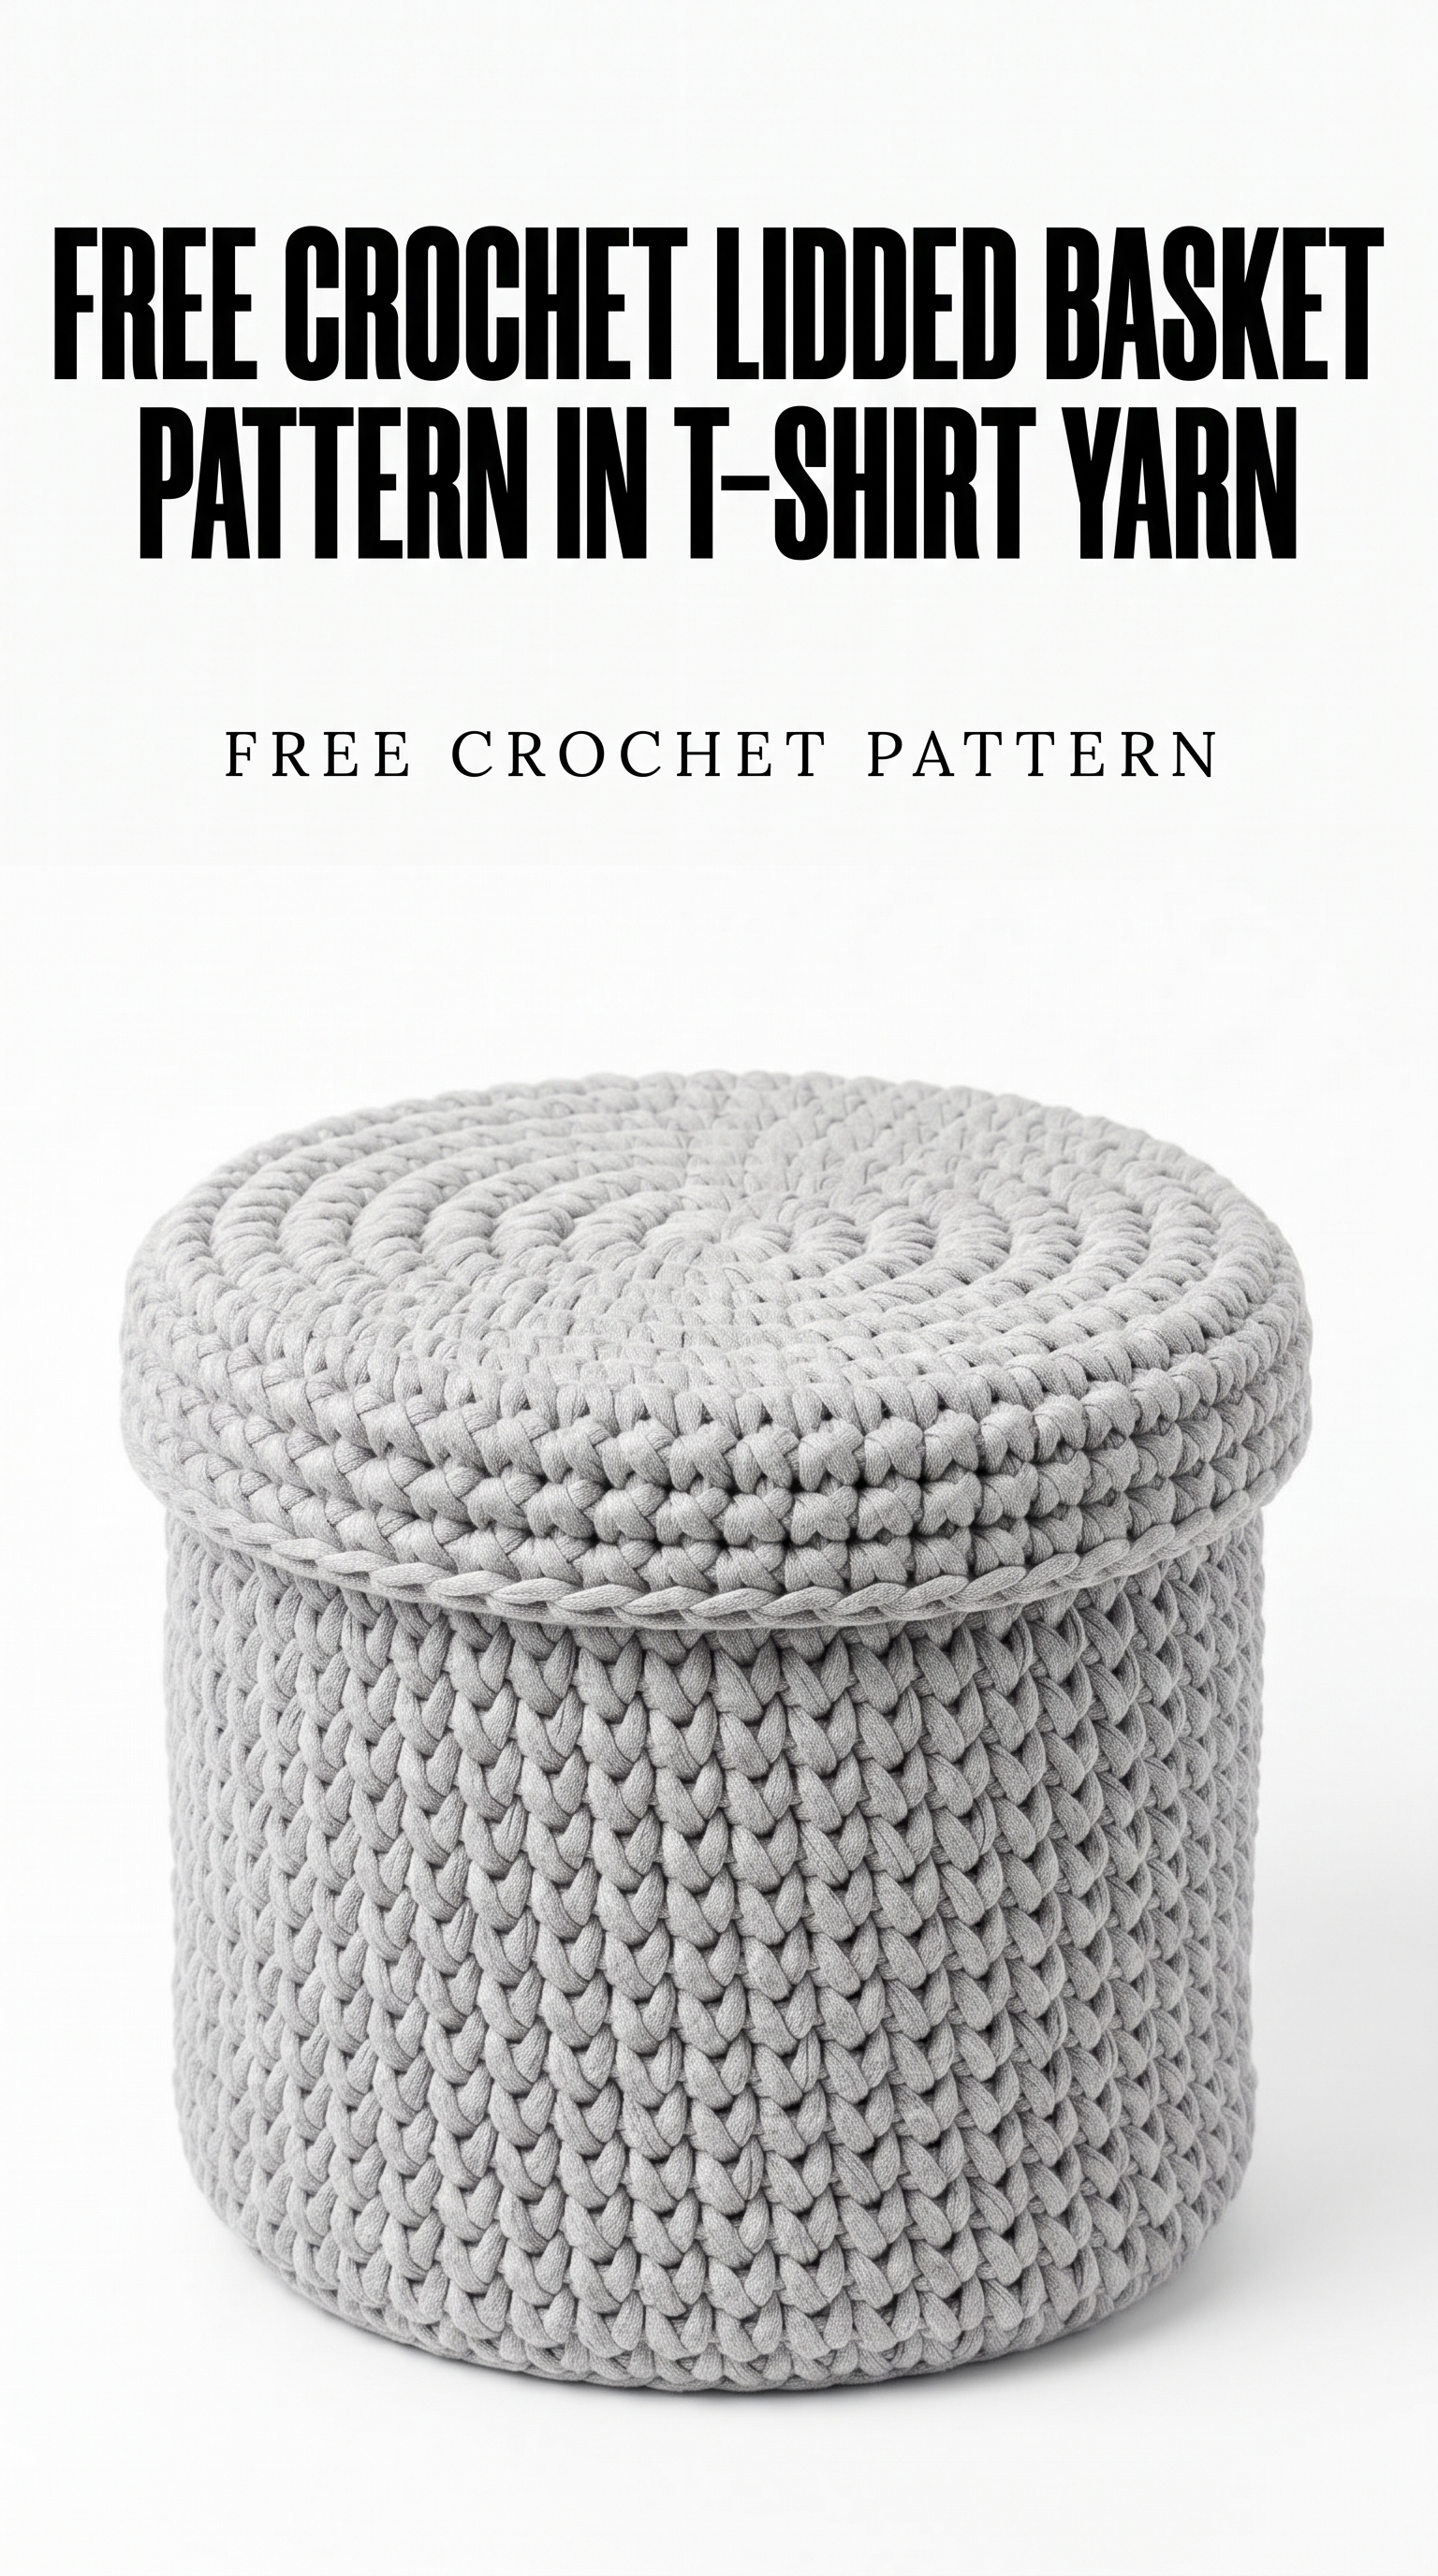
Image shown for inspiration — your finished result may vary slightly.