Crochet Padded Laptop Sleeve Pattern (Free)
A free, beginner-friendly pattern that clearly guides you through the steps.
Published October 7, 2026 · by Emma
- Skill level
- Beginner
- Yarn weight
- Worsted (4)
- Hook size
- 5.5 mm (I/9)
- Time
- 4 hours
- Gauge
- 14 dc and 8 rows = 4 inches
- Yardage
- about 360 yards
- Sizes
- approximately 16 × 12 inches (40.6 × 30.5 cm)
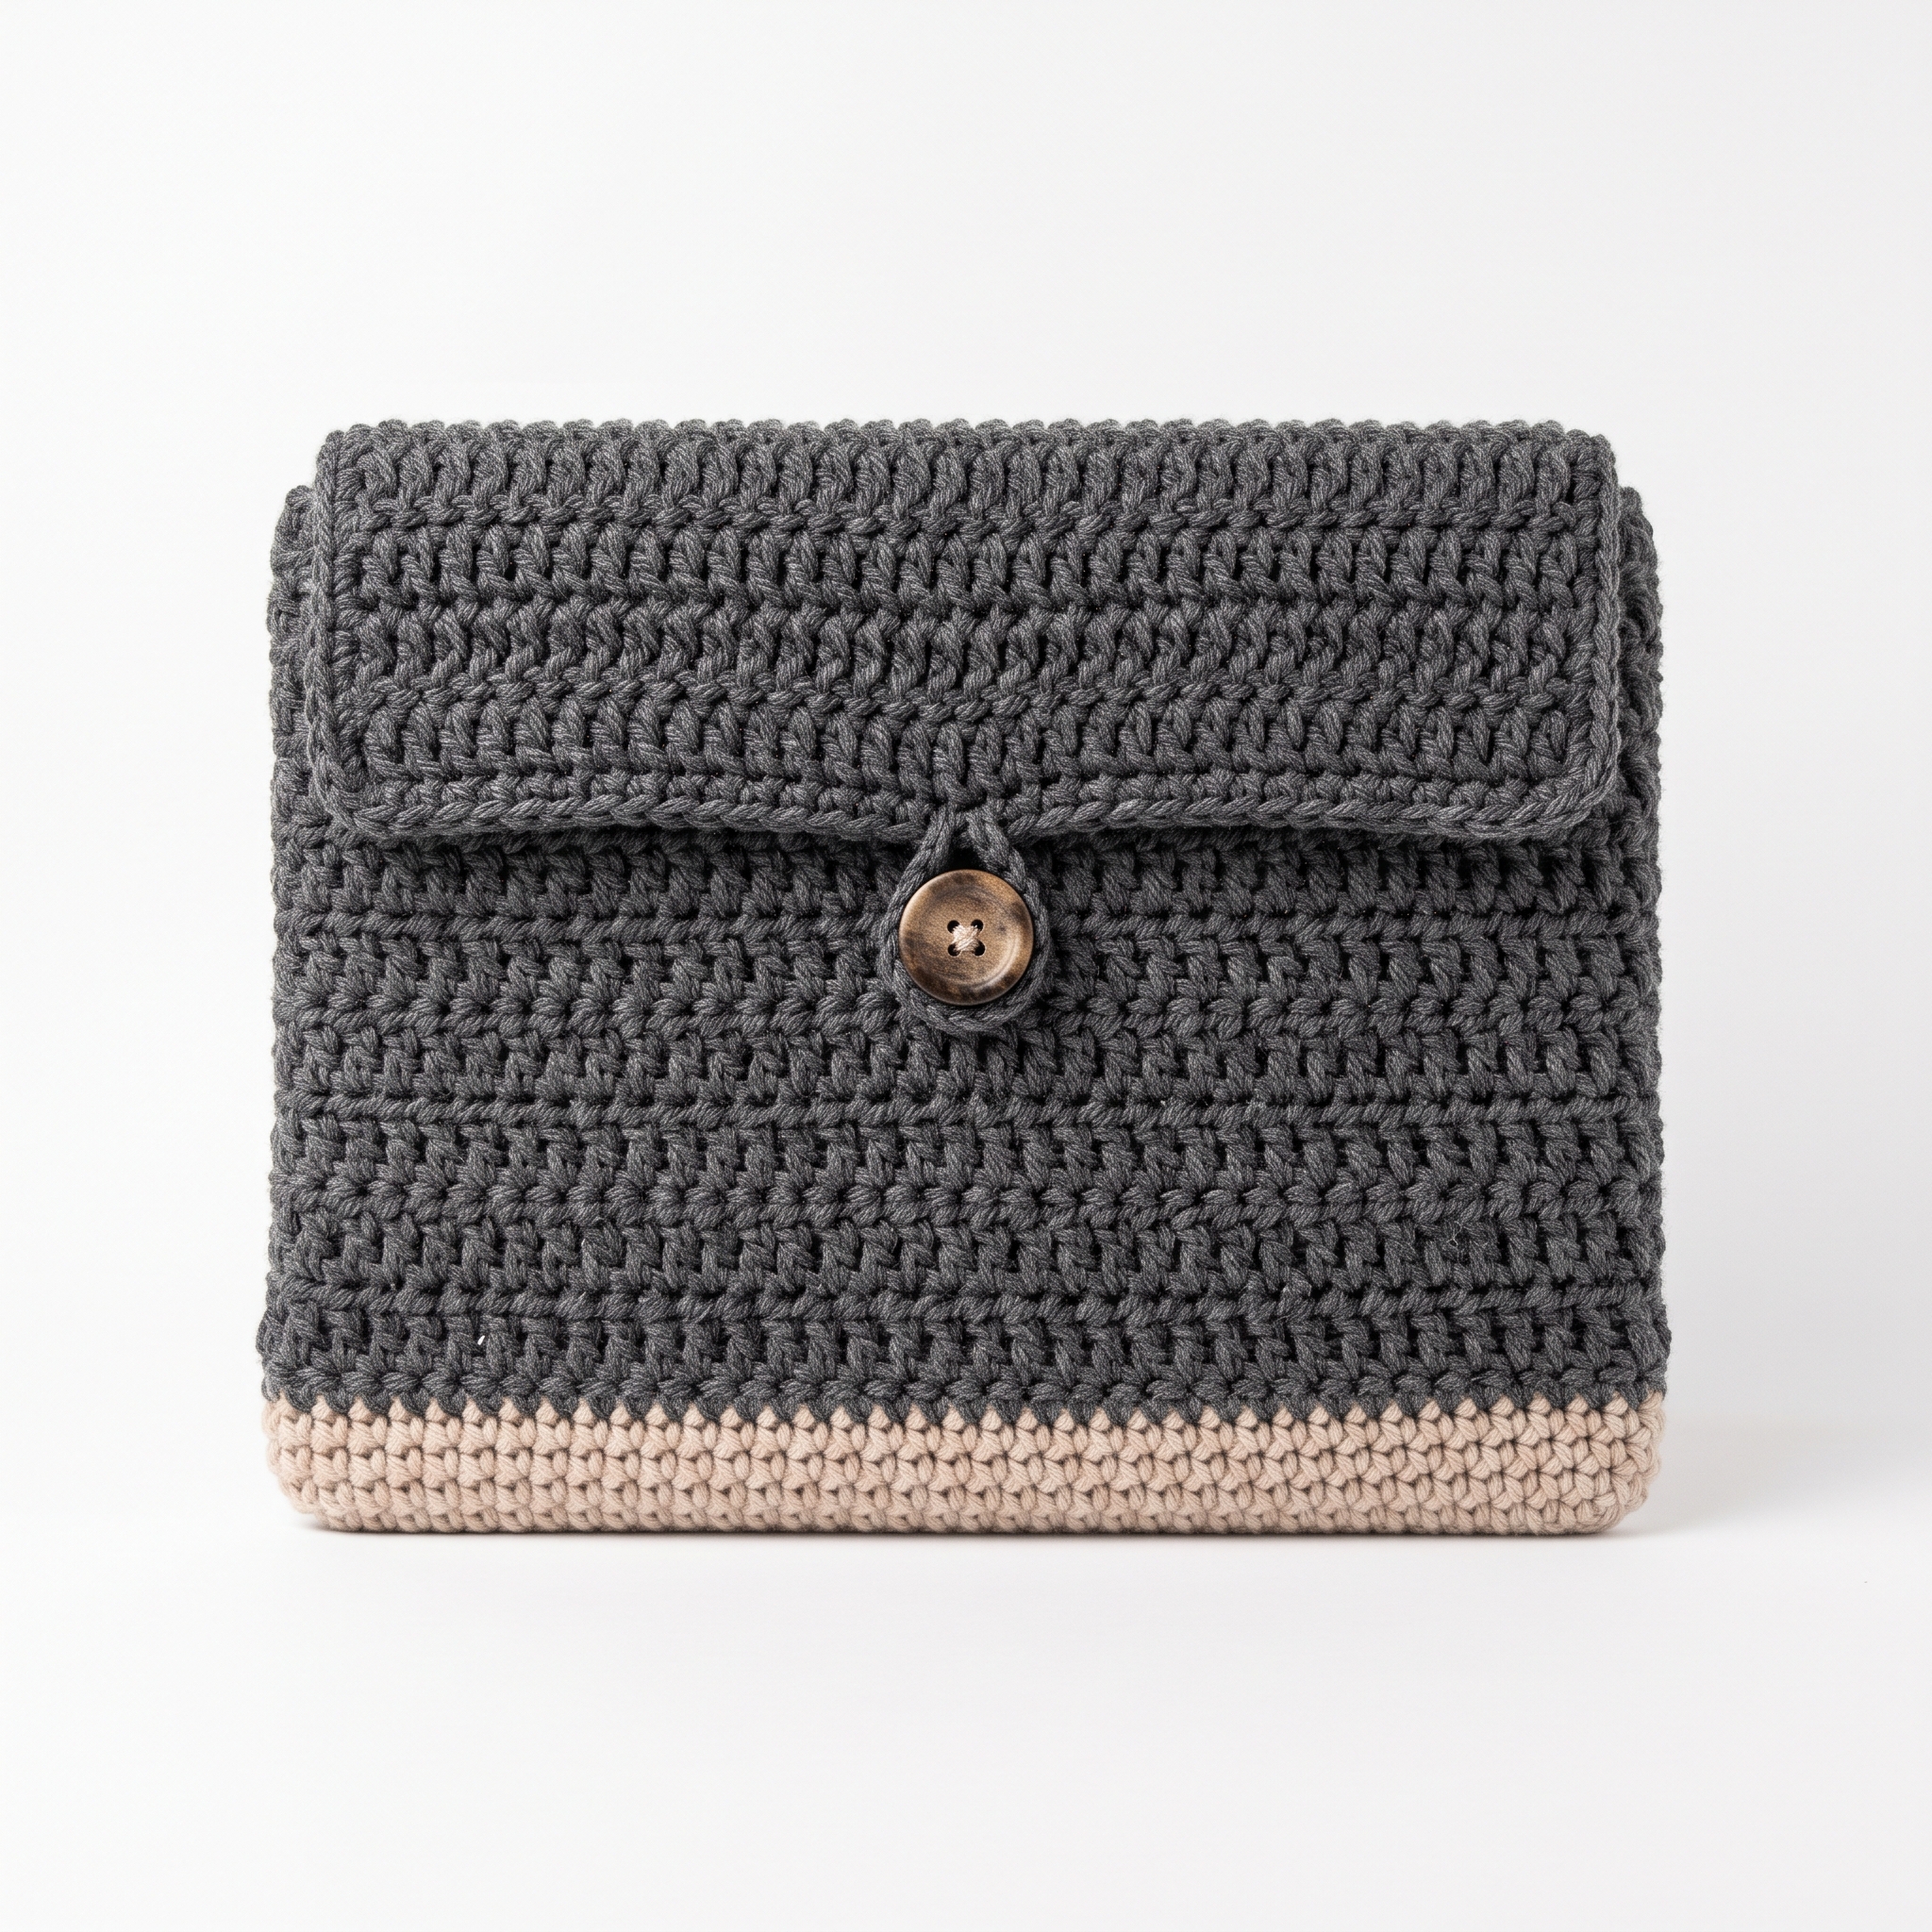
This crochet padded laptop sleeve pattern makes a stylish and protective cover for your device, featuring a secure button flap closure. It's designed to accommodate laptops sized 15–16 inches and is both practical and fun to create. You'll be working primarily with double crochet and single crochet stitches, making it a great project to build your skills.
This pattern is perfect for beginners who want to practice basic crochet skills while creating something useful. As you follow along, you'll gain confidence in your stitching and learn to assemble different parts into a finished product.
Why You'll Love This Padded Laptop Sleeve
- Quick to complete – with an estimated total time of around 4 hours, you can have a functional sleeve ready in no time.
- Practical design – not only does it protect your laptop, but it also adds a touch of style with customizable colors.
- Great for gifting – this laptop sleeve is a thoughtful present for students or professionals alike.
- Simple techniques – you'll improve your skills in double crochet and assembly, enhancing your crochet repertoire.
Is This Pattern Good for Beginners?
Yes! This pattern focuses on basic stitches and simple construction techniques, making it approachable for beginner crocheters. By the end of the project, you'll feel more confident in your crochet abilities.
Crochet Abbreviations (US Terms)
- ch – chain
- dc – double crochet
- sc – single crochet
- sl st – slip stitch
- st(s) – stitch(es)
Size and Gauge
- Finished dimensions: approximately 16 inches (40.6 cm) wide and 12 inches (30.5 cm) high.
- Gauge: 14 dc and 8 rows = 4 inches (10 cm).
To ensure your sleeve fits properly, it's important to check your gauge. If your piece doesn't match, adjust your hook size and re-check.
How to Crochet a Padded Laptop Sleeve (Step by Step)
Step 1: Body of the Sleeve
The body is worked in rows, starting with a foundation chain.
- Foundation Row: Ch 66.
- Row 1: Dc in the 4th ch from hook (this counts as your first dc), dc in each ch across. (64 dc)
- Rows 2–24: Ch 3 (this counts as 1 dc), turn, dc in each st across. (64 dc)
- Row 25: Ch 1, turn, sc in each st across for the border. (64 sc)
Step 2: Flap
The flap provides a closure for your sleeve. 5. Row 26: Ch 66, sc in the 2nd ch from hook and each ch across. (65 sc) 6. Row 27: Ch 3, turn, dc in each st across. (65 dc) 7. Rows 28–30: Repeat Row 27 for 3 more rows. 8. Row 31: Ch 1, turn, sc in each st across. (65 sc)
Step 3: Assembly of the Sleeve
Now we piece everything together. 9. Fold the body of the sleeve in half, aligning the short edges, and mark the corners for stitching. 10. Using a tapestry needle and matching yarn, sew the side seams from the bottom up to the flap line (about 12 inches high), leaving the top open for laptop insertion. 11. Carefully insert the foam padding into the sleeve. 12. Fold the flap over to ensure it covers the opening securely.
Step 4: Button Attachment
This adds a nice finishing touch. 13. Position the button at the end of the flap, marking where it attaches. 14. Sew the button onto the flap using the matching sewing thread, ensuring it's secure.
Assembly & Finishing
- Make sure all ends are woven in securely.
- Block the sleeve if necessary to shape it correctly, but be careful not to flatten the padding.
Beginner Tips for a Great Padded Laptop Sleeve
- Use stitch markers to help keep track of your rows.
- Take your time when sewing the sides to avoid any misalignments.
- Don't hesitate to experiment with color combinations for a unique touch.
Common Mistakes (and How to Fix Them)
- "My stitches are too tight." This can happen if you're nervous or using the wrong hook size. Try relaxing or switching to a larger hook.
- "The shape looks off." This might indicate uneven tension in your stitches. Count your stitches each row to ensure accuracy.
- "My seams are not straight." If your seams are wavy, make sure to fold the fabric evenly before sewing.
How to Care for Your Padded Laptop Sleeve
Hand wash in cold water and lay flat to dry. Avoid using bleach and do not iron to maintain the integrity of the foam padding.
FAQ
Can I use a different yarn?
Yes, you can use any worsted weight yarn. Just be sure to check your gauge for a proper fit.
How do I adjust the size for a different laptop?
To modify the size, increase or decrease your foundation chain in multiples of your gauge, ensuring a snug fit for your laptop.
How long does it take to finish?
The total estimated time is around 4 hours, depending on your crochet speed.
Looking for more? Check out our cozy collection of laptop sleeve patterns.
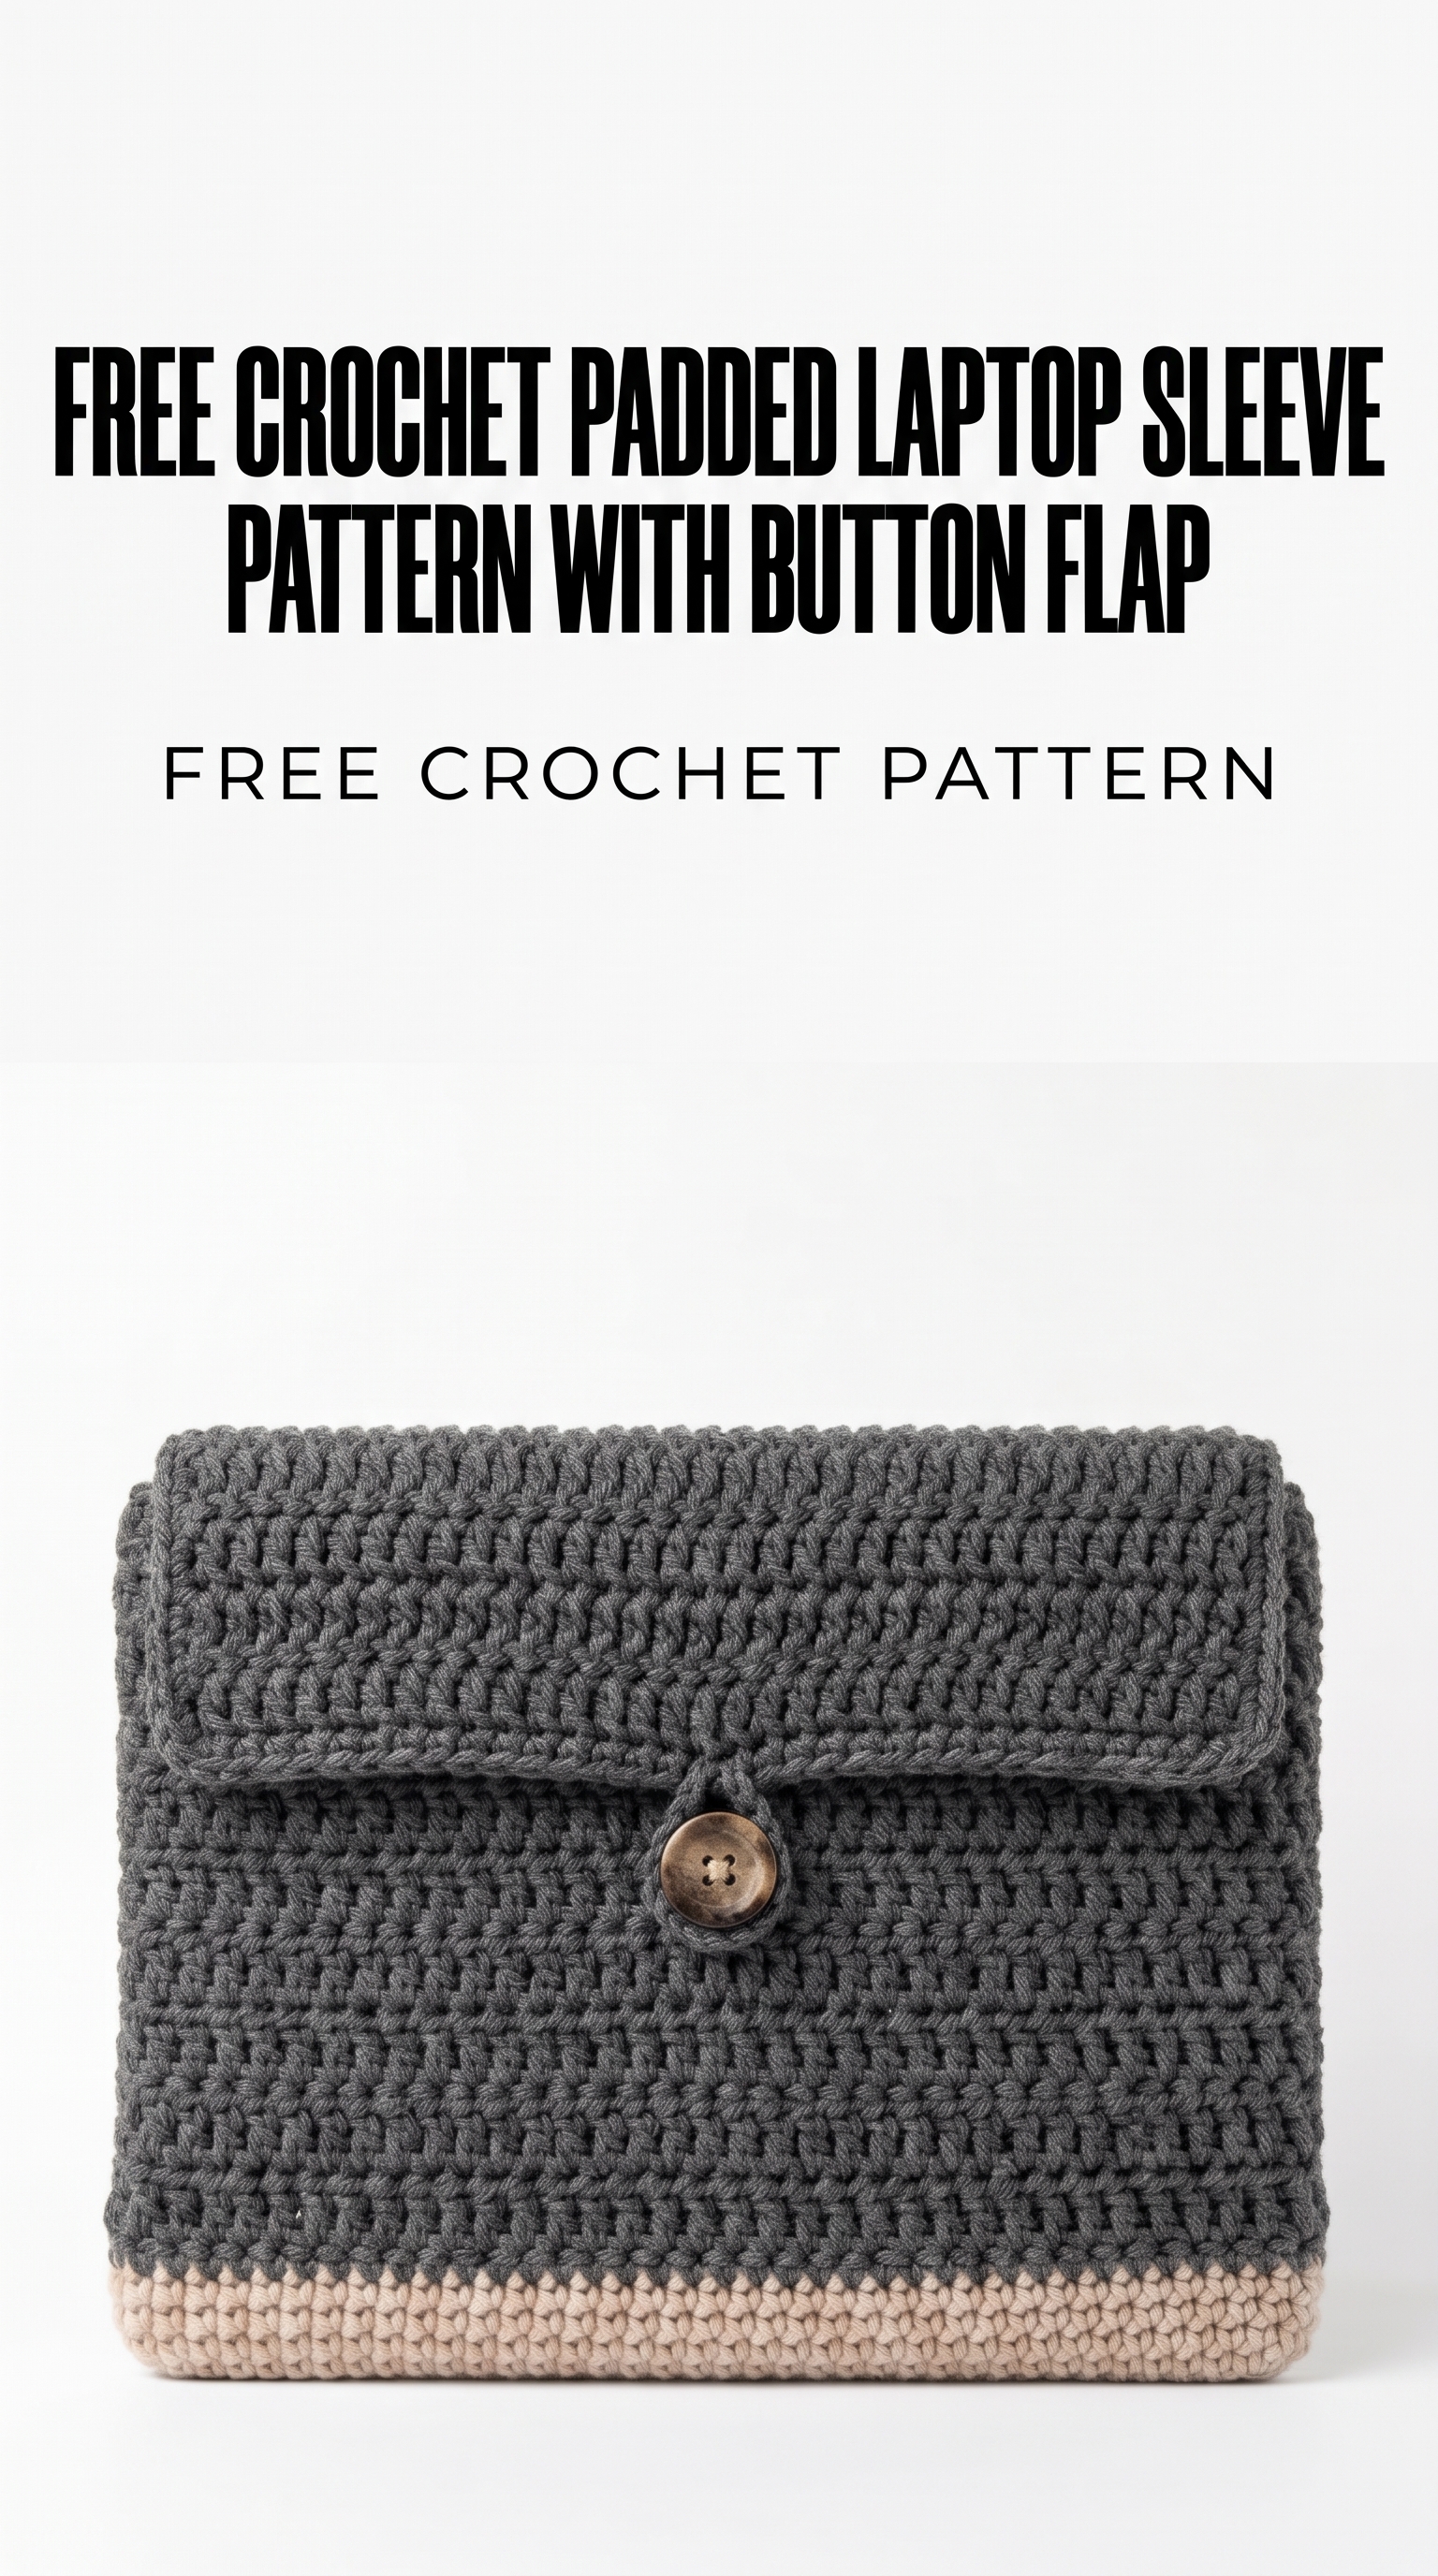
Image shown for inspiration — your finished result may vary slightly.