Crochet Pillow Cover Pattern (Free)
A free, beginner-friendly pattern that clearly guides you through the steps.
Published October 7, 2026 · by Emma
- Skill level
- Beginner
- Yarn weight
- Worsted (4)
- Hook size
- 5.5 mm (I)
- Time
- approximately 4 hours
- Gauge
- 10 stitches and 12 rows = 10 cm
- Yardage
- approximately 280 yards
- Sizes
- 18 × 18 in (45 × 45 cm)
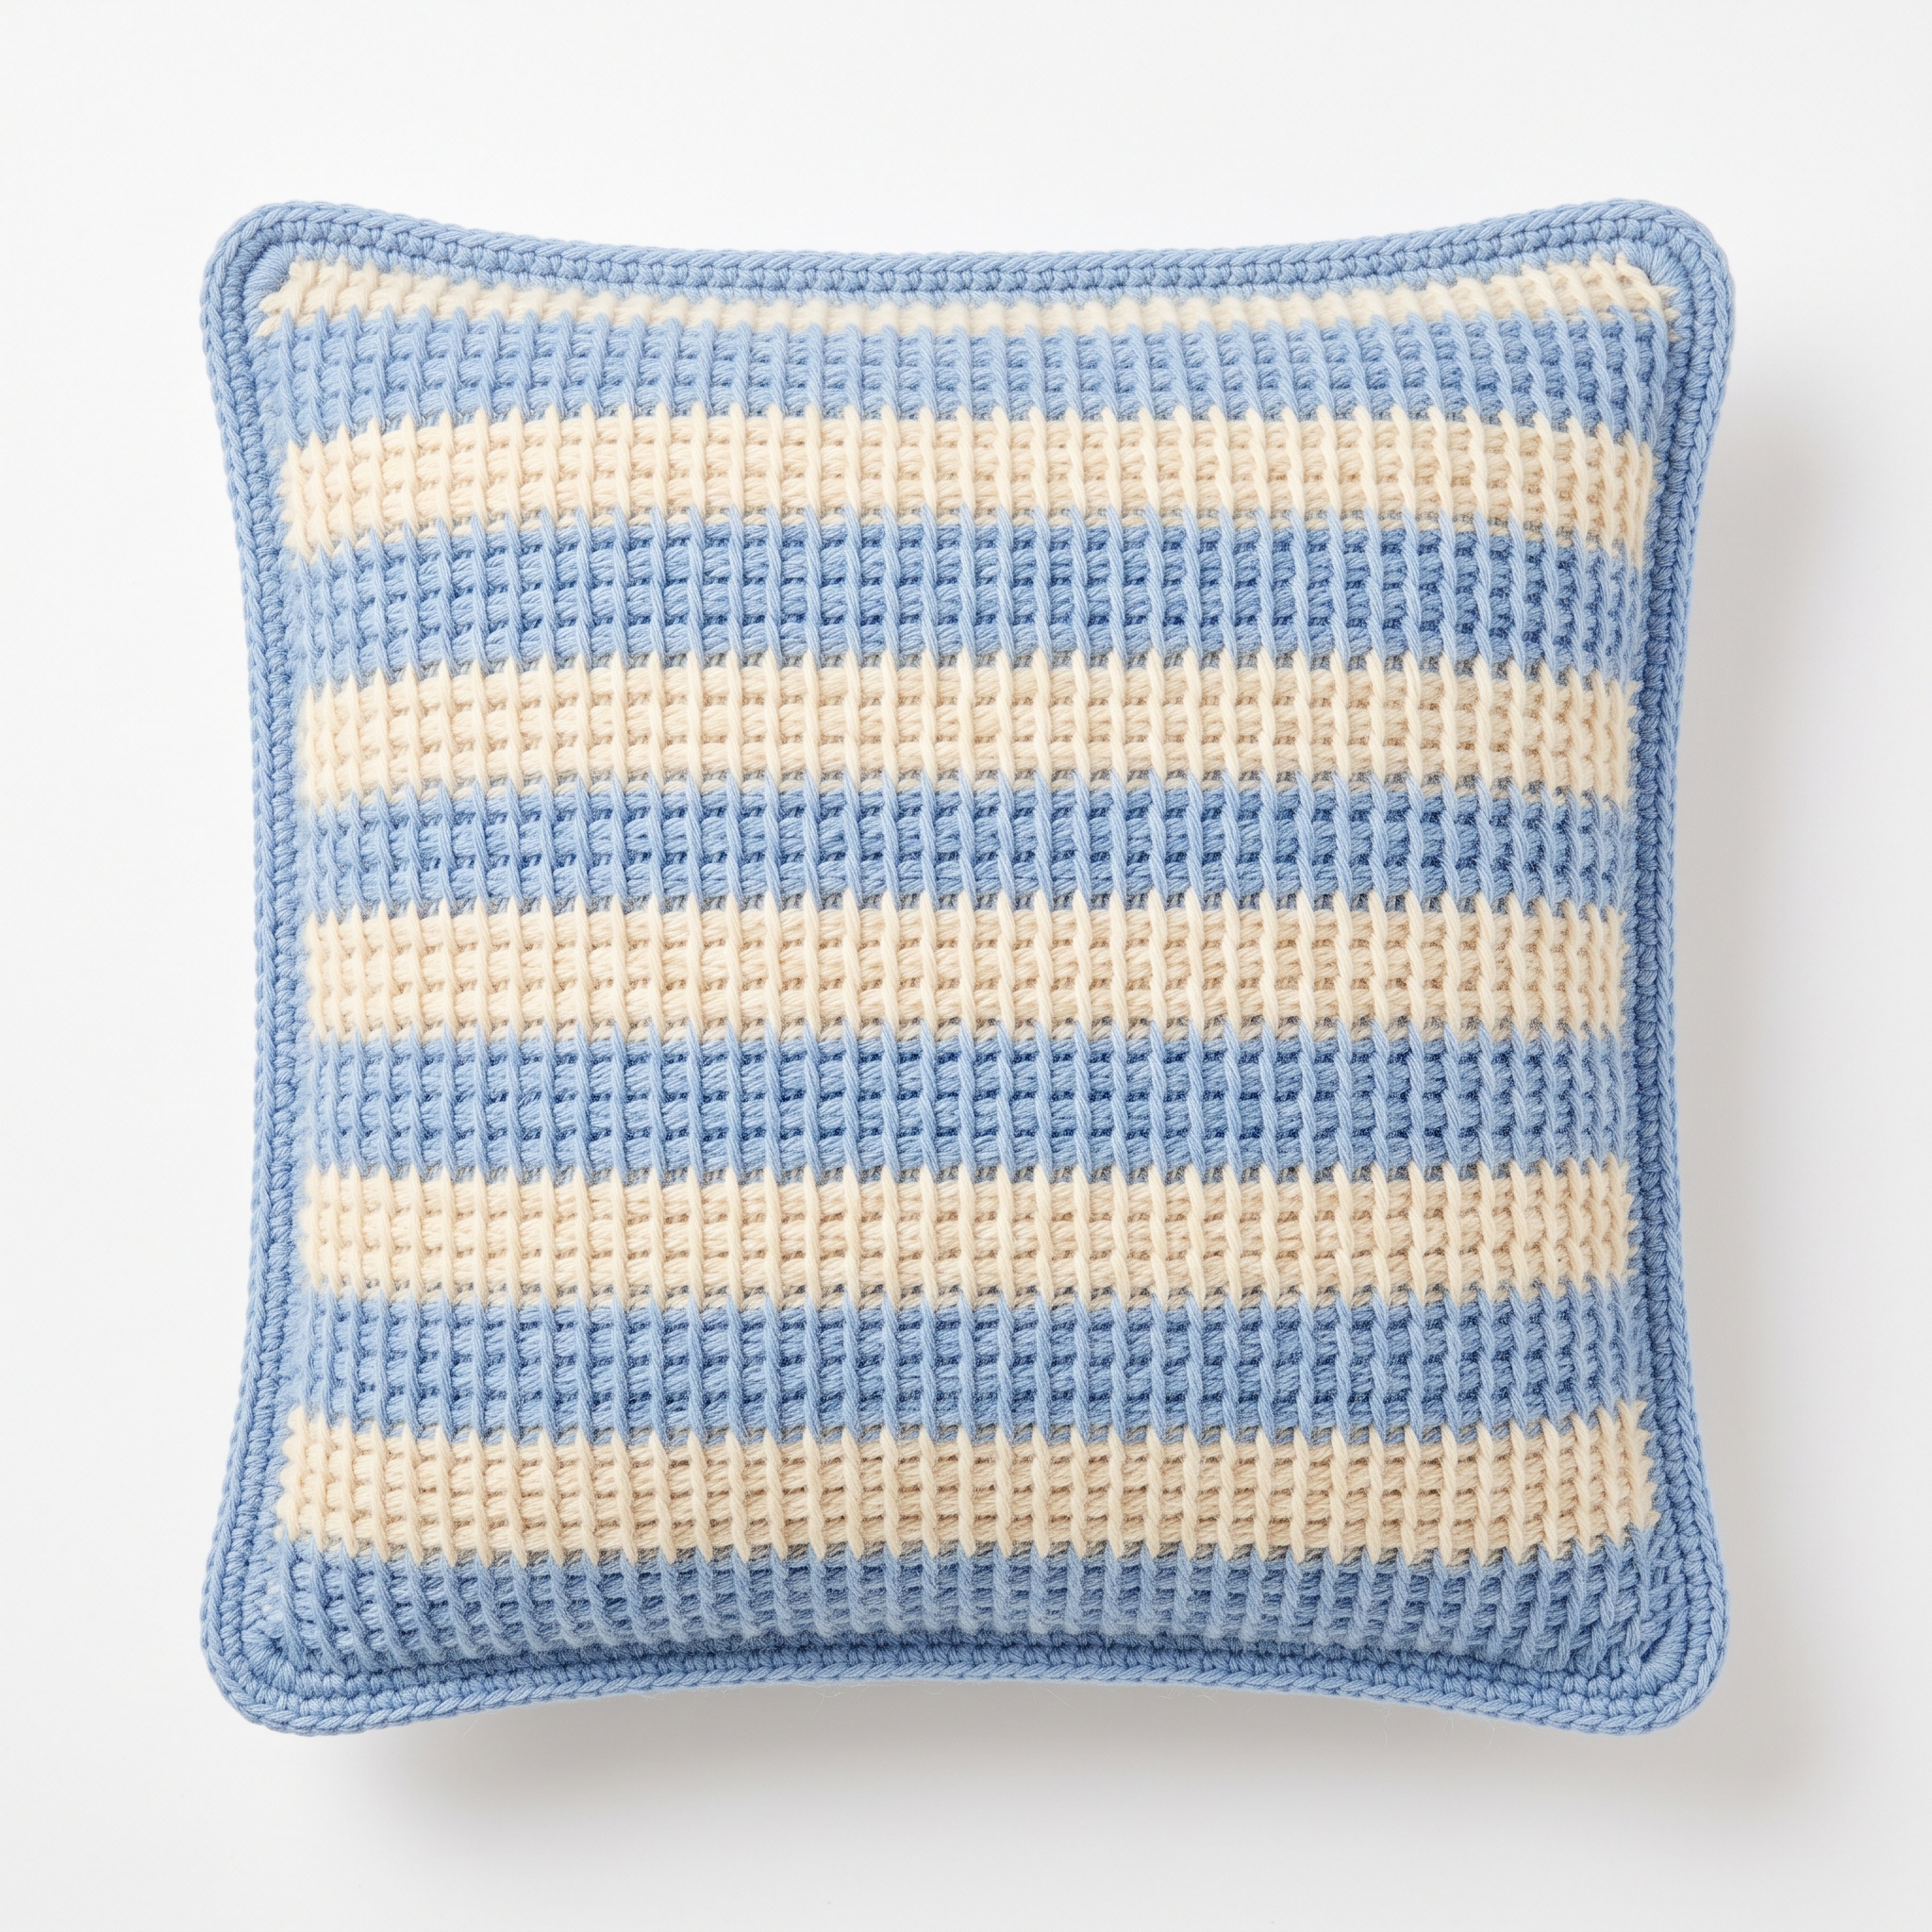
This crochet Tunisian pillow cover pattern makes a stylish and comfortable accessory that adds a pop of color to any room. Designed for beginners, it features simple stitches and easy-to-follow instructions, making it accessible for those new to Tunisian crochet.
By completing this project, you will explore the fundamentals of Tunisian crochet while creating a beautiful pillow cover that suits your home decor.
Why You'll Love This Pillow Cover
- Stylish design – this pillow cover adds color and texture to your room.
- Perfect for beginners – learn basic Tunisian crochet techniques with clear instructions.
- Quick to make – you can complete it in about 4 hours.
- Customizable – experiment with colors and designs to make it uniquely yours.
Is This Pattern Good for Beginners?
Yes! This pattern is beginner-friendly. You'll learn the Tunisian simple stitch and how to change colors while achieving a lovely finished product.
Crochet Abbreviations (US Terms)
- ch – chain
- st – stitch
- tss – Tunisian simple stitch
- Return Row – the row worked to return your stitches to the front of the work
Size and Gauge
- Finished dimensions: 18 in × 18 in (45 cm × 45 cm)
- Gauge: 10 stitches and 12 rows = 4 in (10 cm) in Tunisian simple stitch
- To ensure the right fit, check your gauge by crocheting a small swatch.
How to Crochet a Pillow Cover (Step by Step)
The body is worked in rows, starting with the foundation.
Part 1: Foundation and Body
- Foundation Row: Ch 22 with Color A. Pull up a loop in the 2nd ch from the hook and each ch across (21 loops on the hook).
- Return Row: Yarn over and pull through 1 loop (1 ch). Yarn over, pull through 2 loops repeat until 1 loop remains on the hook. (21 sts)
- Change to Color B.
- Row 1: With Color B, tss across, ending with 21 loops.
- Return Row: Yarn over and pull through 1 loop, then yarn over, pull through 2 loops across. (21 sts)
- Repeat Rows 4–5, alternating between Color A and Color B until the piece measures 18 in (45 cm) in height.
- Finish with a Return Row using Color A.
Part 2: Edging
- Edging Row: With Color A, ch 1, and work 1 sc into each edge row around (including corners: 3 sc in each corner). Join with a slip stitch to the first sc.
Finishing Instructions
- Weave in all ends using a tapestry needle.
- Place the pillow form inside the cover.
- Optional: Add buttons or ties for closure.
Beginner Tips for a Great Pillow Cover
- Use the recommended yarn weight for the best results.
- Count your stitches regularly to keep your work even.
- Keep a consistent tension for a professional look.
Common Mistakes (and How to Fix Them)
- My stitches are uneven. – This can happen if your tension varies. Try to keep it consistent, especially when switching colors.
- The cover is too small. – Double-check your gauge. If it doesn't match, adjust your hook size.
- I'm having trouble with color changes. – Practice switching colors in a swatch first until you feel comfortable.
How to Care for Your Pillow Cover
To keep your pillow cover looking nice, hand wash in cold water and lay it flat to dry.
FAQ
Can I use a different yarn?
Yes, you can experiment with different yarns. Just be aware that it may affect the gauge and finished size.
How do I change colors?
To change colors, finish the last stitch of the previous row with the new color in place of the old one during the return row.
Can I make this larger or smaller?
Absolutely! Adjust the foundation chain to change the width and modify the number of rows for the height.
Looking for more? Check out our cozy collection of pillow cover patterns.
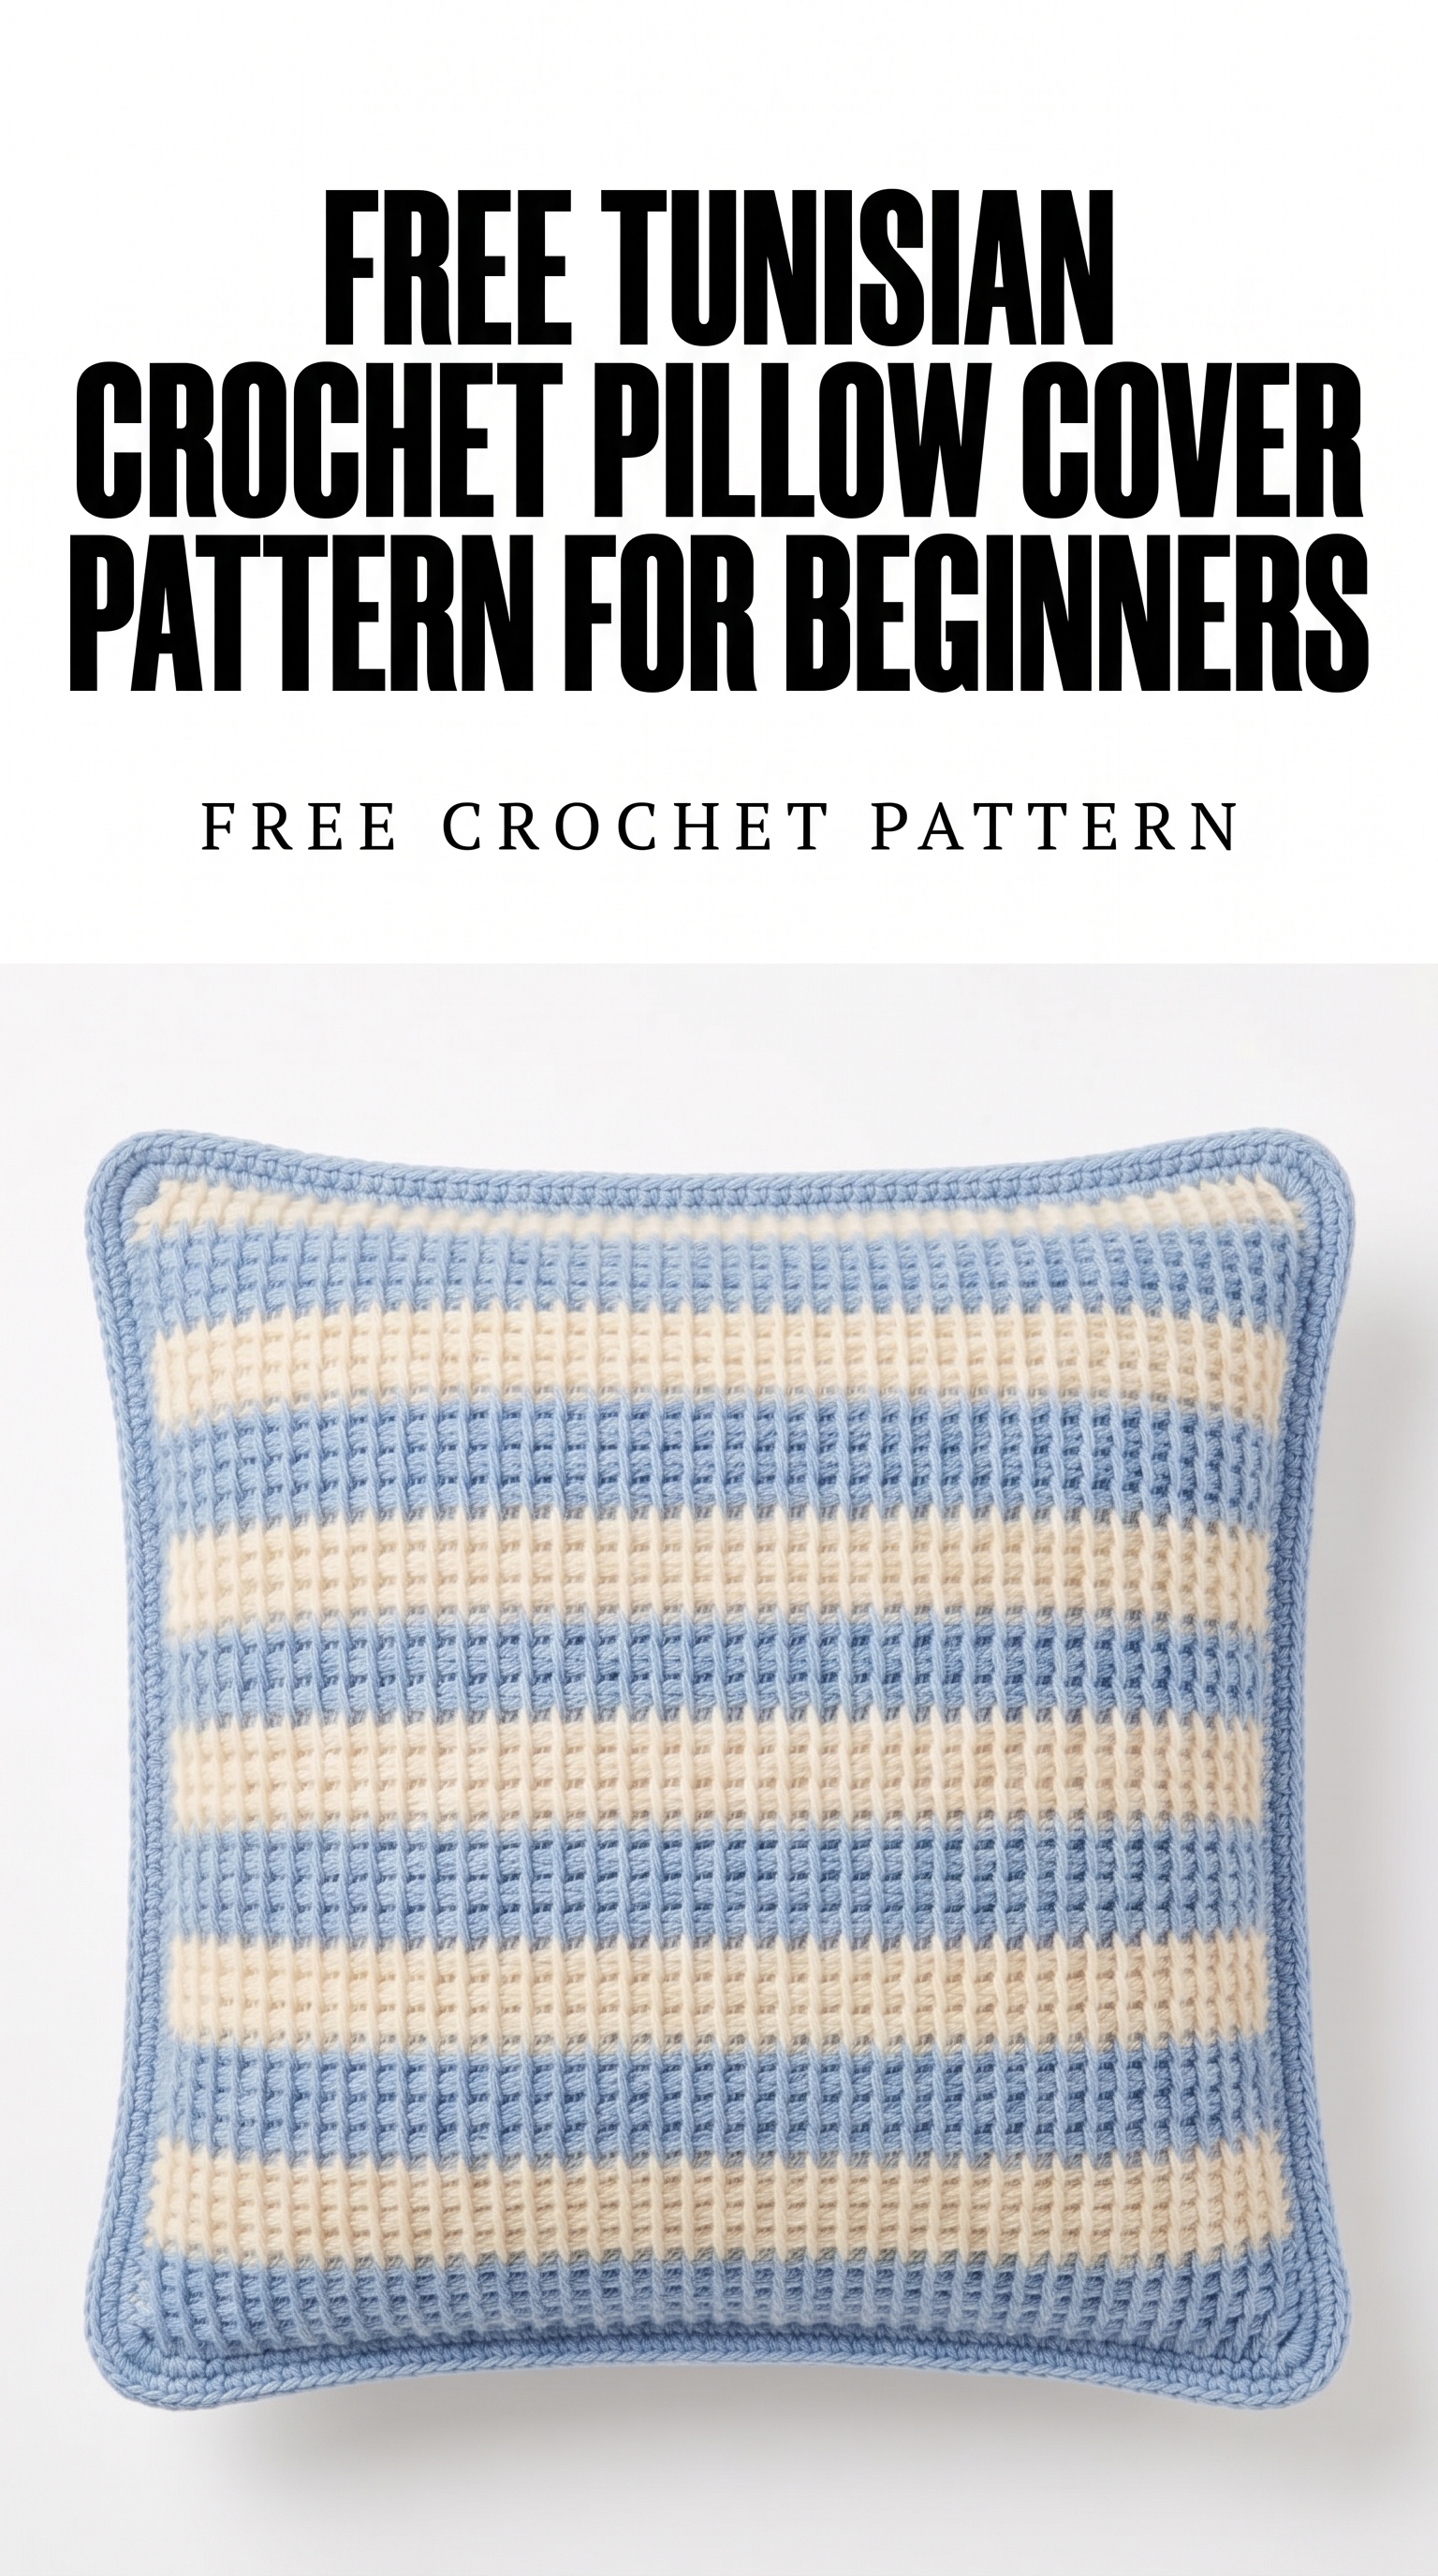
Image shown for inspiration — your finished result may vary slightly.