Crochet Potholder Pattern (Free)
A free, beginner-friendly pattern that clearly guides you through the steps.
Published October 7, 2026 · by Emma
- Skill level
- Beginner
- Yarn weight
- Worsted (4)
- Hook size
- 5 mm (H-8)
- Time
- 2-3 hours
- Gauge
- 12 sts and 12 rows = 10 cm
- Yardage
- about 183 m
- Sizes
- 20 × 20 cm (8 × 8 in)
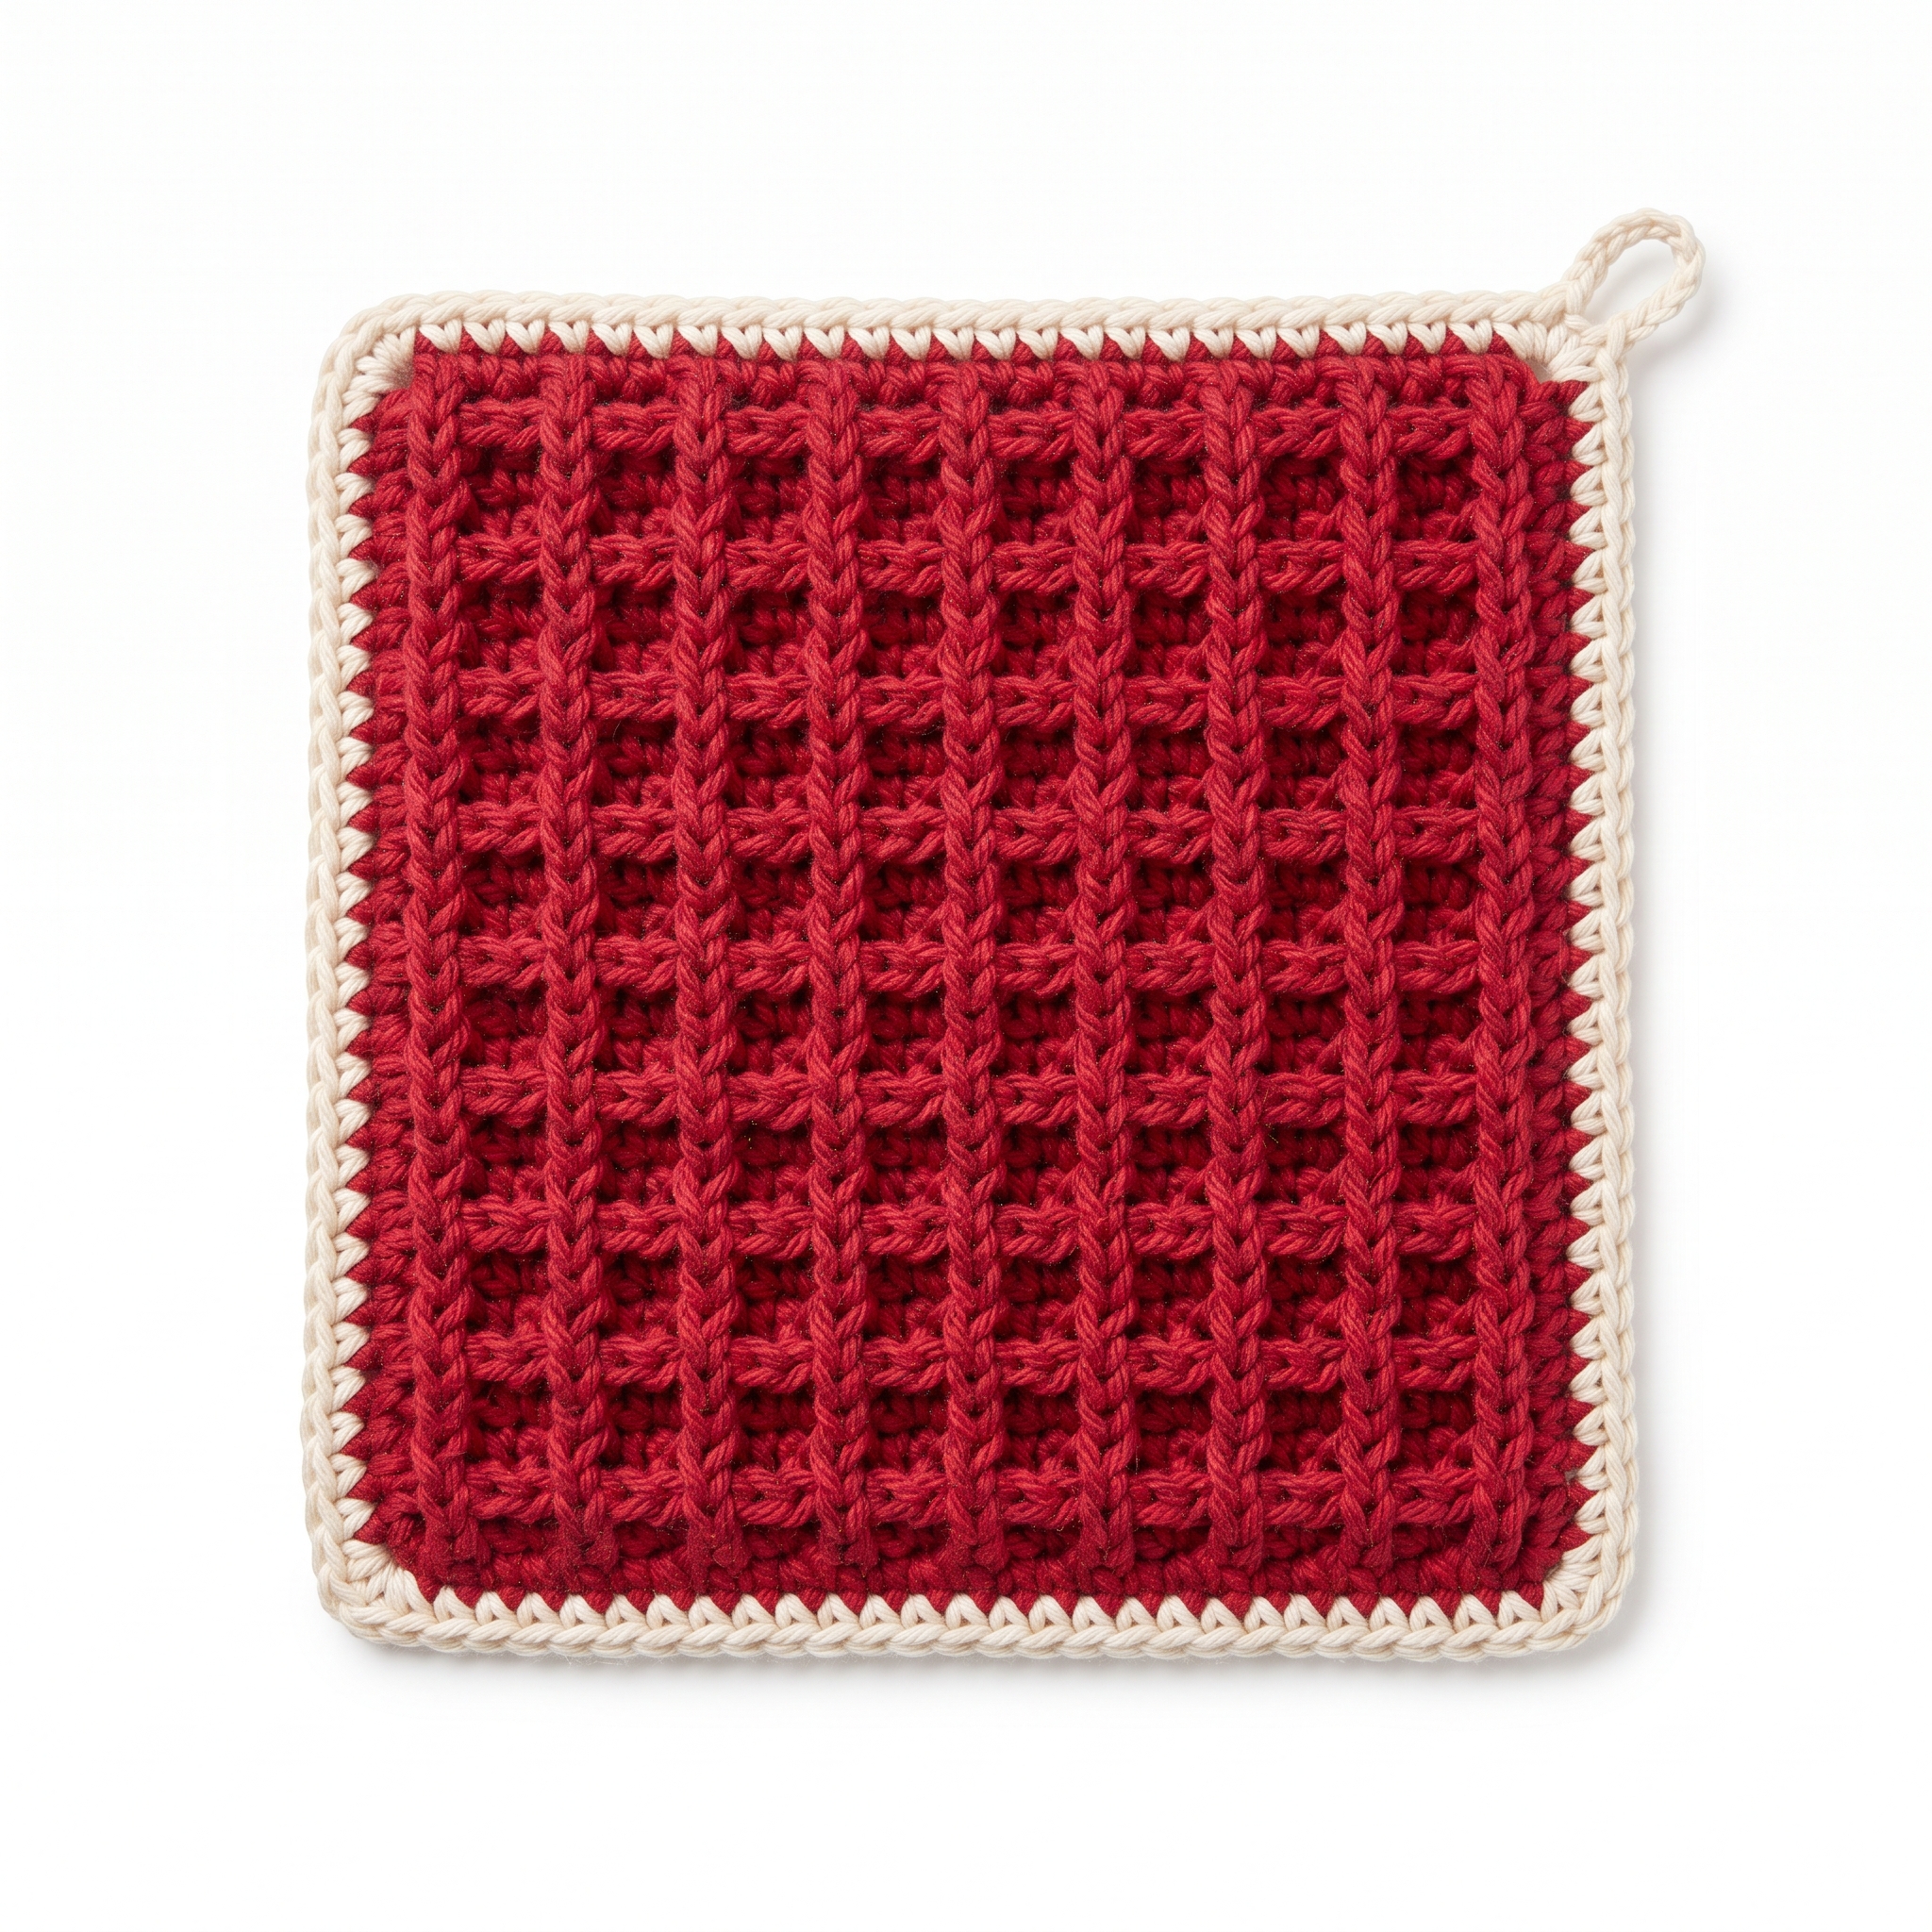
This crochet potholder pattern makes a wonderfully thick and functional kitchen accessory using the waffle stitch. The textured appearance not only adds style but provides excellent thermal insulation, making it perfect for handling hot pots and pans. Plus, it's enjoyable to create as you learn and practice your stitches.
This friendly project is great for beginners looking to build their skills while producing a practical item. By making this potholder, you will gain confidence in working with the waffle stitch, as well as improving your ability to follow a crochet pattern.
Why You'll Love This Potholder
- Thick and Insulating – The waffle stitch design offers great protection from heat.
- Quick to Make – Complete this potholder in 2–3 hours, making it ideal for quick gifts.
- Stylish Touch – The texture and optional color contrast elevate your kitchen decor.
- Versatile Design – Use any color scheme to match your personal style or kitchen theme.
Is This Pattern Good for Beginners?
Yes! The potholder uses simple stitches and a repeatable pattern. You'll quickly find that the waffle stitch is both enjoyable and satisfying to create as you watch your project come to life.
Crochet Abbreviations (US Terms)
- ch – chain
- sc – single crochet
- dc – double crochet
- st(s) – stitch(es)
- sk – skip
- sl st – slip stitch
Waffle Stitch:
- Row 1: (Foundation Row) ch an even number + 2. Starting in the 3rd ch from hook, dc in next ch, sc in next ch; repeat from * to * across. Turn.
- Row 2: ch 2, sc in next dc, dc in next sc; repeat from * to * across. Turn.
- Repeat Row 2 for waffle pattern.
Size and Gauge
- Finished size: 20 cm (8 in) square
- Gauge: 12 sts and 12 rows = 10 cm (4 in) in waffle stitch pattern.
- To check gauge, crochet a 10 cm × 10 cm (4 in × 4 in) swatch. Adjust your hook size as needed.
How to Crochet the Potholder (Step by Step)
The potholder is worked in rows, forming a square shape through the waffle stitch pattern.
Base:
- Ch 34 (33 + 1 for turning).
- Row 1: In the 3rd ch from the hook, dc, sc in next ch, dc in next ch across to the end. (33 sts)
- Row 2: Ch 2, sc in next dc, dc in next sc across to the end. (33 sts)
- Repeat Row 2 for a total of 16 rows, or until the piece measures 20 cm (8 in) square. You should end with Row 2.
Assembly & Finishing
If using cotton batting, place it between two layers of the waffle stitch piece and pin in place.
For an optional edging in Cream, join the contrast color at any corner:
- Round 1: Ch 1, sc evenly around the potholder, placing 3 sc in each corner stitch to maintain the shape. Join with a sl st.
Weave in all ends using the tapestry needle.
Block the potholder if necessary to ensure edges are straight.
Beginner Tips for a Great Potholder
- Use a stitch marker to mark the beginning of your rows, so you don’t lose track.
- Count your stitches after each row to make sure you don't accidentally add or skip any.
- Don't worry if it takes time to get the waffle stitch right; practice will make it easier!
Common Mistakes (and How to Fix Them)
- My stitches are too tight. – This may be due to using too small of a hook. Try a larger hook for a looser gauge.
- The shape looks off. – Ensure your stitch counts are accurate and keep your rows even as you crochet.
- It seems too small. – Check your gauge and adjust if necessary, or add more rows to reach the desired size.
How to Care for Your Potholder
To keep your potholder looking great, wash it in cold water and lay it flat to dry. Avoid fabric softeners, as they can reduce absorbency.
FAQ
Can I use a different yarn?
Yes! You can use any worsted weight (Category 4) cotton yarn. Just be sure to check your gauge for the best results.
How do I get my potholder to be thicker?
For a thicker potholder, consider using two strands of cotton yarn held together while working the pattern.
How can I change colors mid-project?
You can easily change colors at the end of any row. Just complete your last stitch in the current color and start the next row with your new color.
Looking for more? Check out our cozy collection of potholder patterns.
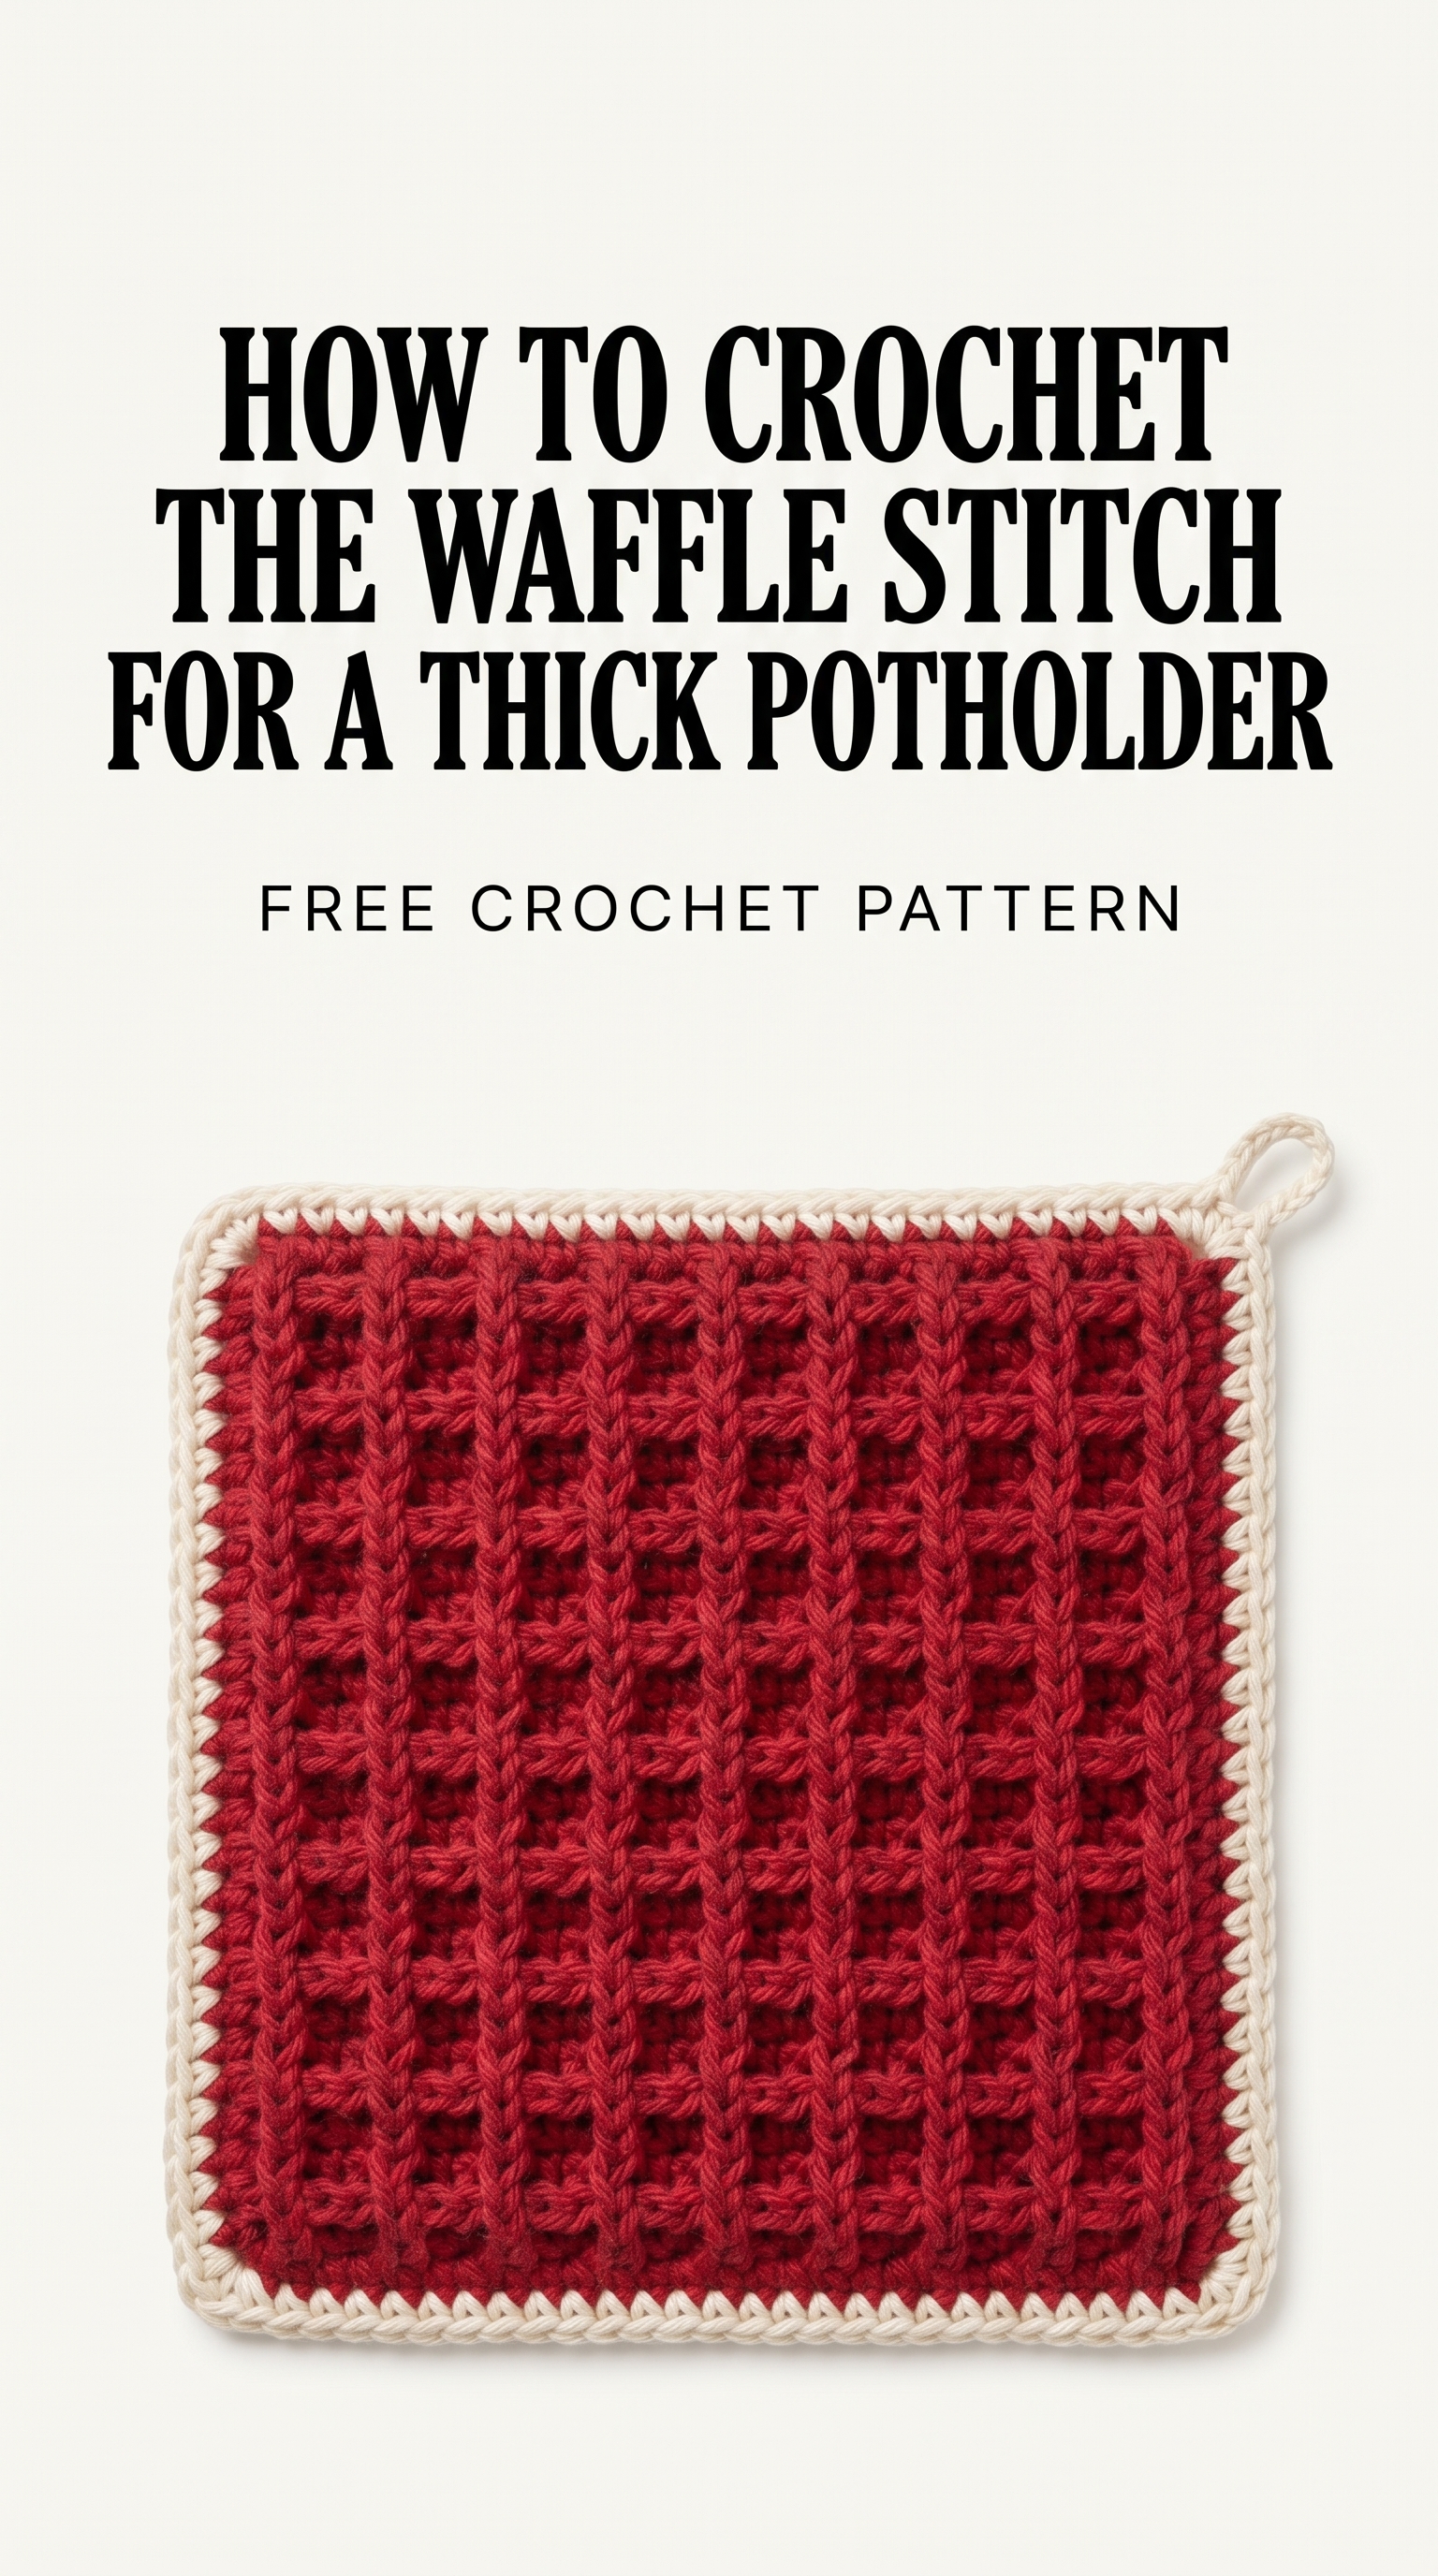
Image shown for inspiration — your finished result may vary slightly.