Crochet Radiator Mitten Drying Basket Pattern (Free)
A free, beginner-friendly pattern that clearly guides you through the steps.
Published October 7, 2026 · by Emma
- Skill level
- Beginner
- Yarn weight
- Worsted (4)
- Hook size
- 5.5 mm (I/9) and 6.0 mm (J/10)
- Time
- 3 hours 15 minutes
- Gauge
- 12 dc and 7 rows = 10 cm (4 in)
- Yardage
- approximately 200 yards (183 meters) for main color, 50 yards (46 meters) for accent color
- Sizes
- 30 × 38 cm (12 × 15 in)
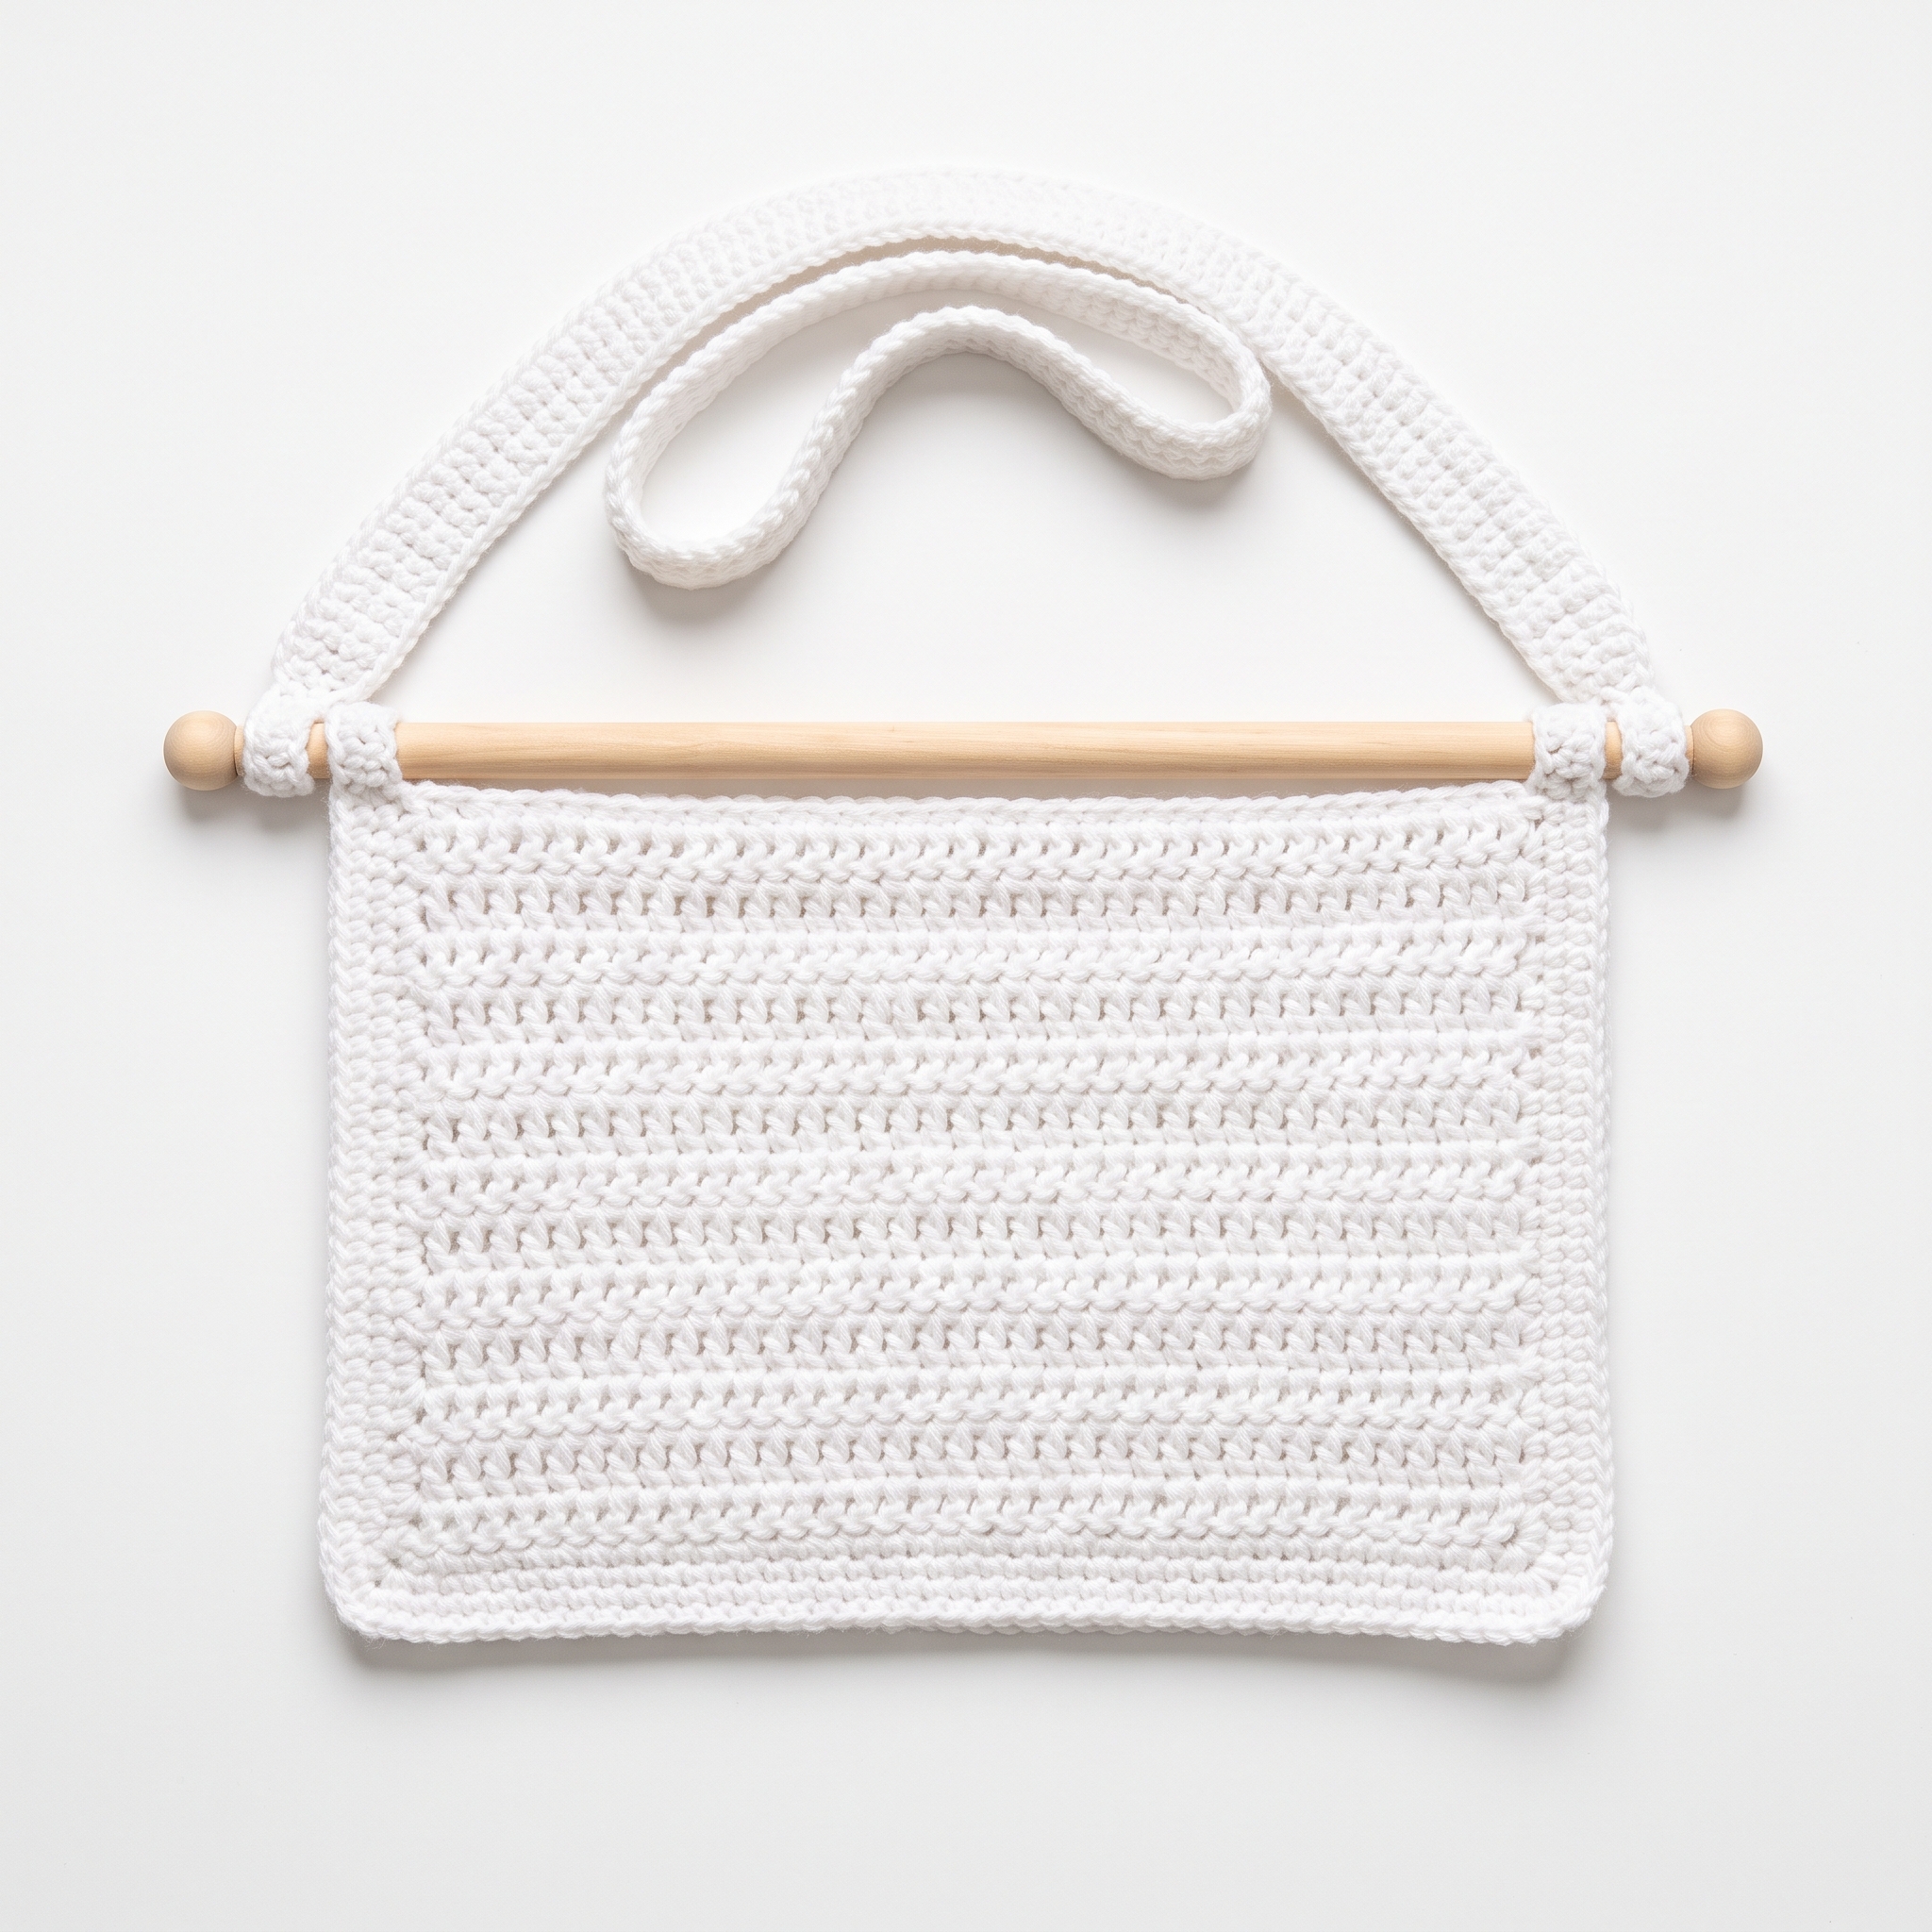
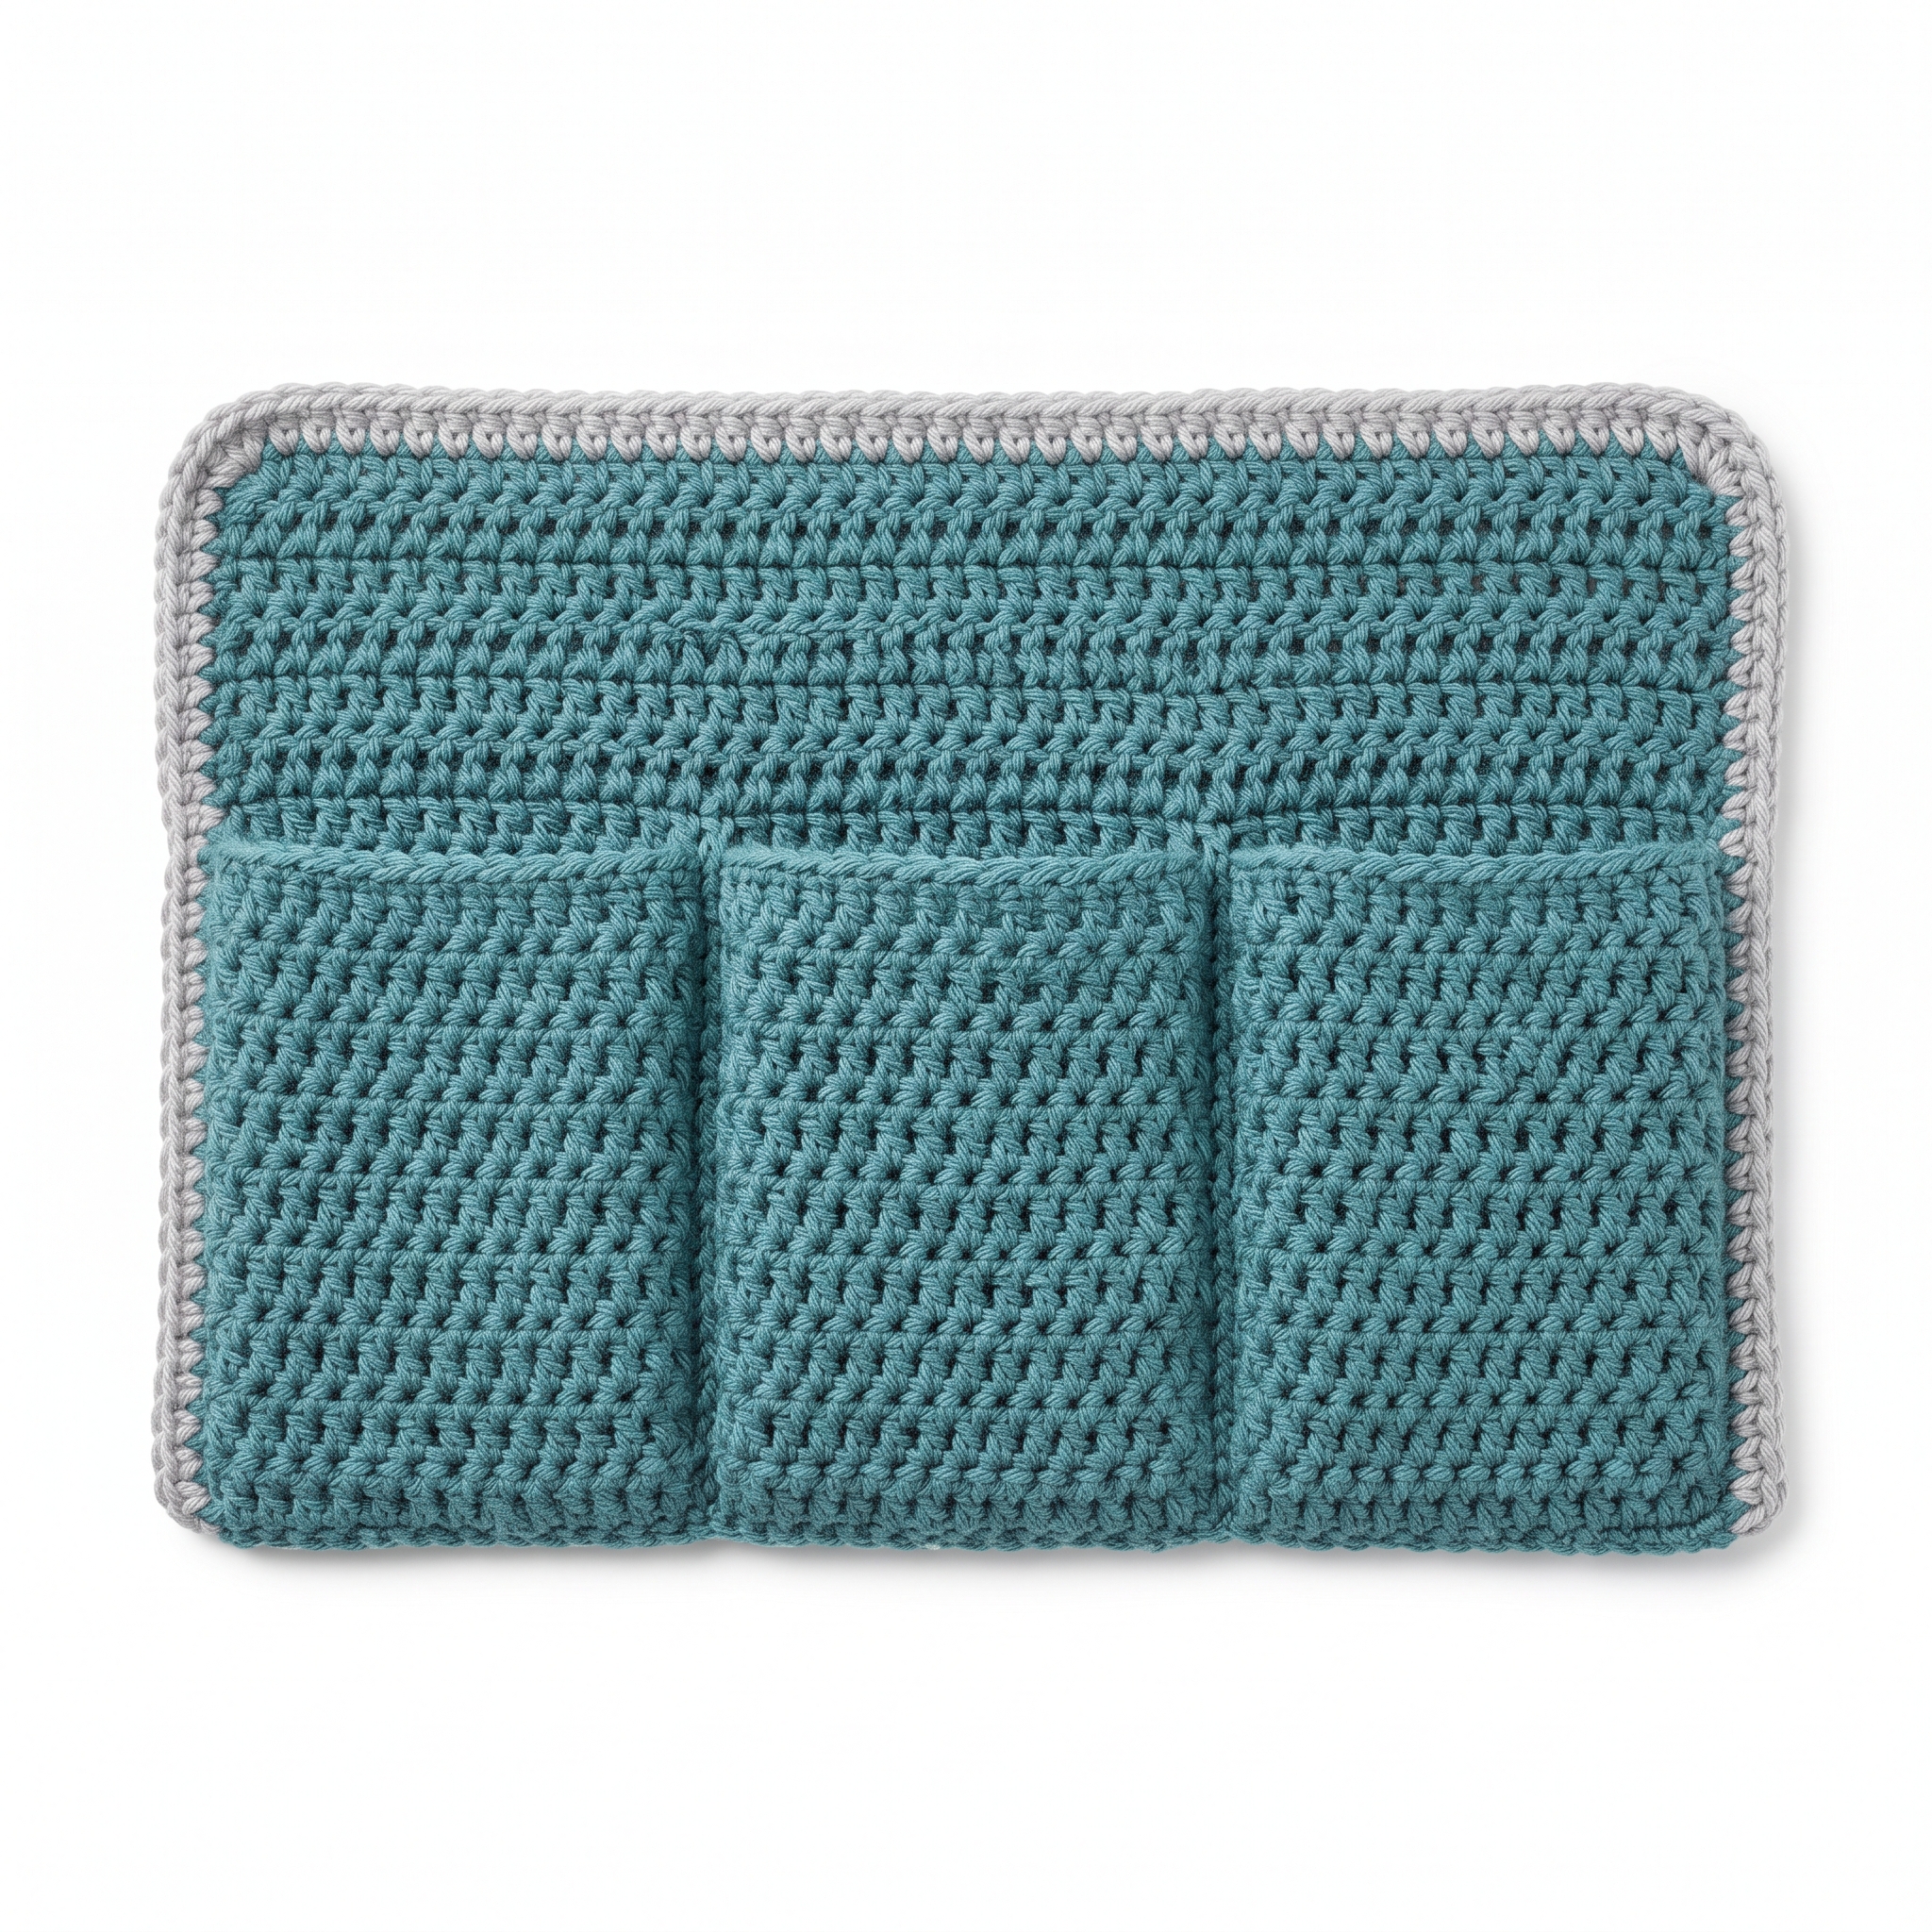
This crochet Radiator Mitten Drying Basket, also known as The Mitten Hammock, is a charming accessory designed to hang on a radiator. It securely holds wet mittens and gloves, allowing them to dry naturally. Making this mitten hammock is a delightful way to keep your winter accessories organized while adding a touch of coziness to your home decor.
This project is perfect for those who want to create a functional item that helps manage winter gear. By completing this pattern, you will enhance your skills in double crochet and learn to work with straps and edging.
Why You'll Love This Mitten Hammock
- Stylish and functional – keep your winter accessories organized and add a cozy touch.
- Easy and quick – perfect for beginners and can be made in just a few hours.
- Customizable – personalize it with different colors and patterns to match your home decor.
- Practical gift – a thoughtful present for friends and family during the colder months.
Is This Pattern Good for Beginners?
Yes! This pattern uses basic crochet stitches and offers a straightforward construction method. You'll gain confidence in your skills while creating a useful item.
Crochet Abbreviations (US Terms)
- ch – chain
- dc – double crochet
- sl st – slip stitch
- sc – single crochet
- st(s) – stitch(es)
Size and Gauge
- Finished Dimensions: Approximately 30 cm (12 in) wide, 38 cm (15 in) tall.
- Gauge: 12 dc and 7 rows = 10 cm (4 in).
To check your gauge, make a swatch of 16 dc for 10 rows. If your gauge does not match, adjust your hook size until you achieve the correct measurement.
How to Crochet a Radiator Mitten Drying Basket (Step by Step)
Part 1: Body of the Mitten Hammock
The body is worked in rows, creating a rectangular piece for the main part of the hammock.
- Foundation Row: Using a 5.5 mm hook, ch 40.
- Row 1: Dc in the 4th ch from hook and in each ch across. (38 dc)
- Row 2: Ch 3 (counts as dc), turn. Dc in each dc across. (38 dc)
- Rows 3–12: Repeat Row 2 for a total of 11 rows (12 rows total). You should have a long rectangular piece measuring approximately 30 cm (12 in) wide by 38 cm (15 in) tall.
Part 2: Edging
Now we’ll add some finishing touches to the edges. 5. Row 1 (Top Edging): Ch 1, sc in each dc across. (38 sc) 6. Row 2 (Corner): Ch 1, sc in the first st, ch 1, turn, sl st to the first sc to make a corner. 7. Row 3 (Bottom Edging): Ch 3, turn. Sc in each sc across. (38 sc)
Part 3: Strap
Next, let’s create the strap for hanging your mitten hammock. 8. Foundation Row for Strap: Ch 8. 9. Row 1: Starting from the 2nd ch from hook, sc in each ch across. (7 sc) 10. Rows 2–15: Ch 1, turn. Sc in each sc across for 14 rows. (Should measure about 30 cm (12 in)) 11. Row 16: Ch 1, sc in each sc across, fasten off.
Part 4: Assembly
It’s time to put everything together! 12. Insert the dowel through the top edge of the body. 13. Attach the strap to both ends of the dowel using sc, securing it tightly. 14. Fold the body in half, ensuring the strap is aligned symmetrically, and sew edges together using sl st or sc.
Assembly & Finishing
- Ensure all sections are securely attached, and the body sits comfortably as a hammock.
- Weave in all ends using a tapestry needle.
- Block the finished piece if necessary to ensure even shape and dimensions.
Beginner Tips for a Great Mitten Hammock
- Use stitch markers to keep track of your rows as you work.
- Check your stitch count at the end of each row to avoid mistakes.
- Remember to maintain even tension throughout to produce a neat finish.
Common Mistakes (and How to Fix Them)
- My stitches are too tight. – This can lead to a stiff product; try relaxing your grip on the yarn.
- I accidentally skipped a stitch. – Count your stitches at the end of each row to catch this early.
- The shape looks off. – Ensure your edges are straight and evenly tensioned when you assemble.
How to Care for Your Mitten Hammock
Hand wash in cold water and lay flat to dry. Avoid machine drying to maintain the shape.
FAQ
Can I use different yarn?
Yes! You can play with different yarn types and colors, but keep in mind that this may affect the size and drape of your basket.
How long will this take to make?
The estimated total working time is around 3 hours and 15 minutes, depending on your crocheting speed.
Can I resize the mitten hammock?
Absolutely! You can adjust the foundation chains and the number of rows to create a basket that suits your needs.
Looking for more? Check out our cozy collection of accessory patterns.
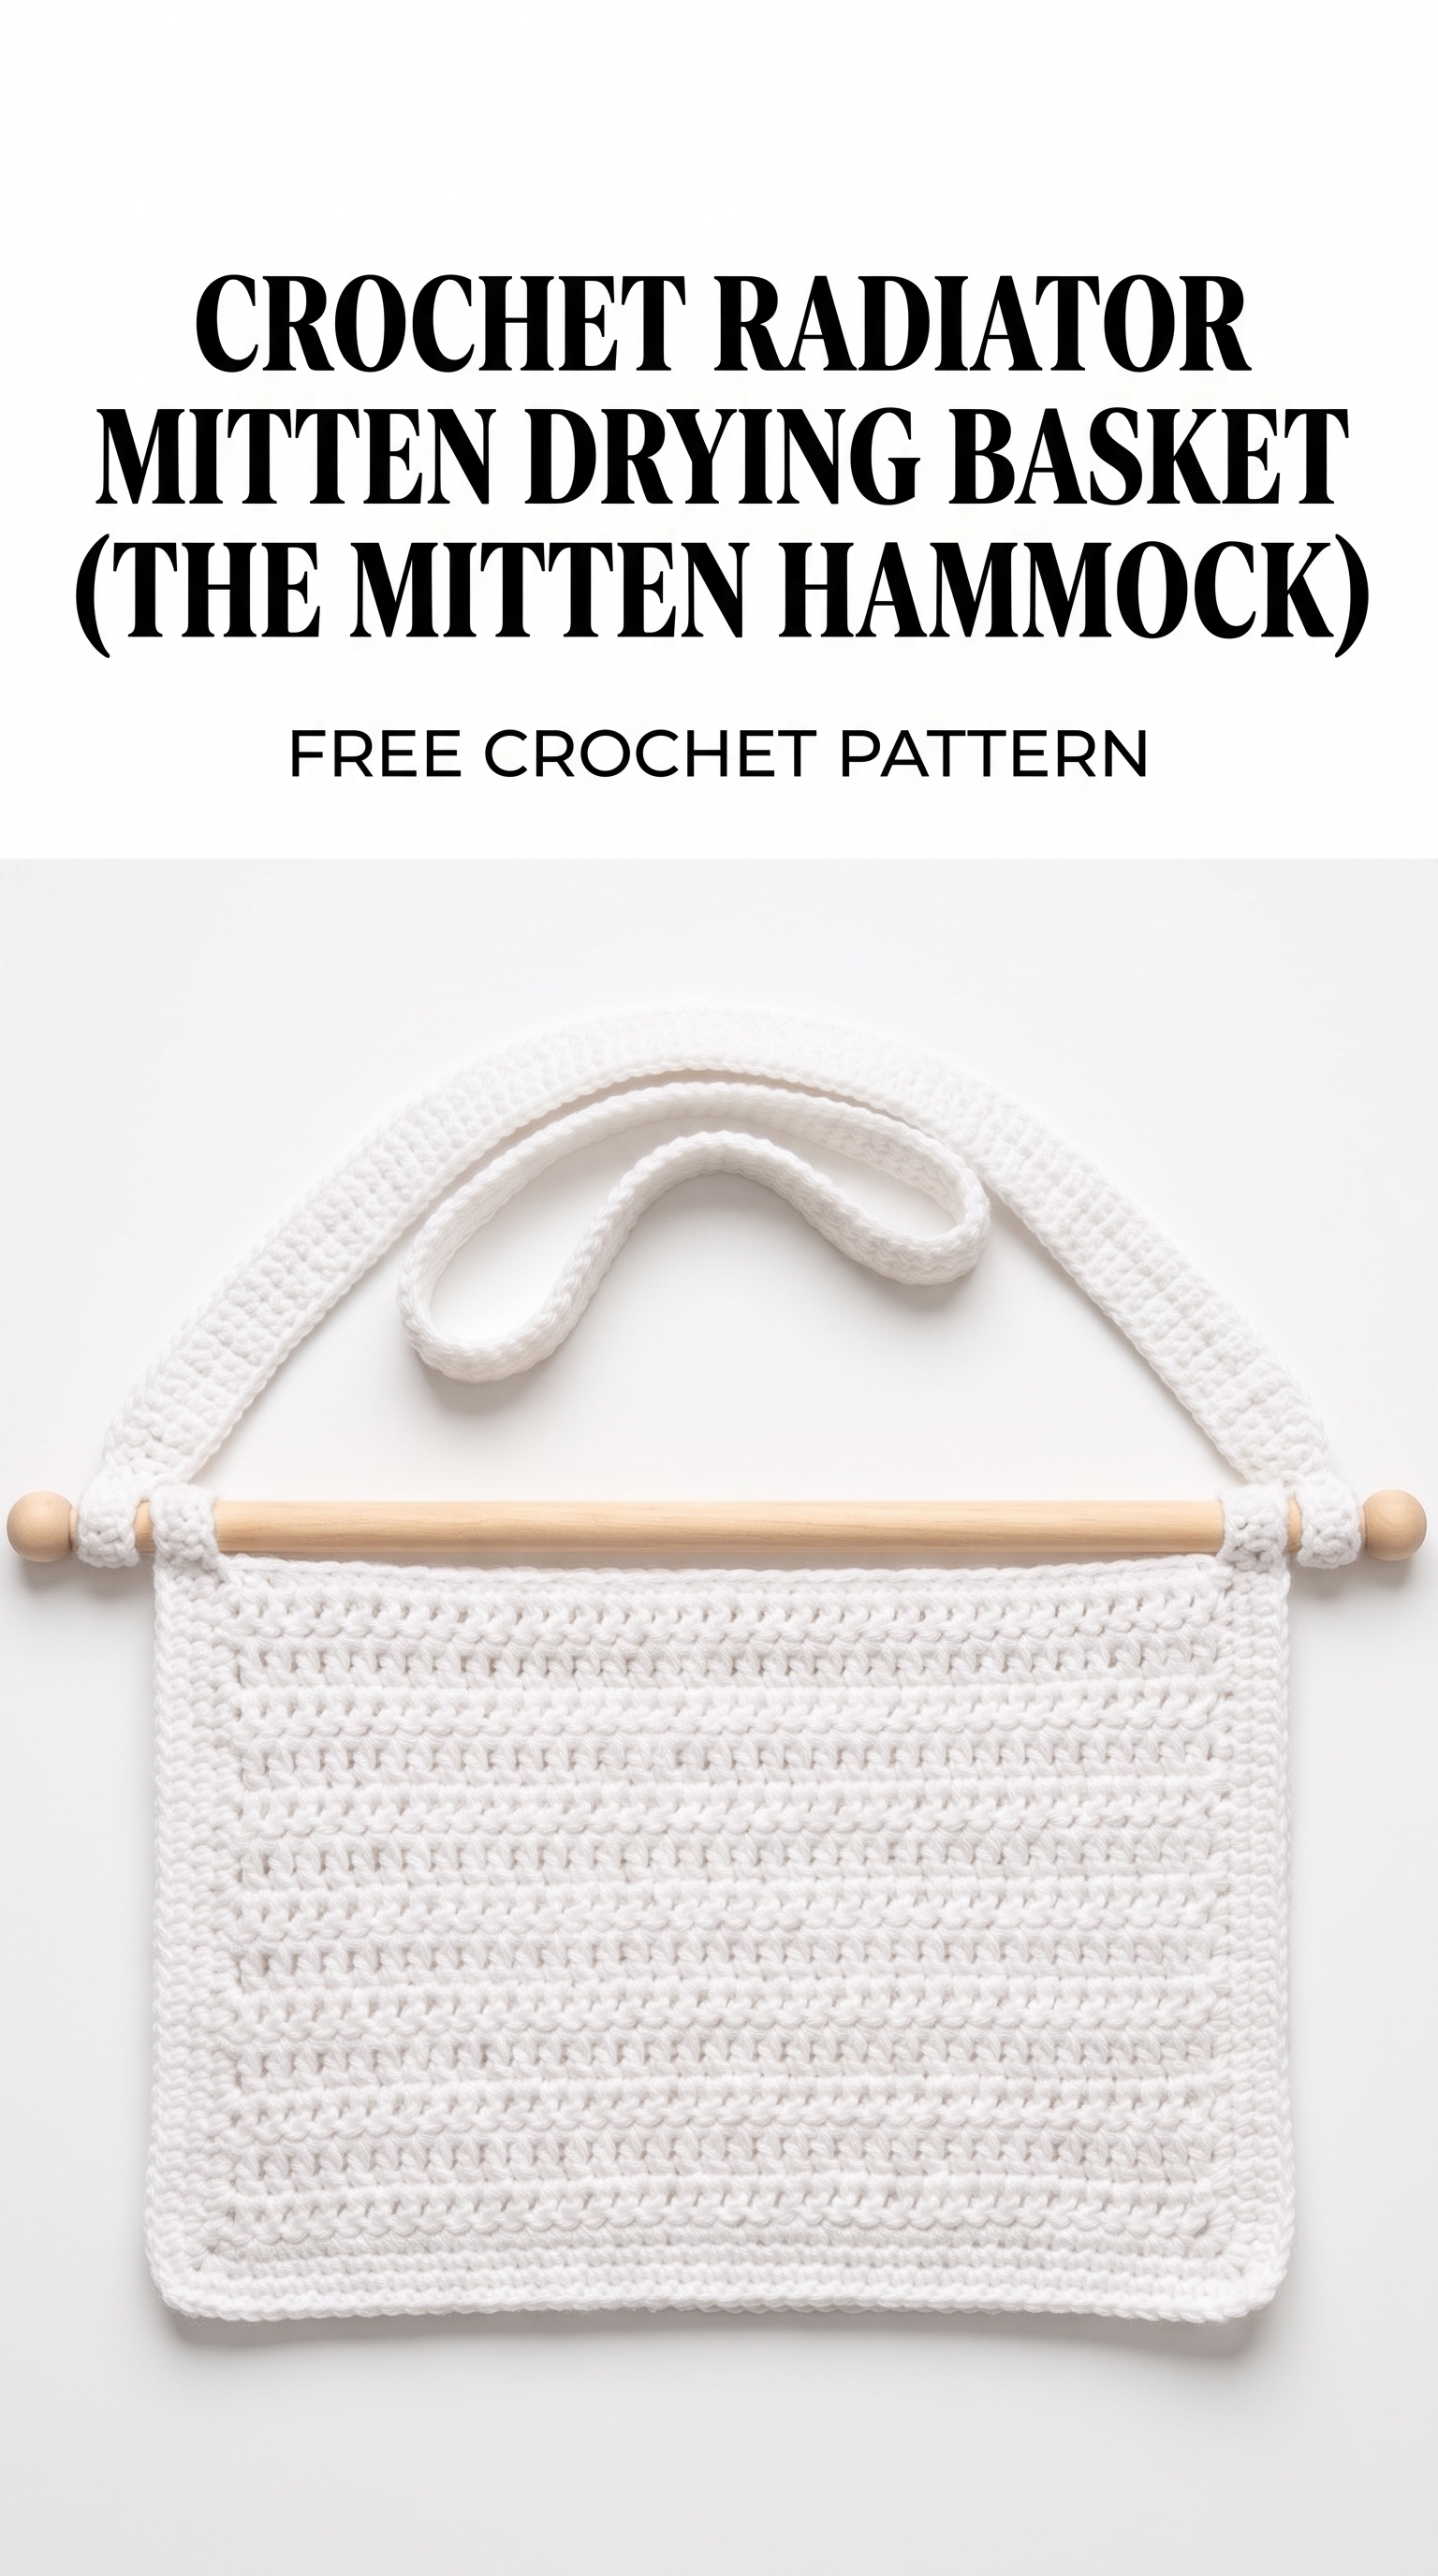
Image shown for inspiration — your finished result may vary slightly.