Crochet Tissue Box Cover Pattern (Free)
A free, beginner-friendly pattern that clearly guides you through the steps.
Published October 7, 2026 · by Emma
- Skill level
- Beginner
- Yarn weight
- Worsted (4)
- Hook size
- 5.0 mm (H/8)
- Time
- 3–4 hours
- Gauge
- 12 bobble stitches and 9 rows = 4 inches
- Yardage
- about 200 yards
- Sizes
- 5.5 × 5.5 × 6 in (14 × 14 × 15 cm)
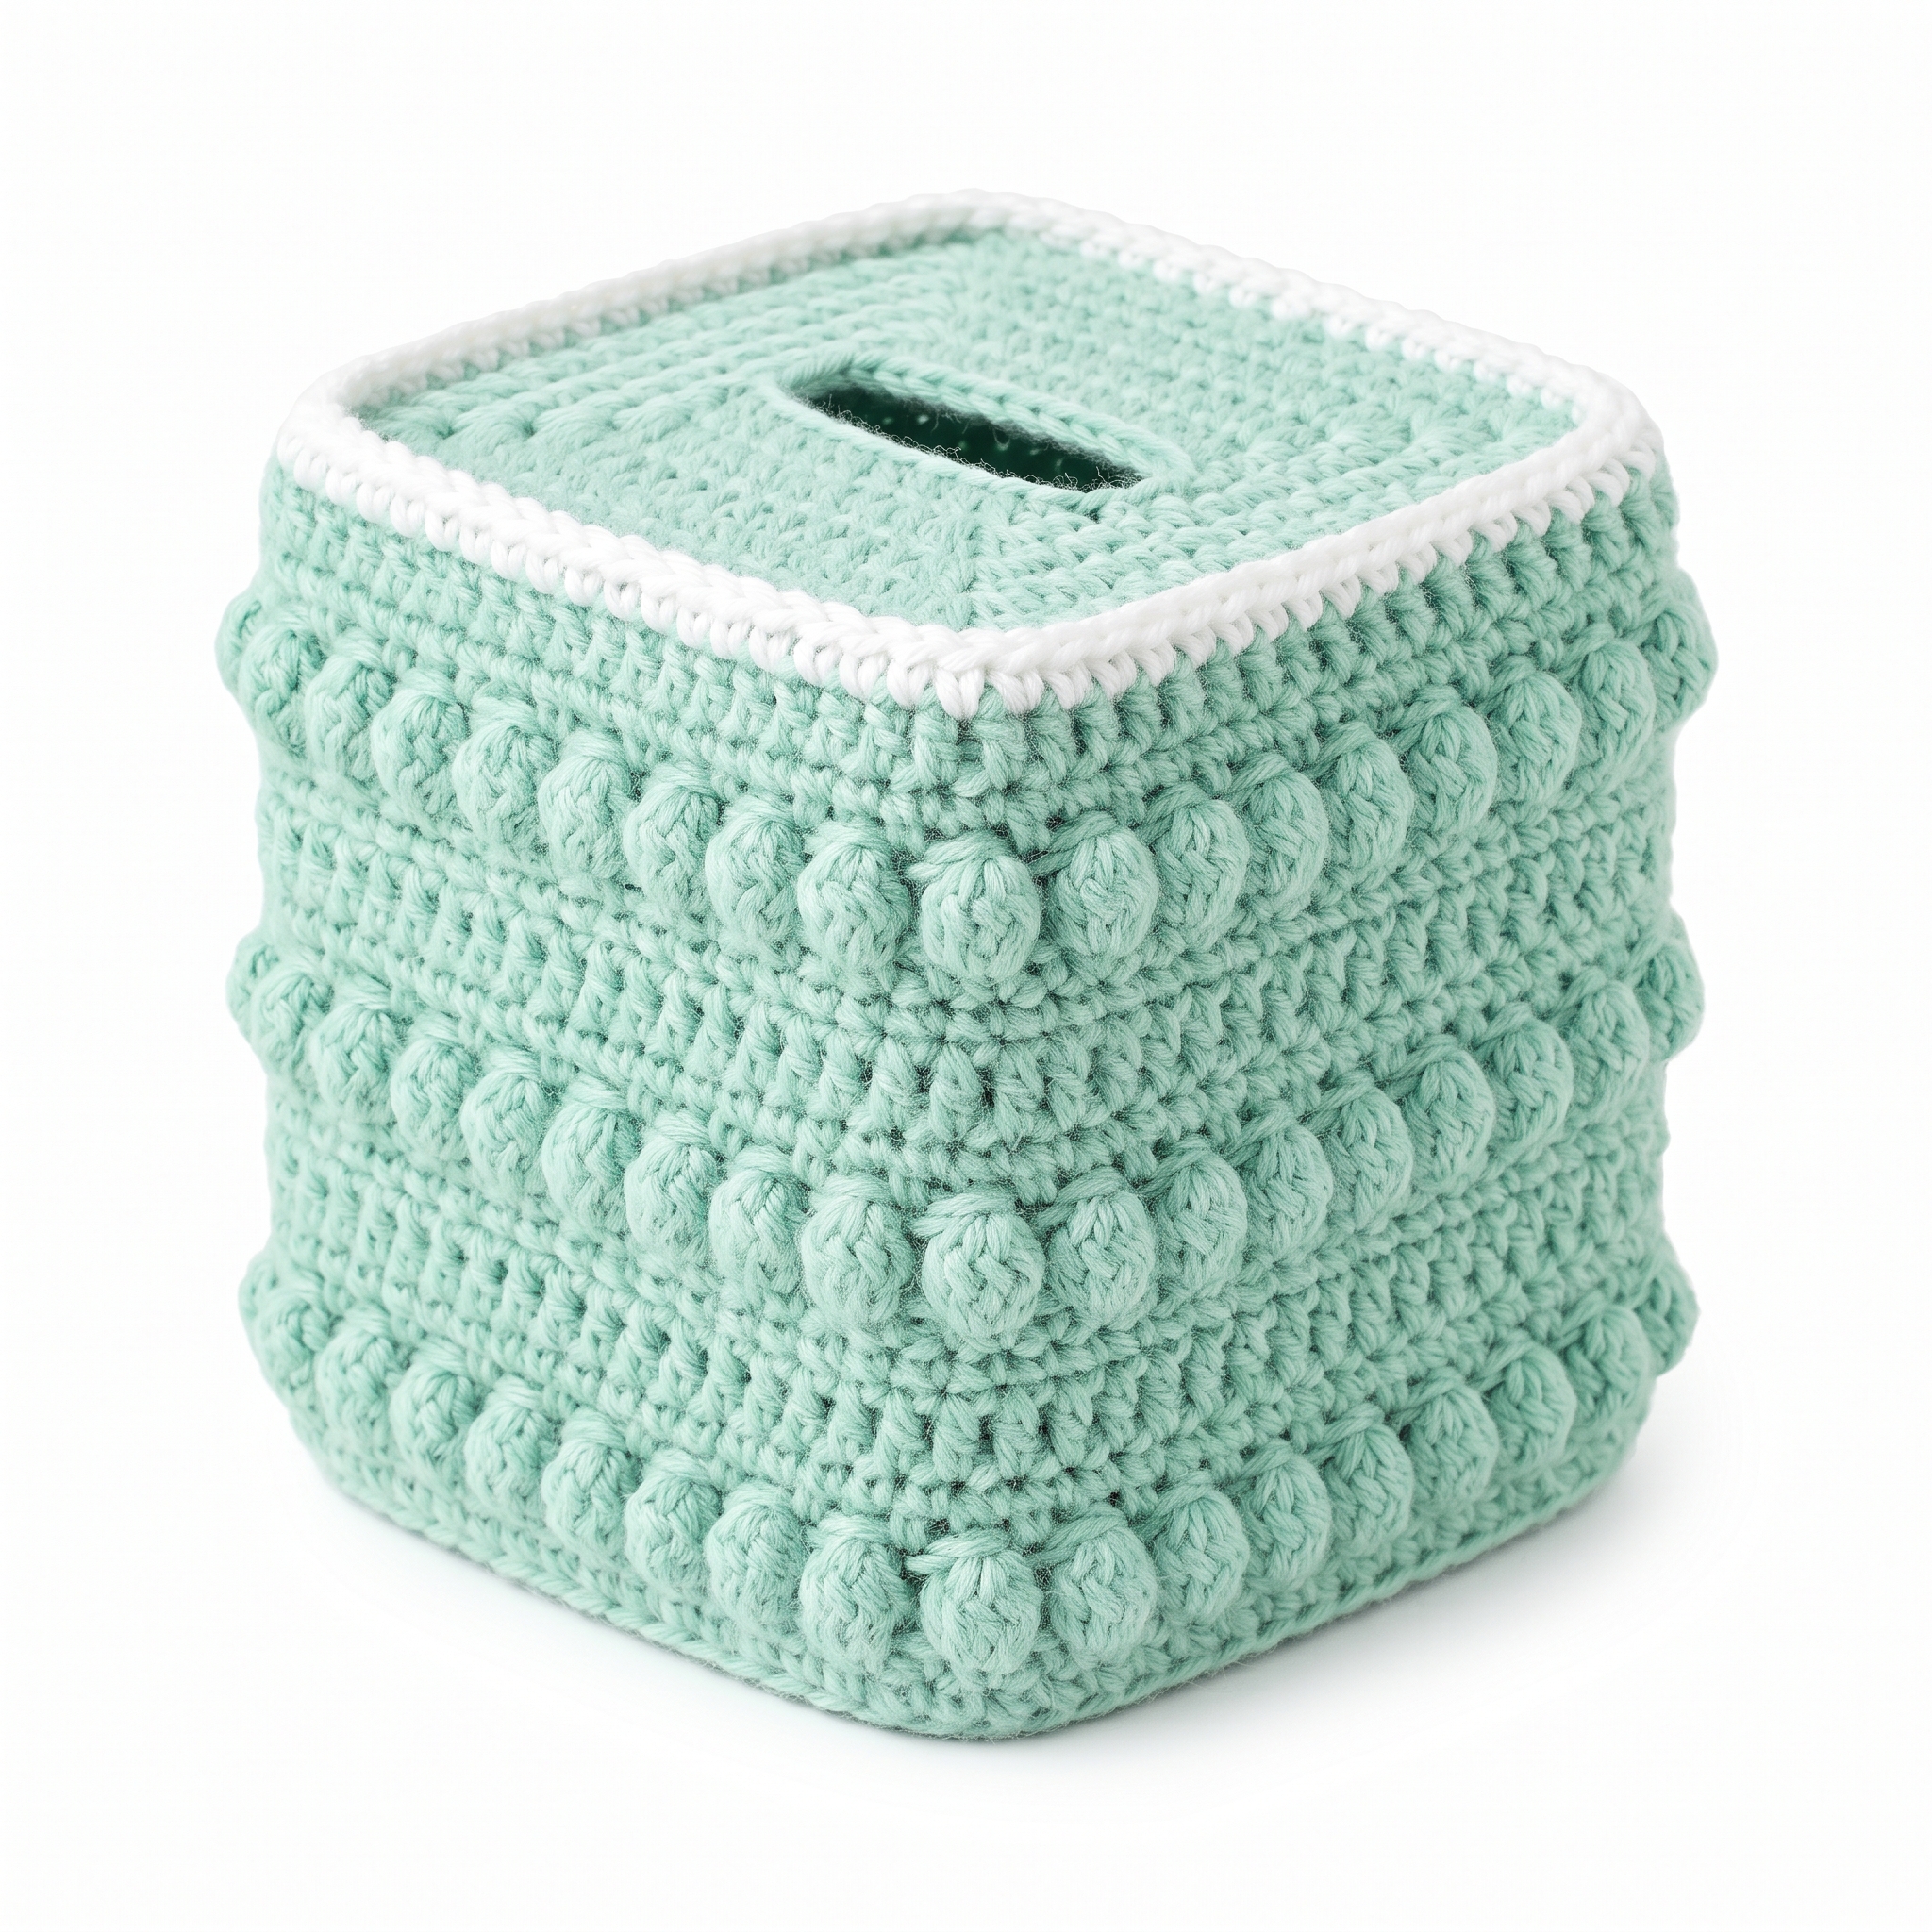
This crochet Tissue Box Cover pattern makes a charming and practical addition to your home décor. Using the bobble stitch, this project not only enhances the look of any room but is also enjoyable to create. The cover is tailored to fit a standard square tissue box, and you’ll find the bobble stitch both fun and rewarding to master.
This pattern is suitable for those with some basic crochet knowledge. You’ll gain skills in working with the bobble stitch and constructing a lovely, functional item for your space.
Why You'll Love This Tissue Box Cover
- Decorative and functional – it brightens up any room while serving a practical purpose.
- Quick to create – the estimated total time is just 3–4 hours, perfect for weekend crafting.
- Learn a fun stitch – mastering the bobble stitch can open up new project possibilities.
- Customizable – easily change colors to match your décor or personality.
Skill Level: Easy
Yes! This pattern is great for beginners who are familiar with basic stitches. You’ll learn how to create a bobble stitch, which adds texture and visual interest to your projects.
Crochet Abbreviations (US Terms)
- ch – chain
- sc – single crochet
- dc – double crochet
- bobble – (yarn over, insert hook into stitch, yarn over, pull up a loop) 4 times, yarn over, pull through all 5 loops on hook
- sl st – slip stitch
How to Make a Bobble Stitch
- Yarn over and insert your hook into the designated stitch.
- Yarn over again and pull up a loop. You will have three loops on your hook.
- Repeat this process three more times in the same stitch. You should have five loops on your hook.
- Yarn over and pull through all five loops, completing the bobble stitch.
Size and Gauge
- Finished dimensions:
- Width: 5.5 inches (14 cm)
- Depth: 5.5 inches (14 cm)
- Height: 6 inches (15 cm)
- Gauge:
- 12 bobble stitches and 9 rows = 4 inches (10 cm).
- To check gauge, crochet a 4-inch square of the bobble stitch and adjust your hook size as needed.
Step-by-Step Instructions
How to Crochet a Tissue Box Cover (Step by Step)
Body of the Tissue Box Cover
- Foundation Row: Ch 31. (30 sts)
- Row 1: Sc in 2nd ch from hook and in each ch across. (30 sts)
- Row 2: Ch 1, turn. Sc in each st across. (30 sts)
- Row 3: Ch 2, turn. Bobble in 1st st, sc in next 3 sts; bobble in next st. Repeat from * to * until 1 st remaining, sc in last st. (7 bobbles, 22 sc)
- Row 4: Ch 1, turn. Sc in each st across. (30 sts)
- Row 5: Ch 2, turn. Bobble in 1st st, sc in next 3 sts; bobble in next st. Repeat from * to * until 1 st remaining, sc in last st. (7 bobbles, 22 sc)
- Rows 6–12: Repeat Rows 4 and 5 until you have a total of 12 rows with the last row ending with a sc row. (Final Row 12 = 30 sts)
- Row 13: Ch 1, turn. Sc in each st across. (30 sts)
- Row 14: Ch 1, turn. Sc in each st across. (30 sts)
- Row 15: Ch 1, turn. Sc in each st but leave the last 3 sts, turn. (27 sts)
Forming the Sides 11. Row 16: Ch 1, sc in each of the remaining 27 sts from row 15, then sc in the first 3 sts of Row 2 (corner). (30 sts total) 12. Rows 17–30: Continue to sc around the entire square. This creates the sides of the tissue box cover. Slip stitch to join to the beginning sc of Row 17.
Assembly & Finishing
- Weave in any yarn tails using a yarn needle.
- Optionally, attach the contrast color (White) to the top edge and sc around for a finished trim.
- Block the finished piece by wetting it and placing it on the blocking mat to shape, securing with pins if necessary.
Beginner Tips for a Great Tissue Box Cover
- Use a stitch marker to keep track of your rows, especially when starting the sides.
- Don’t rush; take your time to ensure each bobble is evenly spaced.
- Regularly measure your piece to confirm it fits the standard tissue box dimensions.
Common Mistakes (and How to Fix Them)
- My stitches are too tight. – This could be due to using a hook that’s too small. Try using a larger hook for a looser gauge.
- The shape looks off. – Make sure to count your stitches after each row to ensure you haven't missed any.
- The bobble stitches aren't popping. – This might mean you need to loosen your tension slightly while making the bobbles.
How to Care for Your Tissue Box Cover
Machine wash on a gentle cycle and tumble dry on low or lay flat to dry. This will keep your cover looking fresh and clean.
FAQ
Can I use a different yarn?
Absolutely! As long as you stay within the worsted weight category, you can explore colors and textures to match your style.
How do I resize the pattern?
To resize, adjust the number of chains in the foundation row. Just remember to keep your gauge in mind!
Will the bobble stitch make it difficult to fit over a tissue box?
No, the bobble stitch adds a fun texture, but it won’t affect the fit. Just ensure your stitch count is accurate.
Looking for more? Check out our cozy collection of home décor patterns.
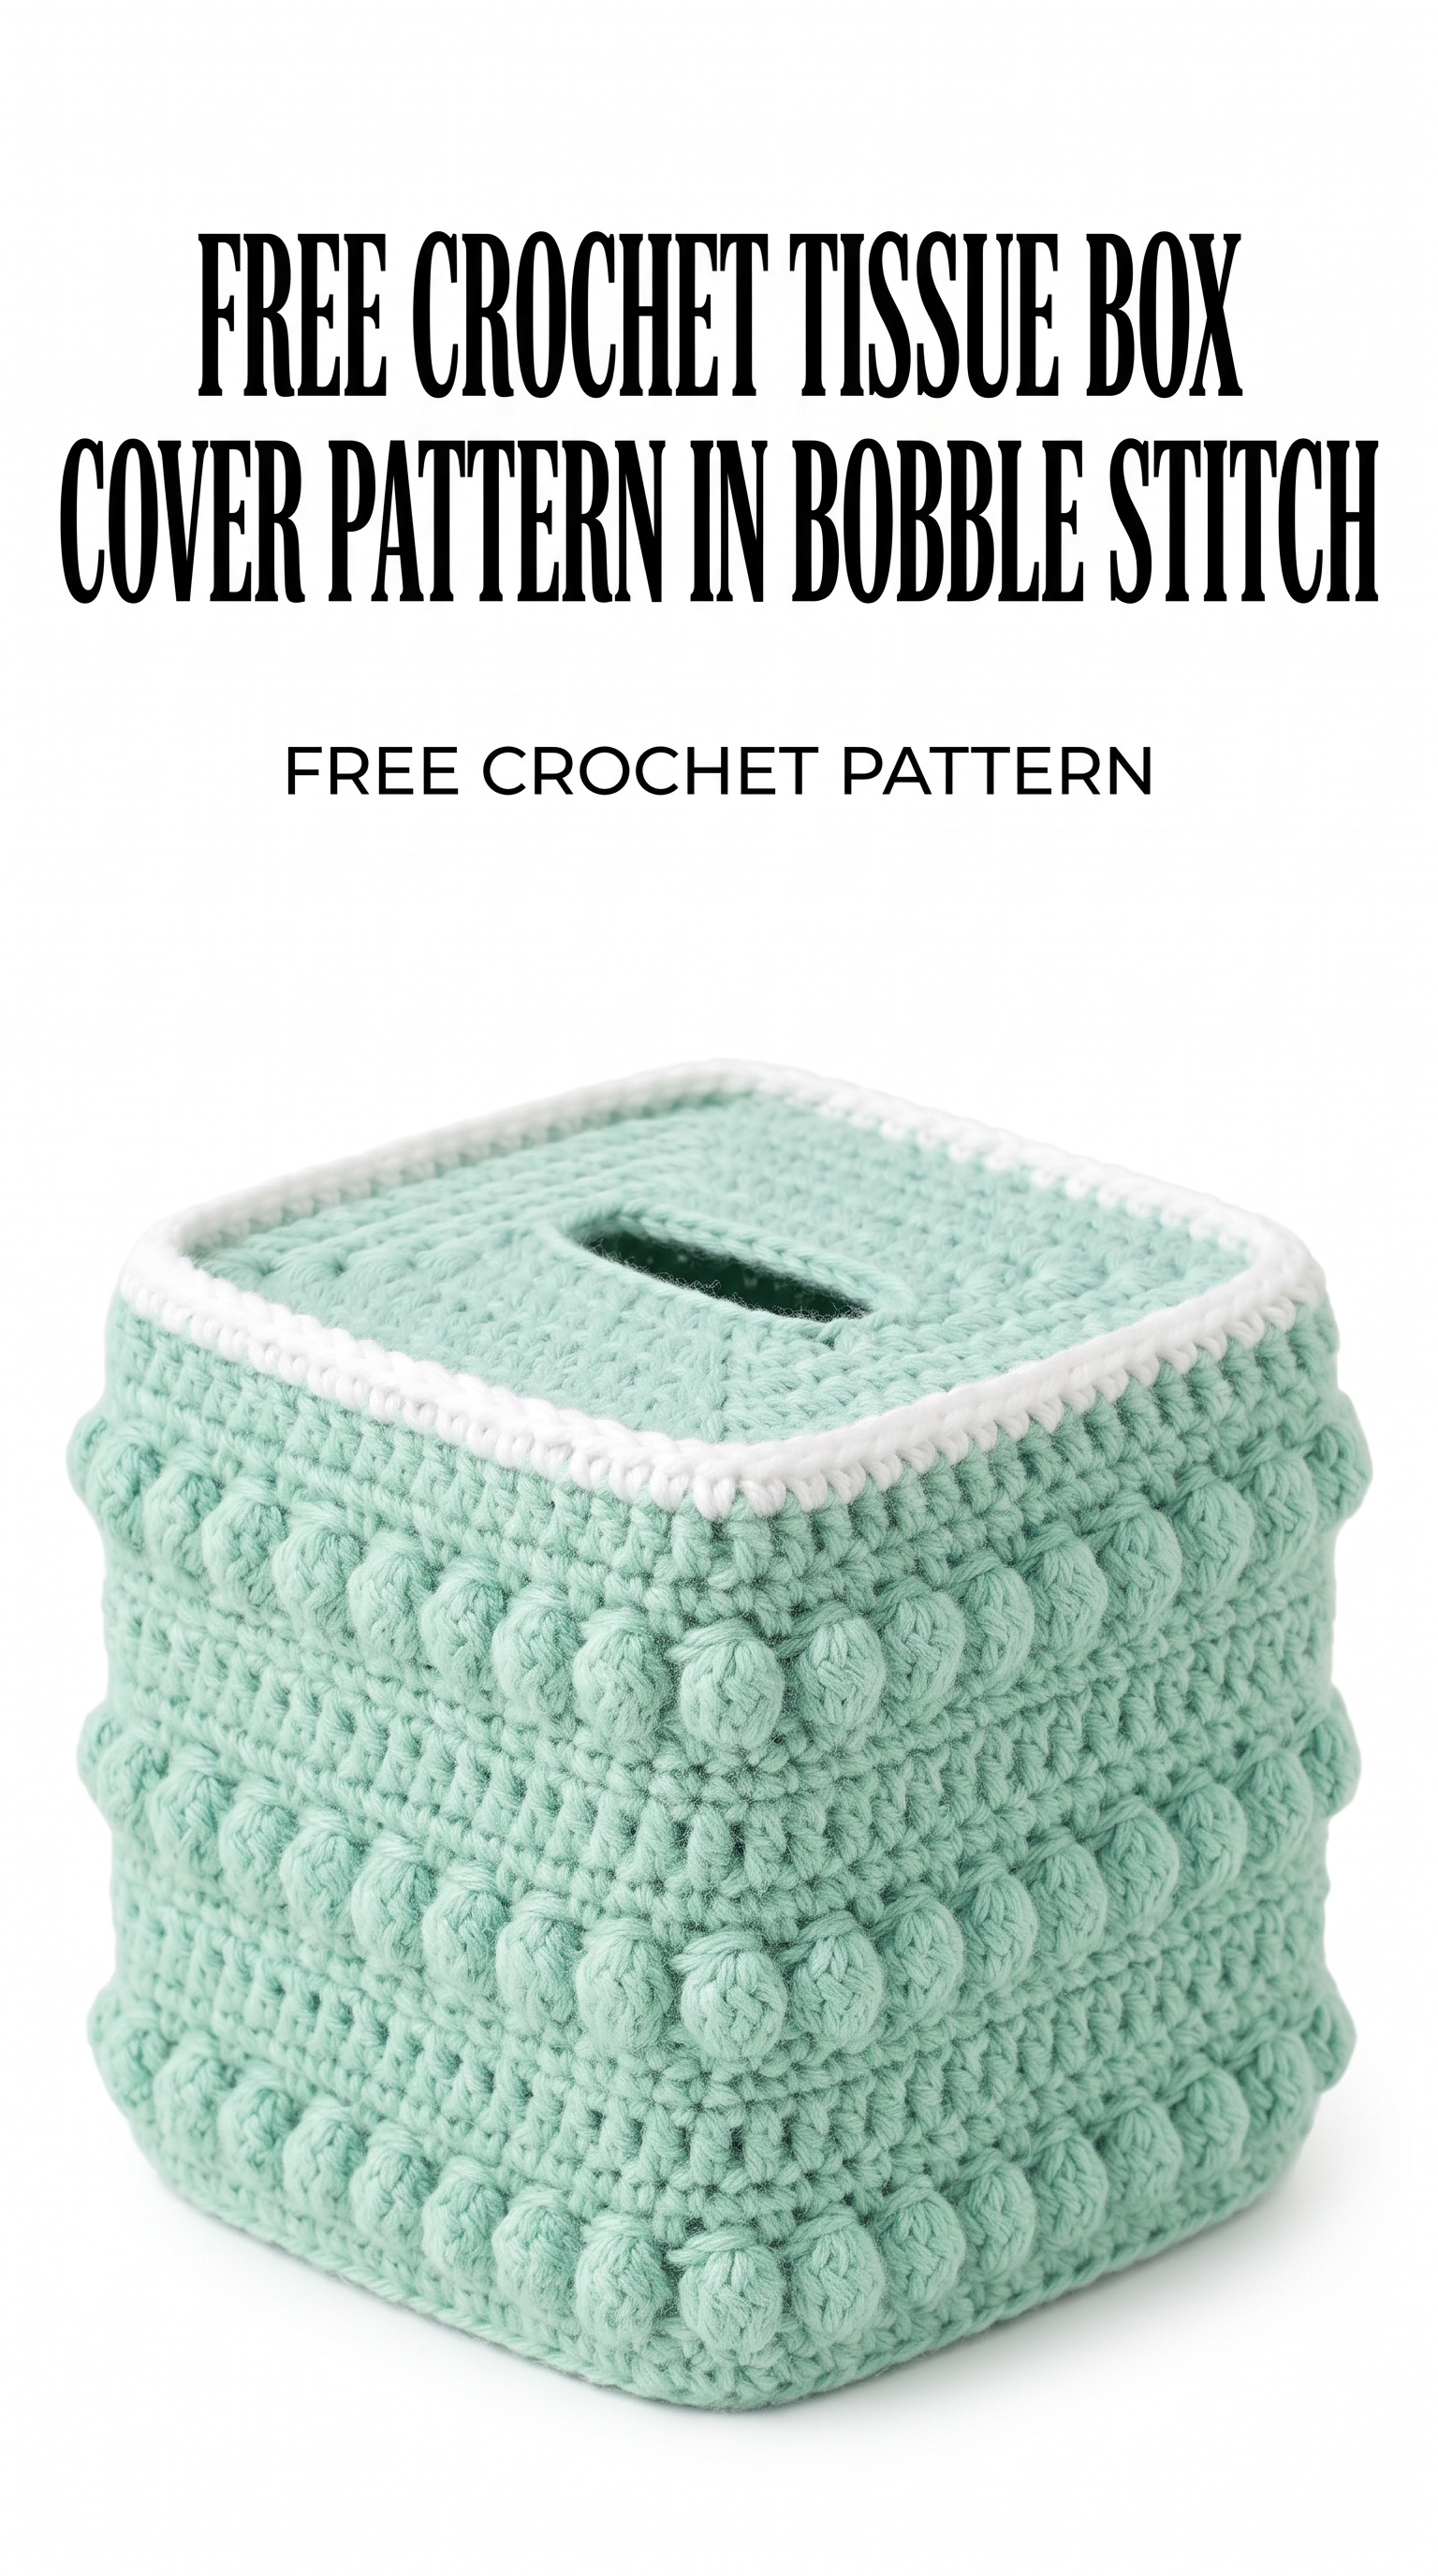
Image shown for inspiration — your finished result may vary slightly.